Proceed as follows to create the CSR and generate the key pair using OpenSSL:
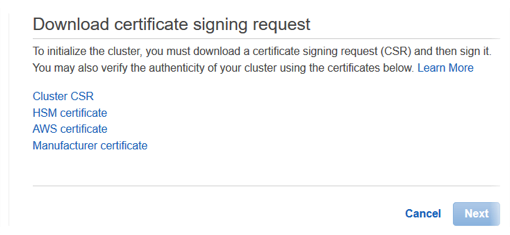
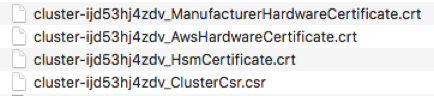
Download the four certificates in the links in the UI: There will be four files that look like the following:
Copy these certificates to the EJBCA instance. The prefix of the file is the cluster ID. For example, this cluster ID is cluster-ijd53hj4zdv_file-type. In the example below, we will show it for the CSR but you will need to copy each of these files. You can also use your preferred SCP client:
Use OpenSSL to create a key to validate the HSM. This command asks for a password to protect the key and you may use the instance ID or another password of your choosing.
# openssl genrsa -aes256 -out customerCA.key 2048
CODE
Create a self-signed issuing cert with the key created. This command asks for values for the cert (country code, location, etc.) and you can populate them or press Enter to leave them blank. You must populate at least one value.
Sign the CSR with the issuing certificate and key. Ensure to change the CSR (after the -in value) to be the one that was downloaded from your HSM cluster. This command creates a file named CustomerHsmSignedCertificate.crt. Use this file as the signed certificate when you initialize the cluster.