Thales DPoD Integration Guide
This guide covers how to get the EJBCA Cloud integrated with Thales Data Protection on Demand (DPoD).
Introduction
Thales Data Protection on Demand (DPoD) is a cloud HSM service by Thales, which is backed by a Luna 7 "like" hardware. You can use DPoD from any EJBCA software installation where you can add and configure the Thales client.
Once you have access to DPoD and can create an HSM Service, you can find documentation on how to install and configure it in Thales HSM on Demand Services Documentation.
Documentation
This EJBCA Cloud Documentation applies for the latest EJBCA Cloud version.
For the latest EJBCA Enterprise documentation, see EJBCA Documentation.
Create a DPoD HSM on Demand Service
The following provides a brief walk-through of setting up and connecting to a DPoD HSM on Demand Service.
Create Service and Download Client
To create the service and download the client, do the following:
Log into your DPoD account to display the Accounts main page.
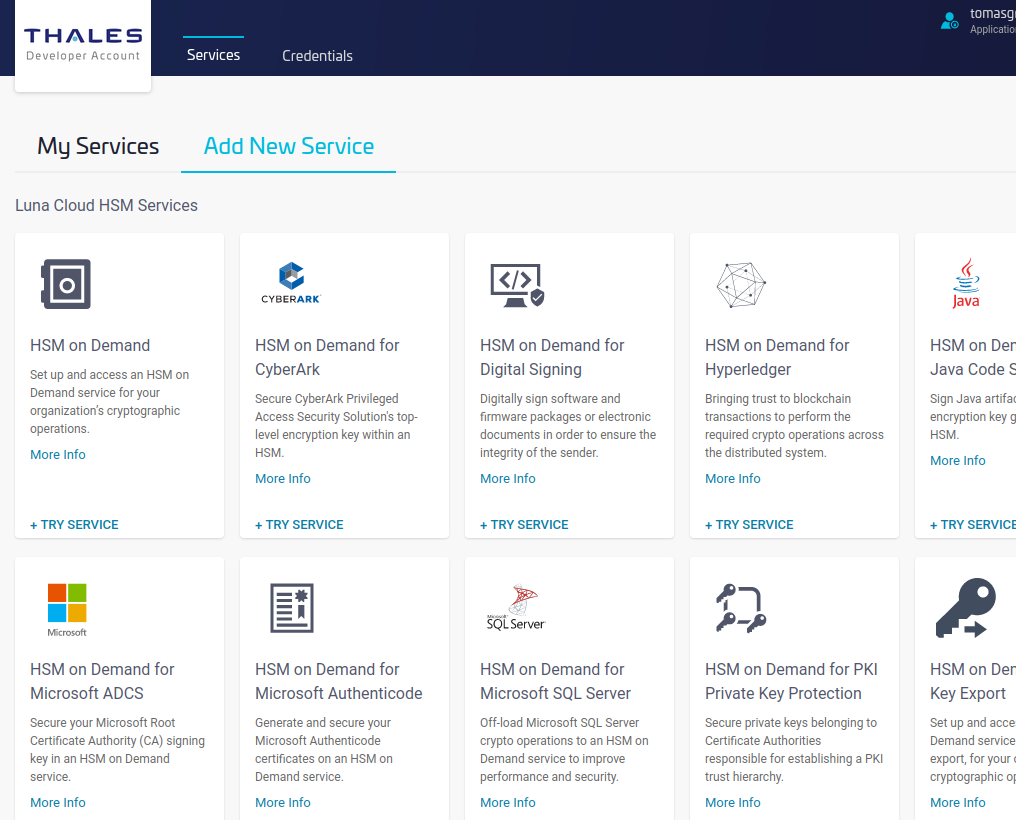
- To add a service, click the Services tab and then click Add New Service.
- To create a new service for HSM on Demand, click Try Service to start the wizard.
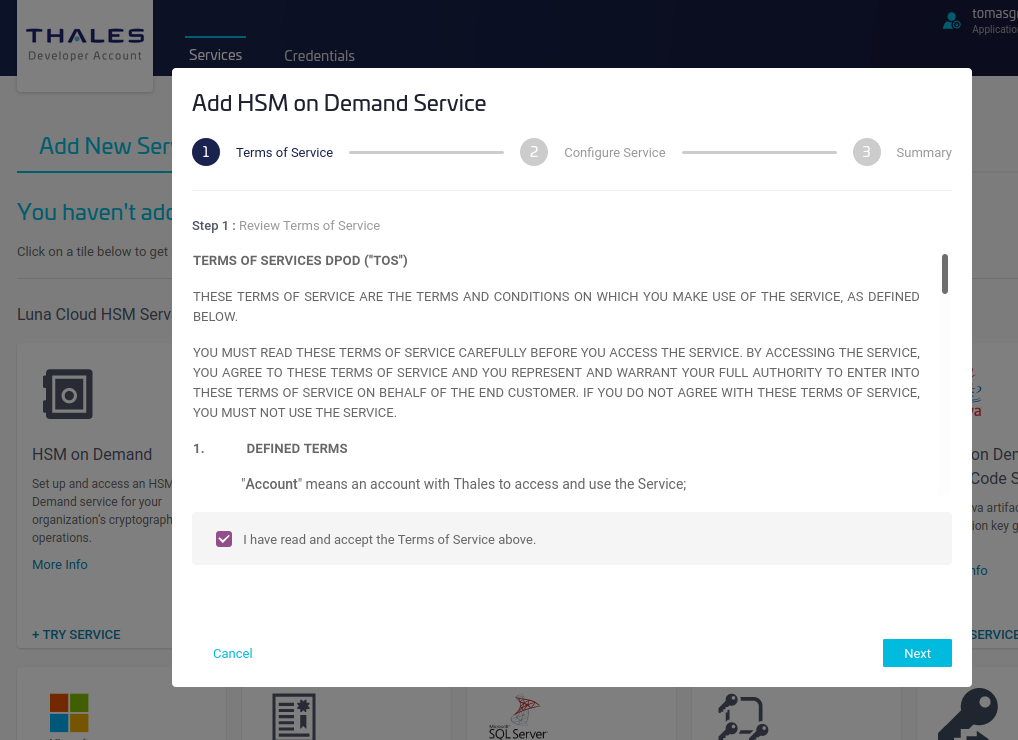
- Review the terms of the service and click Next.
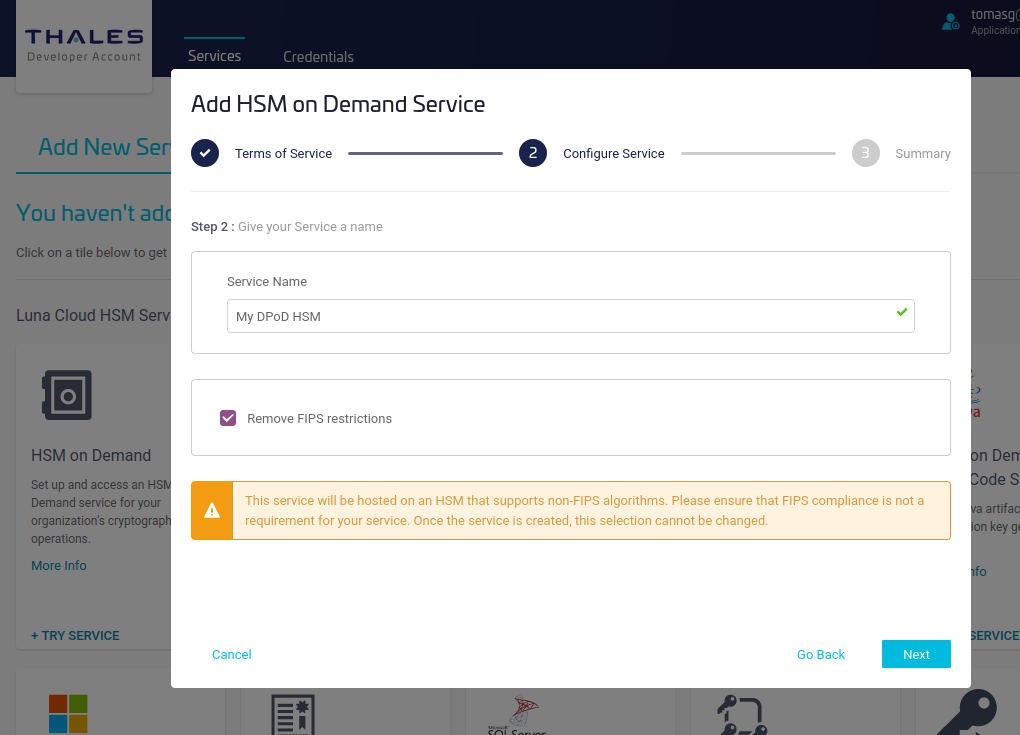
- Specify a name for the service and select Remove FIPS restrictions to allow the use of non-FIPS algorithms such as other than NIST EC curves, or Ed25519, then click Next.
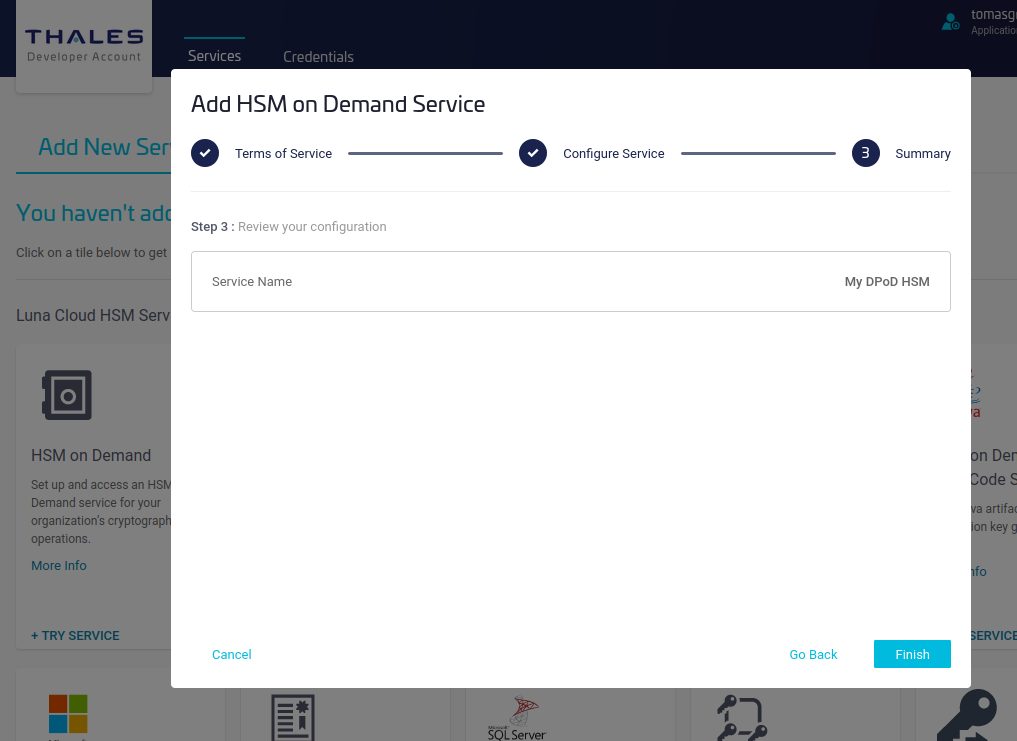
- Review and click Finish.
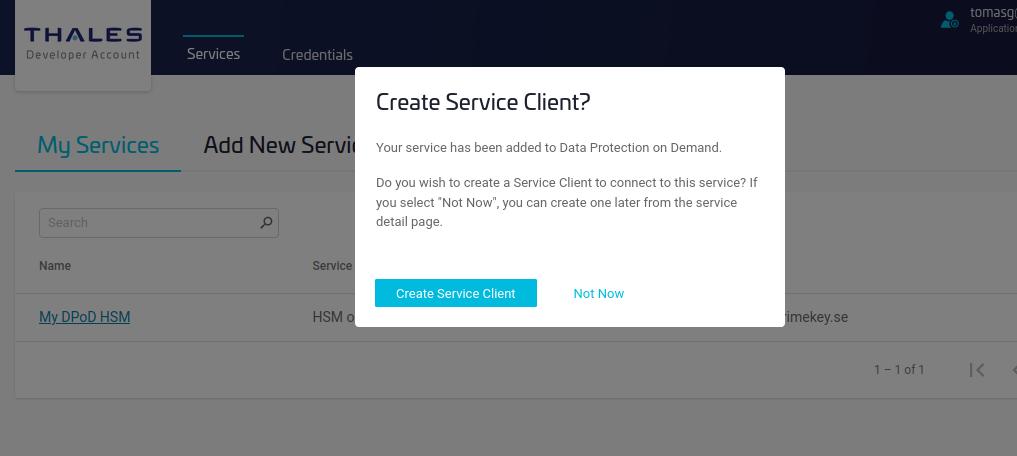
- Click Create Service Client to get the client download package, which includes the certificates needed to connect to the service.
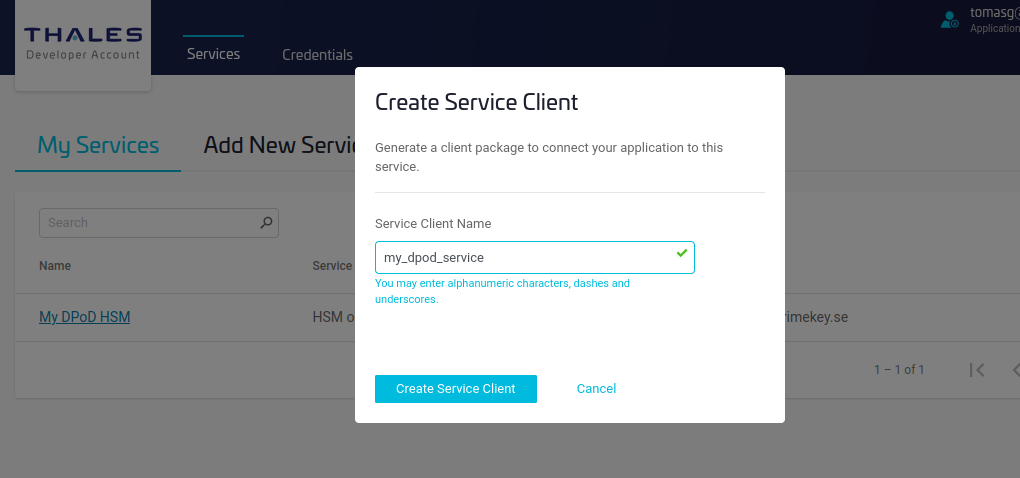
- Specify the name of the service client and click Create Service Client.
- Click Download Client.
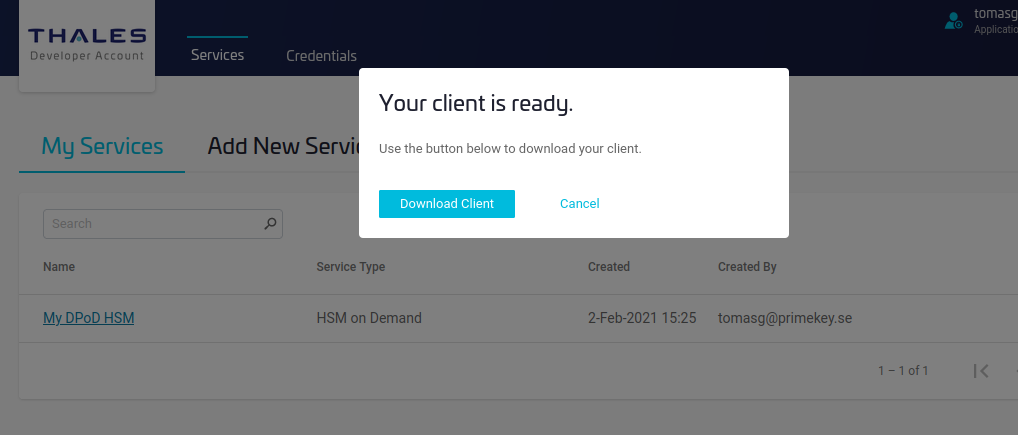
The service is now created and the DPoD service client is downloaded.
Install HSM Client
The following provides instructions for installing the HSM client. The instructions assume that you have a running EJBCA instance in AWS, where you can log in to the instance EJBCA Admin UI using a web browser, and to the terminal using SSH.
After starting the instance you get the public DNS name of the instance from the AWS console.

In this case, the DNS name is ec2-13-53-130-67.eu-north-1.compute.amazonaws.com, which is used in the following example commands.
Ensure to replace the DNS name in the example CLI commands with the DNS name of your instance when following the instructions below.
In order to SSH into the AWS instance, you configured an SSH key during the setup of the instance. In the example commands below, the SSH key name aws_ssh.pem is used.
Ensure to replace the name of the SSH key with the name of your key when following the instructions below.
To install the DPoD client:
Copy the downloaded service client zip file to the AWS instance.
scp -i ~/.ssh/aws_ssh.pem setup-my_dpod_service.zip ec2-user@ec2-13-53-130-67.eu-north-1.compute.amazonaws.com:.TEXTLog in to the instance with SSH.
ssh -i ~/.ssh/aws_ssh.pem ec2-user@ec2-13-53-130-67.eu-north-1.compute.amazonaws.comTEXTUnzip the downloaded client archive in
/opt/thales/dpodclient. You can use another location but the PKCS#11 driver in this directory will be automatically detected in EJBCA version 7.5 and later.
sudo mkdir -p /opt/thales/dpodclient
sudo unzip -d /opt/thales/dpodclient/ setup-my_dpod_service.zip
cd /opt/thales/dpodclient/
sudo tar -xvf cvclient-min.tar
TEXT You do not have to be root to run the Luna client, but installing the driver as root prevents other OS users to modify files. You however have to be able to write temporary files where you run to command
source ./setenvbelow.Check the connectivity with the HSM:
sudo su
source ./setenv
./bin/64/lunacm

lunacm (64-bit) v10.2.0-111. Copyright (c) 2020 SafeNet. All rights reserved.
    Available HSMs:

    Slot Id -> 3
    Label -> my_dpod_service
    Serial Number -> 1392941677399
    Model -> Cryptovisor7
    Firmware Version -> 7.3.0
    CV Firmware Version -> 1.4.0
    Configuration -> Luna User Partition With SO (PW) Signing With Cloning Mode
    Slot Description -> Net Token Slot
    FM HW Status -> FM Not Supported

    Current Slot Id: 3
TEXT
Initialize Partition
Before using the HSM, you need to initialize the partition to create the access credentials that are later used to access the HSM from EJBCA.
The slot used in the example below is slot number 3, which is the number presented above when running the lunacm command. Use the slot number of your HSM. To use the partition, you need to create a Security Officer and a Crypto Officer. The Crypto Officer is the user in the HSM that can create objects and use them, i.e. an R/W User. Luna also defines a Crypto User which is a Read-Only User. This is typically not used from EJBCA as it does not allow to generate keys and no Crypto User is therefore created in the example below.
Do not reuse the random passwords below, create your own random passwords.
Although it does not sound like a secret, the domain is also a secret and you should use your own random value for domain name. According to Thales documentation:
"The security domain, or cloning domain, is a special-purpose secret that is attached to a partition on an HSM."
Ensure to store your secrets securely (best practice for production is under multi-person control). If you forget the secrets you may have to delete the service completely and lose all your keys.
To initialize the partition to create the access credentials:
lunacm:>slot set -slot 3
	Current Slot Id: 3 (Luna User Slot 7.3.0 (PW) Signing With Cloning Mode)
Command Result : No Error

lunacm:>partition init -label my_dpod_service

	Enter password for Partition SO: W3nDwUr9TQQeZq4G
	Re-enter password for Partition SO: W3nDwUr9TQQeZq4G

	You are about to initialize the partition.
	All contents of the partition will be destroyed.
	Are you sure you wish to continue?

	Type 'proceed' to continue, or 'quit' to quit now ->proceed

	Option -domain was not specified. It is required.

	Enter the domain name: LWVjU8hqjwZBM5M4
	Re-enter the domain name: LWVjU8hqjwZBM5M4


Command Result : No Error

lunacm:>role login -name Partition SO

	enter password: W3nDwUr9TQQeZq4G

Command Result : No Error

lunacm:>role init -name Crypto Officer

	enter new password: RmKSPD7ec8uEZYB7
	re-enter new password: RmKSPD7ec8uEZYB7

Command Result : No Error

lunacm:>role logout

lunacm:>role login -name Crypto Officer

	enter password: RmKSPD7ec8uEZYB7

Command Result : No Error

lunacm:>role changepw -name Crypto Officer

	enter existing password: RmKSPD7ec8uEZYB7
	enter new password: vpvTWX2pws4LkpuF
	re-enter new password: vpvTWX2pws4LkpuF

Command Result : No Error

lunacm:>exitNo need to add a Crypto User as the Crypto Officer is used to generate keys in the slot.
Restart EJBCA
As you have added a new PKCS#11 provider to the AWS instance, EJBCA needs to be restarted in order to find the new provider.
service wildfly restartservice wildfly restart and force you to kill WildFly processes hard. The bug is scheduled to be fixed by Thales during 2021.
Create Crypto Token and CA in EJBCA
After starting EJBCA, you can generate a new PKCS#11 Crypto Token utilizing the Thales DPoD library (located in /opt/thales/dpodclient/libs/64/libCryptoki2.so), using either the EJBCA Admin UI or the EJBCA CLI.
The following provides instructions for creating a crypto token and a CA using the EJBCA Admin interface. For instructions on using the EJBCA CLI, see Create Crypto Token and Generate Keys using the CLI.
Create Crypto Token Using Admin UI
Log into the Admin UI of EJBCA at the URL, replacing the DNS name with the name of your instance: https://ec2-13-53-130-67.eu-north-1.compute.amazonaws.com/ejbca/adminweb/
To create a PKCS#11 Crypto Token using the Admin UI:
In the EJBCA Admin UI, click Crypto Tokens under CA Functions, and then click Create new.
Enter the following on the New Crypto Token page:
Type: PKCS#11
PKCS#11 : Library: Thales DPoD
PKCS#11 : Reference Type: Slot/Token Label
Note that you may have to wait a few seconds for the token label to be listed since the labels are read from the remote HSM.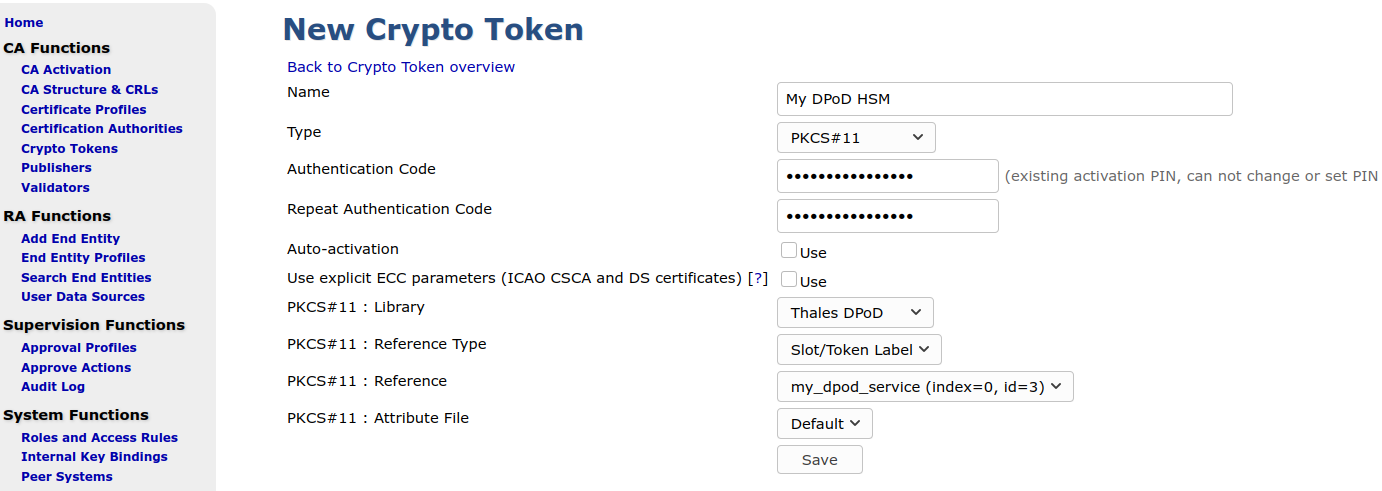
- Enter the Crypto Officer password as Authentication Code, and click Save.
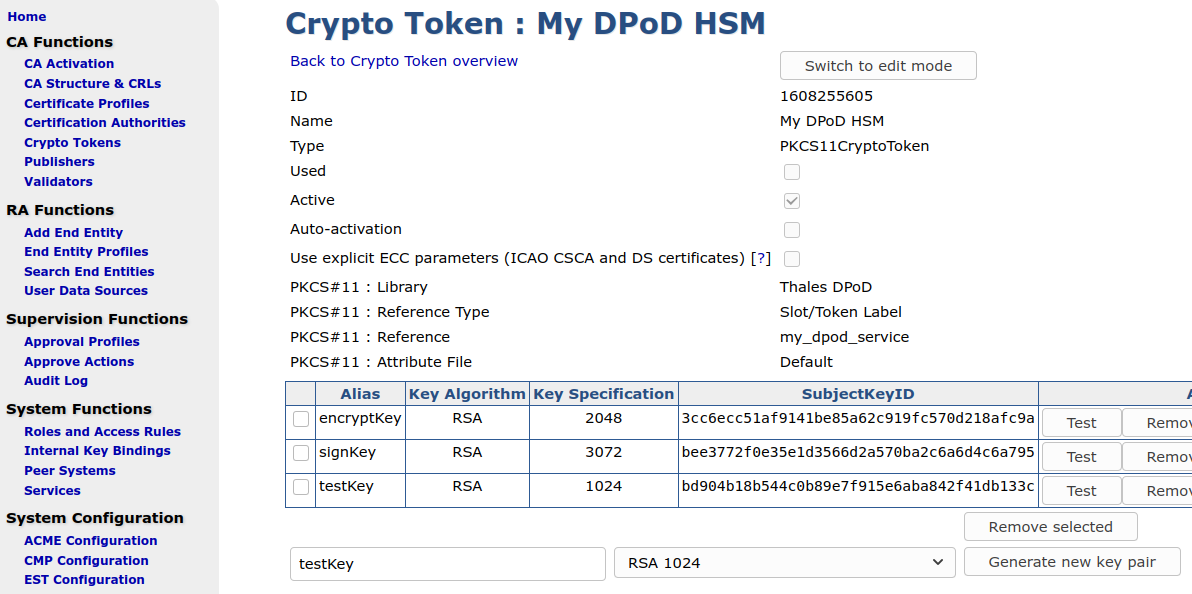
Now you should get a list of keys (which is none on a new slot), and a possibility to generate new key pairs.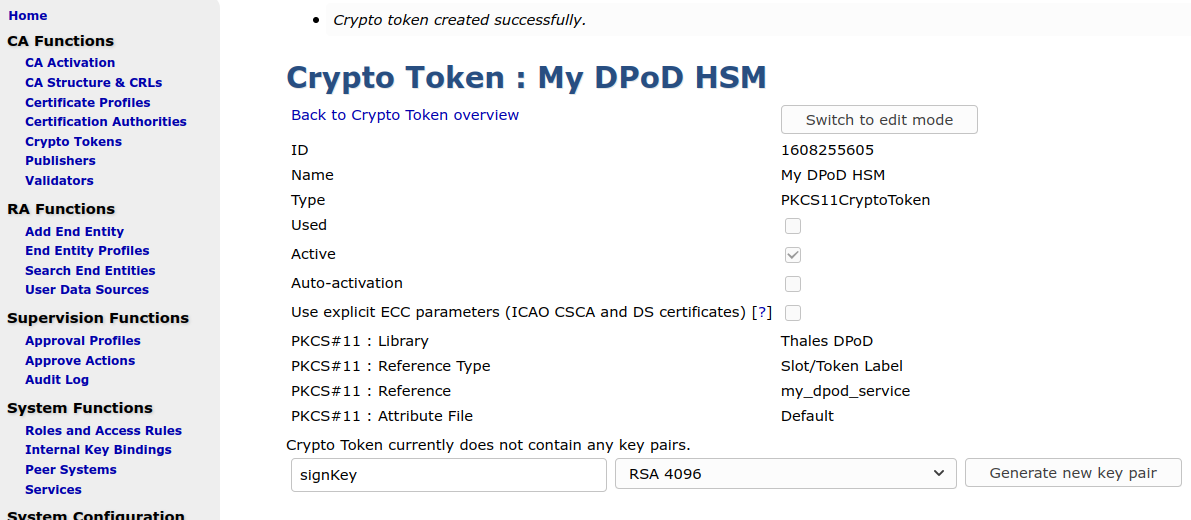
- Generate keys needed for a CA.
With the created crypto token, you can now go ahead and create CAs, using keys on the DPoD HSM.
Create CA Using the EJBCA Admin UI
To create a CA using the Admin UI:
In the EJBCA Admin UI, click Certification Authorities under CA Functions.
- In the Add CA field, specify a CA Name and click Create.
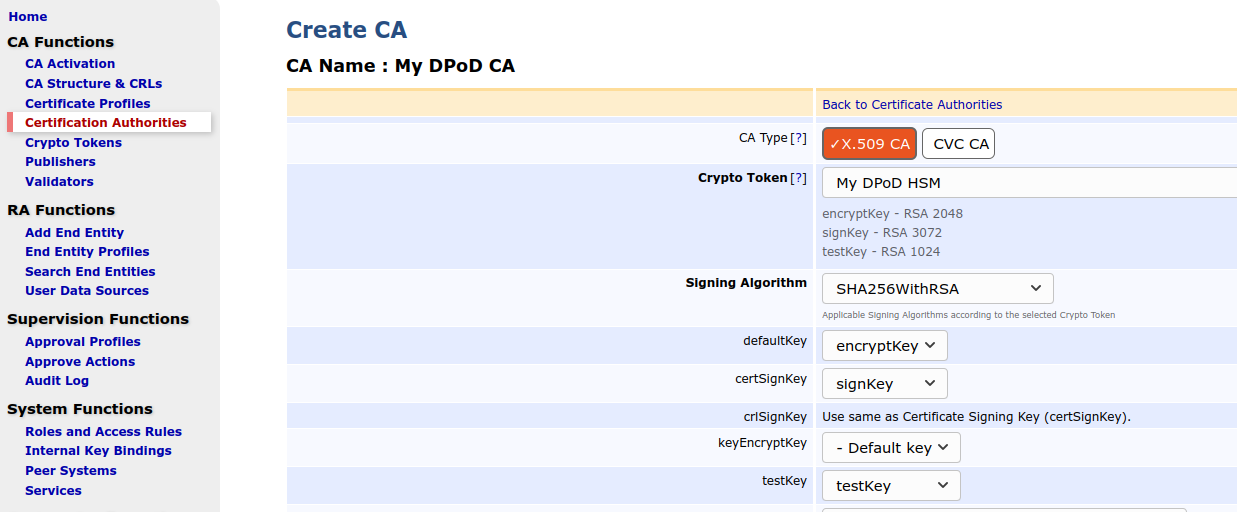
- On the Create CA page, select the following:
- Crypto Token: Select the newly created Thales DPoD crypto token name.
- Signing Algorithm: Select SHA256WithRSA. EJBCA will recognize the key names specified in step Create Crypto Token Using Admin UI and pre-populate the key fields.
- Enter a Validity in days, for example 365d for one year validity of the CA.
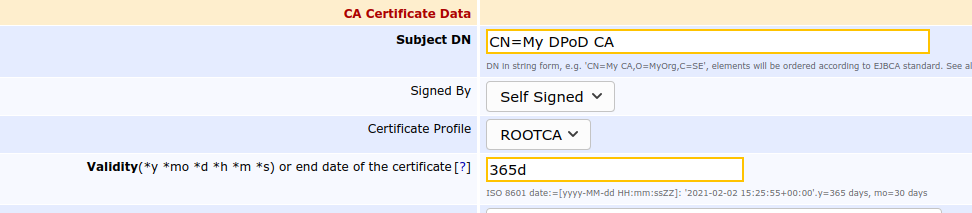
- Scroll down to the bottom of the page and click Create.
That completes the process of creating a Certification Authority using EJBCA in AWS, with keys from a DPoD Cloud HSM partition.
Create Crypto Token and Generate Keys Using the CLI
You can optionally generate keys using the CLI. Using the CLI is good for automation and a quick way to test the functionality of the HSM.
The following displays an example for generating keys, one RSA and one ECDSA, on a slot using the password of the Crypto Officer specified in step Initialize Partition.
$ ./ejbcaClientToolBox.sh PKCS11HSMKeyTool generate /opt/thales/dpodclient/libs/64/libCryptoki2.so 3072 rsa2048Key 3
Using Slot Reference Type: Slot Number.
PKCS11 Token [SunPKCS11-libCryptoki2.so-slot3] Password:
2020-11-24 11:10:29,535 INFO  [org.cesecore.keys.util.SignWithWorkingAlgorithm] Signature algorithm 'SHA256WithRSA' working for provider 'SunPKCS11-libCryptoki2.so-slot3 version 1.8'.
Created certificate with entry rsa2048Key.

$ ./ejbcaClientToolBox.sh PKCS11HSMKeyTool generate /opt/thales/dpodclient/libs/64/libCryptoki2.so secp256r1 secp256r1Key 3
Using Slot Reference Type: Slot Number.
PKCS11 Token [SunPKCS11-libCryptoki2.so-slot3] Password:
2020-11-24 11:15:24,722 INFO  [org.cesecore.keys.util.SignWithWorkingAlgorithm] Signature algorithm 'SHA224withECDSA' working for provider 'SunPKCS11-libCryptoki2.so-slot3 version 1.8'.
Created certificate with entry secp256r1Key.Create Crypto Token Using the CLI
You can optionally create crypto tokens using the EJBCA CLI. To create the same crypto token as above, run the following:
bin/ejbca.sh cryptotoken create --token "My DPoD HSM" --pin null --type PKCS11CryptoToken --lib /opt/thales/dpodclient/libs/64/libCryptoki2.so --slotlabeltype SLOT_LABEL --slotlabel "my_dpod_service" --autoactivate falseList and Test Keys Using the CLI
The following displays an example of listing and testing all keys that could be used by EJBCA:
$ ./ejbcaClientToolBox.sh PKCS11HSMKeyTool test /opt/thales/dpodclient/libs/64/libCryptoki2.so 3
Test of keystore with ID 3.
PKCS11 Token [SunPKCS11-libCryptoki2.so-slot3] Password:

Testing of key: secp256r1Key
Private part:
SunPKCS11-libCryptoki2.so-slot3 EC private key, 256 bitstoken object, sensitive, unextractable)
Elliptic curve key:
  Named curve: P-256
  the affine x-coordinate: c6a961d42a2250d576114b2e9093f3f53ff101319f9542fde0e3417086e56734
  the affine y-coordinate: 6051307ab40eb9e68fb704e0599f0d69e5b27277cbfd9b88bb71f1ed7f864eb2
Signature test of key secp256r1Key: signature length 70; first byte 30; verifying true
Signings per second: 31
No encryption possible with this key.

Testing of key: rsa2048Key
Private part:
SunPKCS11-libCryptoki2.so-slot3 RSA private key, 2048 bitstoken object, sensitive, unextractable)
RSA key:
  modulus: 9f8aa059480e8097d7db4afb2448f12f8d529b99eb010f5c294c9cb838a848e1b99959e08037a96387a4ad52b1cdf9c9262a9f4e09c46c8aafa1ef08d78c830fdf0b90d102d0e131658d44df984d17b04034705fb737b7e5a9aa698b6722774e527aa350e9aac7b478b0d184f468345ad71fbd8afc18e10667f003174e0ff90034380a667ea0eae0978fa7673237451c92f62c49d445e95d29df767f4bb45abf2f1030186ac8e9d76dd8854a5257c28d1a0a58221f3df333c9599b606fd205ef46b3fdc6c95c5b72e8163bb861c7f1b4d7c76a00973ec17dd7239e09da7f902947125ef69e42f714ffcd00002e4958ea702059b7985e62c8bee7785baf345d33
  public exponent: 10001
Signature test of key rsa2048Key: signature length 256; first byte 11; verifying true
Signings per second: 29
Decryptions per second: 30Use Multiple DPoD Services from Same EJBCA Instance
It is currently not possible to use multiple DPoD Services (HSMs) from one instance of EJBCA. Due to the required environment variable ChrystokiConfigurationPath, one process can only use one DPoD Service.
Useful Luna Commands
The following lists useful native Luna cmu commands.
To list objects and their handles (ouid):
bin/64/cmu list -display=index,class,keyType,label,ouidIf you have created keys with native commands, or imported keys, there is probably no certificate object as required by Java PKCS#11 provider. To create a self-signed certificate referencing the private handle, run:
bin/64/cmu selfSigncertificate -id=0 -CN="caSign00001" -startDate=20020101 -endDate=20451231 -serialNum=0133337fThis will list and ask for which ouid to use.