Deploy EJBCA SaaS Azure
For EJBCA Software as a Service (SaaS), subscribe through Azure Marketplace and access the EJBCA SaaS in Keyfactor's environment.
EJBCA SaaS is offered in the Azure Marketplace pricing model as a SaaS subscription. The subscription options allow you to leverage the elasticity and global presence of the service as you scale your infrastructure. After subscribing to EJBCA SaaS on the Azure Marketplace, users are directed to the EJBCA SaaS portal to register, create an account and select EJBCA SaaS configuration details.
The following steps outline how to deploy EJBCA SaaS Azure:
- Step 1 - Select Product
- Step 2 - Configure EJBCA SaaS Contract
- Step 3 - Activate the Subscription
- Step 4 - Set Up the Portal Account
- Step 6 - Retrieve Credentials and Access EJBCA
- Next - Visit the EJBCA SaaS Portal
Step 1 - Select Product
Browse to the Azure Marketplace and search for "EJBCA SaaS" or "Keyfactor" to display the EJBCA SaaS product options.

The EJBCA SaaS products have different plans with regards to location and key storage on the Plans + Pricing tab.
- EJBCA SaaS - Azure Key Vault Backed CA in the US Region
- EJBCA SaaS - Azure Key Vault Backed CA in the AP Region
- EJBCA SaaS - Azure Key Vault Backed CA in the EU Region
- EJBCA SaaS - Managed HSM Backed CA in the US Region
- EJBCA SaaS - Managed HSM Backed CA in the AP Region
- EJBCA SaaS - Managed HSM Backed CA in the EU Region
Note that the SaaS products are fully hosted and managed by Keyfactor and require no customer maintenance. If it is desired to launch a PKI in a private vNet within an owned environment, please refer to EJBCA Cloud.
Plan Options
- Select the Plans + Pricing tab, and select the region and size desired to deploy. This is effectively the size of the PKI that will be deployed which dictates processing power of certificates.
- Azure Key Vault
- EJBCA Saas KMS XS: Two load-balanced nodes (2 cores, 4GB RAM each), 2 Core DB, 1000 IOPS MariaDB database with read replica, AKV backed CA Keys.
- EJBCA Saas KMS S: Two load-balanced nodes (2 cores, 6GB RAM each), 2 Core DB, 2000 IOPS MariaDB database with read replica, AKV backed CA Keys.
- EJBCA Saas KMS M: Two load-balanced nodes (2 cores, 8GB RAM each), 2 Core DB, 3000 IOPS MariaDB database with read replica, AKV backed CA Keys.
- Managed HSM
- EJBCA Saas CloudHSM XS: Two load-balanced nodes (2 cores, 4GB RAM each), db.t2.small 1000 IOPS RDS database with read replica, MHSM backed CA Keys on a single HSM.
- EJBCA Saas CloudHSM S: Two load-balanced nodes (2 cores, 6GB RAM each), db.t2.small 2000 IOPS RDS database with read replica, MHSM backed CA Keys on a redundant pair of HSMs.
- EJBCA Saas CloudHSM M: Two load-balanced nodes (2 cores, 8GB RAM each), db.t2.medium 3000 IOPS RDS database with read replica, MHSM backed CA Keys on a redundant pair of HSMs.
Note: For larger sizes, please contact sales for more information. Our architecture design accommodates large scale which means we can architect a solution for almost any use case. Please reach out for more information.
- Azure Key Vault
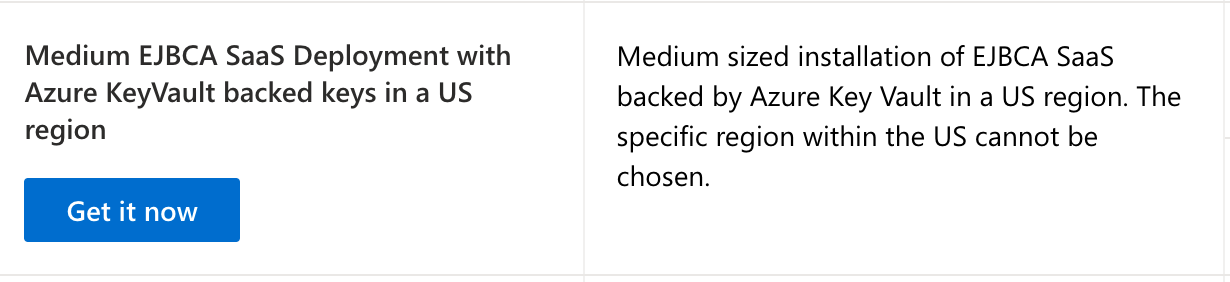
- Click the product listing desired. For example, if the U.S. region of Azure is desired to have the PKI deployed to, and the desired size is a Medium, select the Medium EJBCA SaaS Deployment with Azure KeyVault backed keys in a US region product option and click Get it Now.
- A dialog is displayed asking you to give Microsoft Permission to share your account information with us. We will never sell your information, only use it to provide you with support and service notifications. Check the consent box, and click Continue.

Step 2 - Subscribe to EJBCA SaaS
To configure the EJBCA SaaS subscription, follow these steps:
- Select the desired plan in the Plan list and click Subscribe:

- Azure needs to create a resource group in your account to keep track of the subscription. All assets will be deployed in the Keyfactor tenant when the provisioning starts. Create a resource group with the Create new link. Select a location for the resource group. This will not affect the location of the deployment, only this resource group for Azure. In the SaaS details section, specify the following options:
- Name: Give this deployment a name.
- Billing Term: Select if you want this to be month-to-month or annual.
- Recurring billing: Select if you want this to auto-renew at the end of the year. We recommend setting this to on since selecting no can deactivate your deployment, taking it offline if it is not renewed before it expires.
- Review the Price + payment options to make sure they are correct. The values in the example below are shown for testing purposes only.
- Once the options are selected, click Review + subscribe.

- Click Subscribe.

- The subscription will take a few minutes to complete. You will see a progress screen like the following:
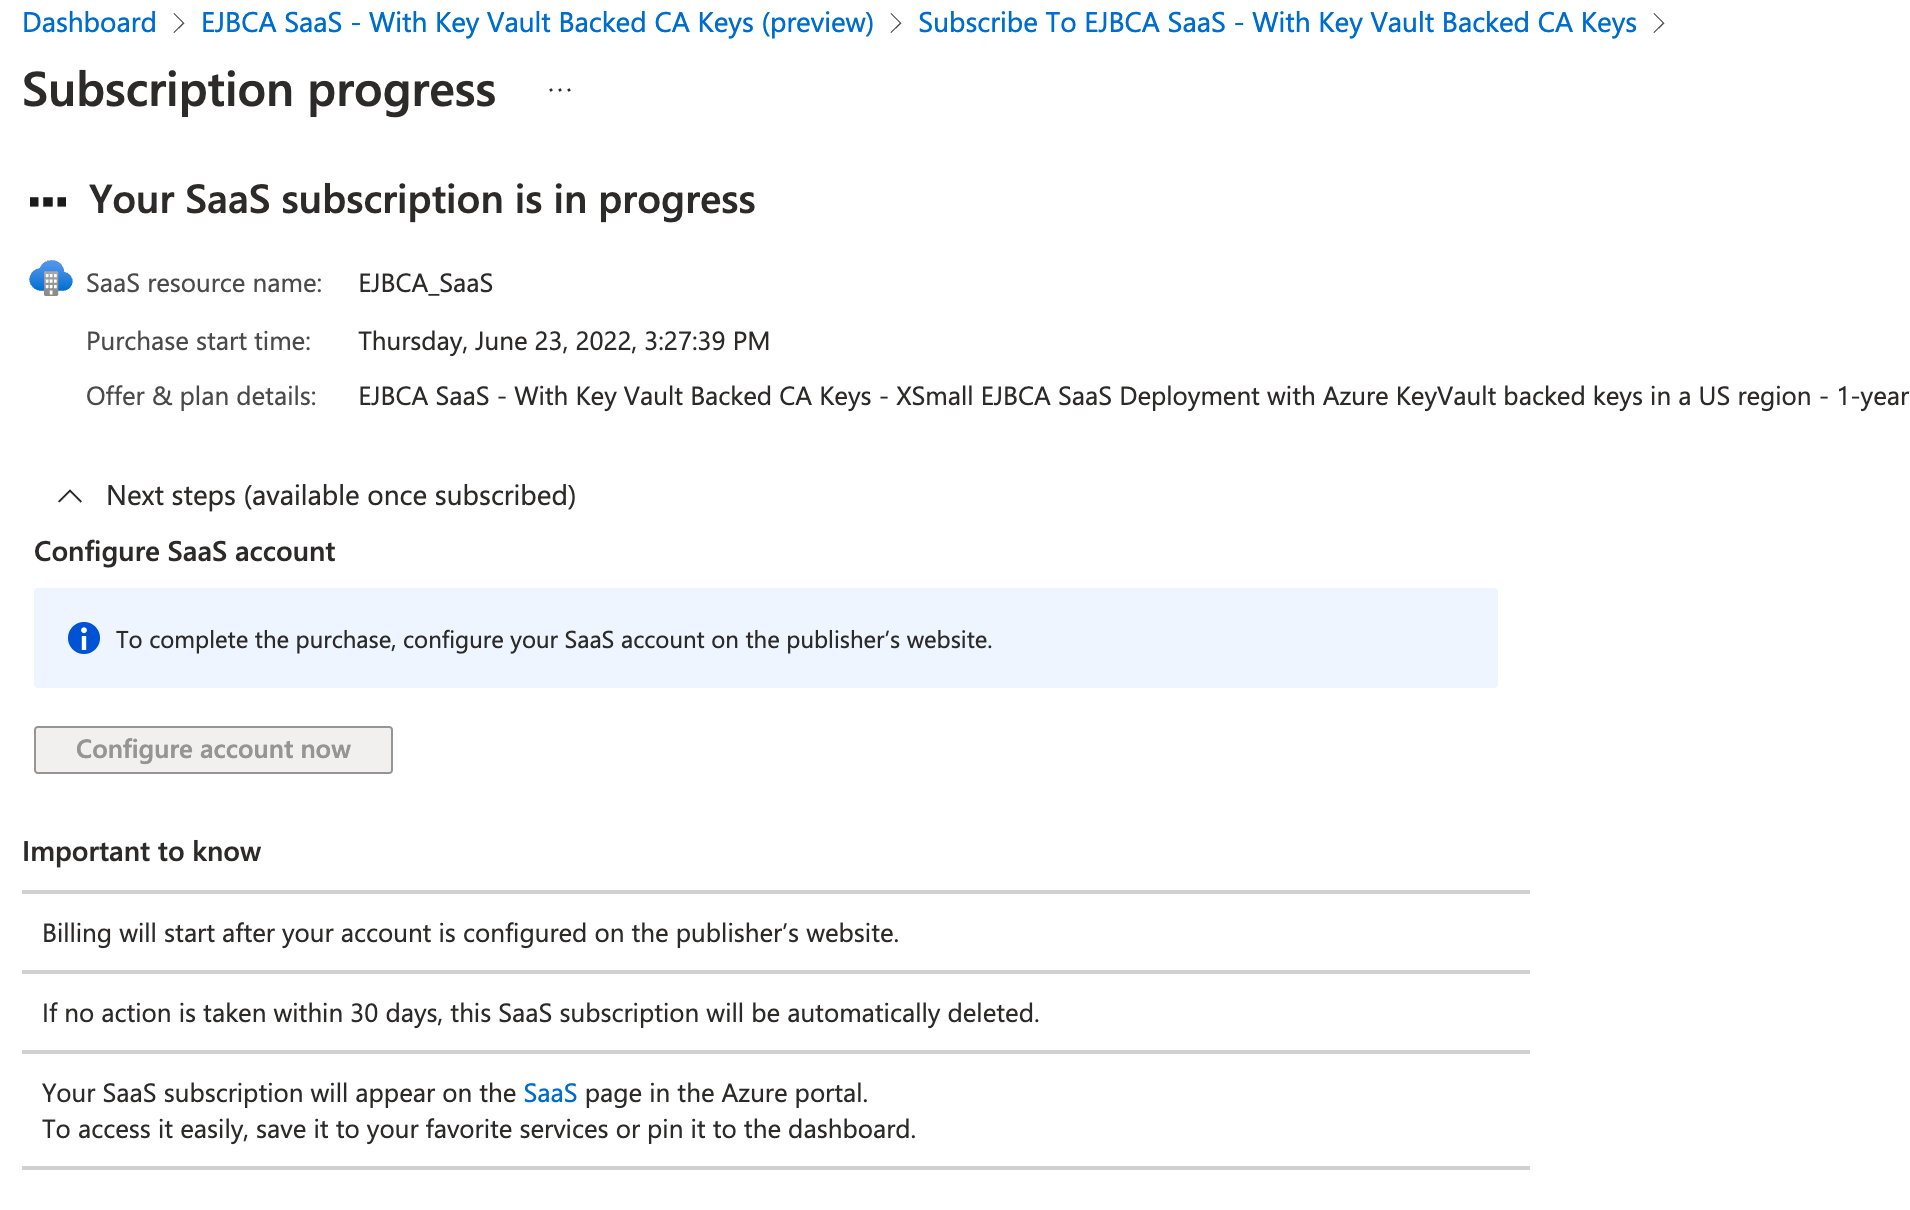
- Once completed, click Configure account now.
Step 3 - Activate the Subscription
- You are redirected to a new page to grant permissions to the SaaS landing page. Click Accept.

- On the page that shows the details of the subscription, click Activate.

- The landing page will process the request to activate the subscription with Azure. Click SET UP ACCOUNT.

Step 4 - Set Up the Portal Account
Specify the organization details on the EJBCA SaaS Registration page.

If your organization has more than one deployment, use the same organization name to make the different deployments all roll up to the same account. The specified names must match exactly and for example, "Acme, Inc." will not match "Acme Inc".
Choose to view the terms of use, and then click Register.
A confirmation email will be sent to the account specified in the Email Address field and must be confirmed to continue. The email will come from <support@az.keyfactorsaas.com>. You can add that email address to your address book to prevent the message from being accidentally categorized into the junk folder.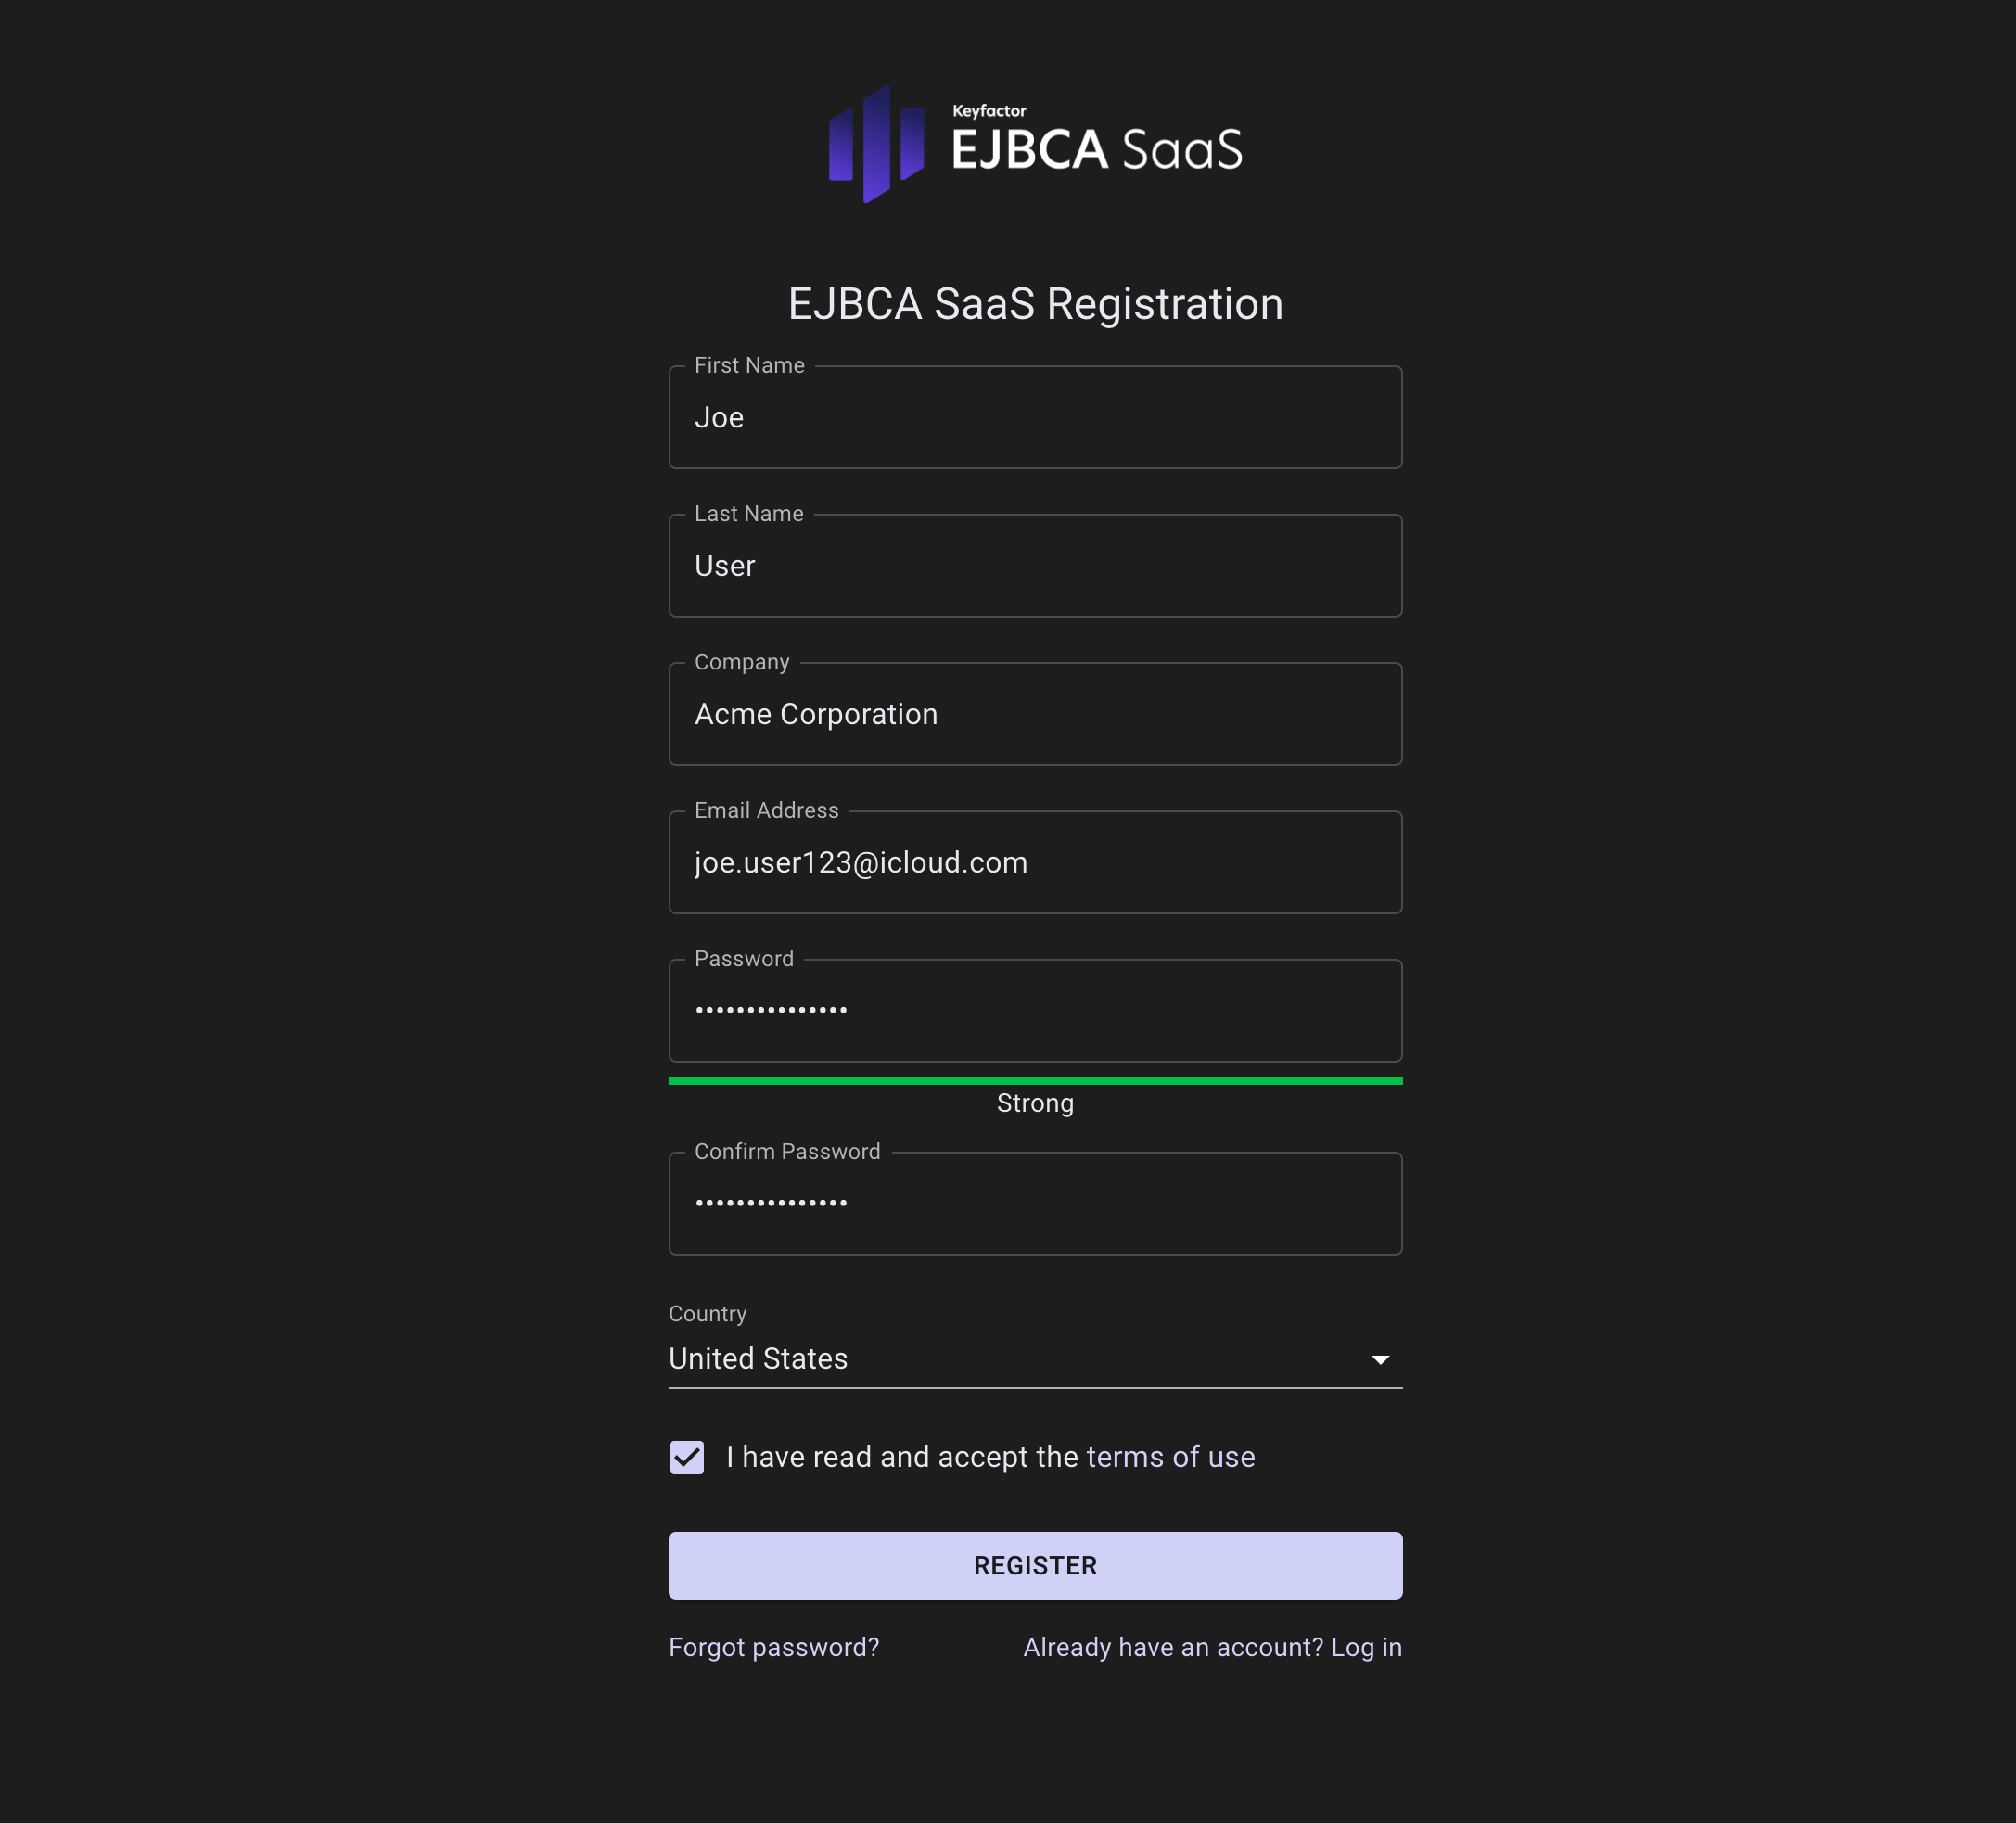
- A confirmation page confirms a successful registration.

- In the confirmation email, select Confirm Email to confirm registration.
- If successful, the portal will show that your email address was successfully confirmed. Sign back into the EJBCA SaaS portal to continue the registration process. Enter the registration credentials and click Sign In.

Step 5 - Choose Options for PKI Deployment
Next, specify additional information required for the PKI deployment.
- Specify the following additional details required to provision your PKI:
- Domain Name: This domain name will be added to public DNS. All URLs end with “app.az.keyfactorsaas.com” and will be used for load balanced VIPS and CRL CDP URLs. These URLs can then be later used to configure URLs in your certificates.
- ManagementCA Common Name: The name of the Management CA that will be generated upon installation. The Management CA is used to create the credentials that are used to access the EJBCA system. For more information on the Management CA, refer to the EJBCA Documentation on Managing CAs.
Organization: Optionally, specify the organization name to be added to the Full Subject DN of the ManagmentCA.
- Country: Optionally, specify the ISO Country Code to be added to the Full Subject DN of the ManagmentCA.
- Full Subject DN: Informational field that displays what the Full Subject DN of the ManagementCA will be created with. For more information, refer to the EJBCA Documentation on Subject Distinguished Names.
- SuperAdmin Enrollment Code: Create a new password that will be used to retrieve and password protect the superadmin.p12 file that is used to access the EJBCA Administration interface.
- Add Source IP: This IP range is allowed access to the EJBCA system. Simply google "What is my IP" or add the CIDR based address block to that will be allowed to access the EJBCA installation. This should be the external IP address you are using to access the internet and not an internal NAT'd IP. If unsure, enter "0.0.0.0/0" to change this later. This will allow all IPs access to the web pages of the EJBCA PKI, but not access to the admin portion of the system (this requires the SuperAdmin certificate).
- Click Deploy my PKI.

- You are redirected to the EJBCA SaaS portal.

You will see the provisioning progress bar start:
Depending on the options selected, this process can take approximately 30 minutes to process. In the background, the environment is being prepared from scratch based on the provided information. - Once complete, the progress will show 100% and a panel will show allowing you to access the newly created EJBCA installation. Clicking these links will open a new tab in the browser. The following Retrieve Superadmin Credentials panel will show only once, click X or Close to proceed. If this dialog is closed, the links and directions are available under the Support tab in the EJBCA SaaS Portal.

The Retrieve Superadmin Credentials panel links can later be accessed from the EJBCA SaaS portal EJBCA Links page, see Navigating EJBCA SaaS Portal.
Step 6 - Retrieve Credentials and Access EJBCA
To access the deployed EJBCA SaaS, the SuperAdmin credentials need to be retrieved from the server and installed on a system and/or browser. We recommend using Mozilla Firefox since it has self-enrollment capabilities and its own keystore separate from the operating system.
The Retrieve Superadmin Credentials panel provides links to retrieve and import the SuperAdmin certificate:
- Click the first link to go to the EJBCA Public Web. A browser warning about a potential security risk will be displayed since the browser is unaware of the certificate authority that was just created during the installation. Accept the browser warning shown.
- On the EJBCA Public Web Keystore Enrollment page, enter the username "superadmin" (case sensitive) and the previously specified SuperAdmin password and click OK to download the SuperAdmin credentials.
- On the EJBCA Token Certificate Enrollment page, click Enroll to download the p12 file certificate.

- Click the Certificate chain link and download the CA certificate with the issued superadmin credentials.
Install Certificate in Browser
With the p12 file certificate downloaded, do the following to import the certificate in Mozilla Firefox:
- On the Firefox menu, select Preferences > Privacy & Security, scroll down to the Security section and click View Certificates.
- On the tab Your Certificates, select Import.

- Browse to the p12 file to import and enter your SuperAdmin password.
- A certificate will then be added to the local certificate store with the organization name if one was chosen during the configuration options.

- Change to the Authorities tab and click Import. Browse to the certificate that was downloaded from the Certificate chain link in step 4 of Retrieve Credentials and Access EJBCA. It may be needed to switch to view "All file formats" to allow the certificate downloaded to be selected. Select the certificate and click open.
- Select the option Trust this CA to identify websites to ensure that the browser will trust the CA that issued the superadmin certificate and not display a browser warning going forward.

- Click OK and then OK again to go back to the browser and return to the EJBCA SaaS portal.
Access EJBCA
Access EJBCA using your previously specified domain name according to the following example:
https://<Domain Name>.<region>.app.az.keyfactorsaas.com/ejbca/adminweb
Your browser should now recognize your new certificate and open EJBCA displaying the Administration page.
Next - Visit the EJBCA SaaS Portal
Next, visit the EJBCA SaaS portal to navigate EJBCA SaaS and display information regarding the EJBCA SaaS installation, see Navigating EJBCA SaaS Portal.