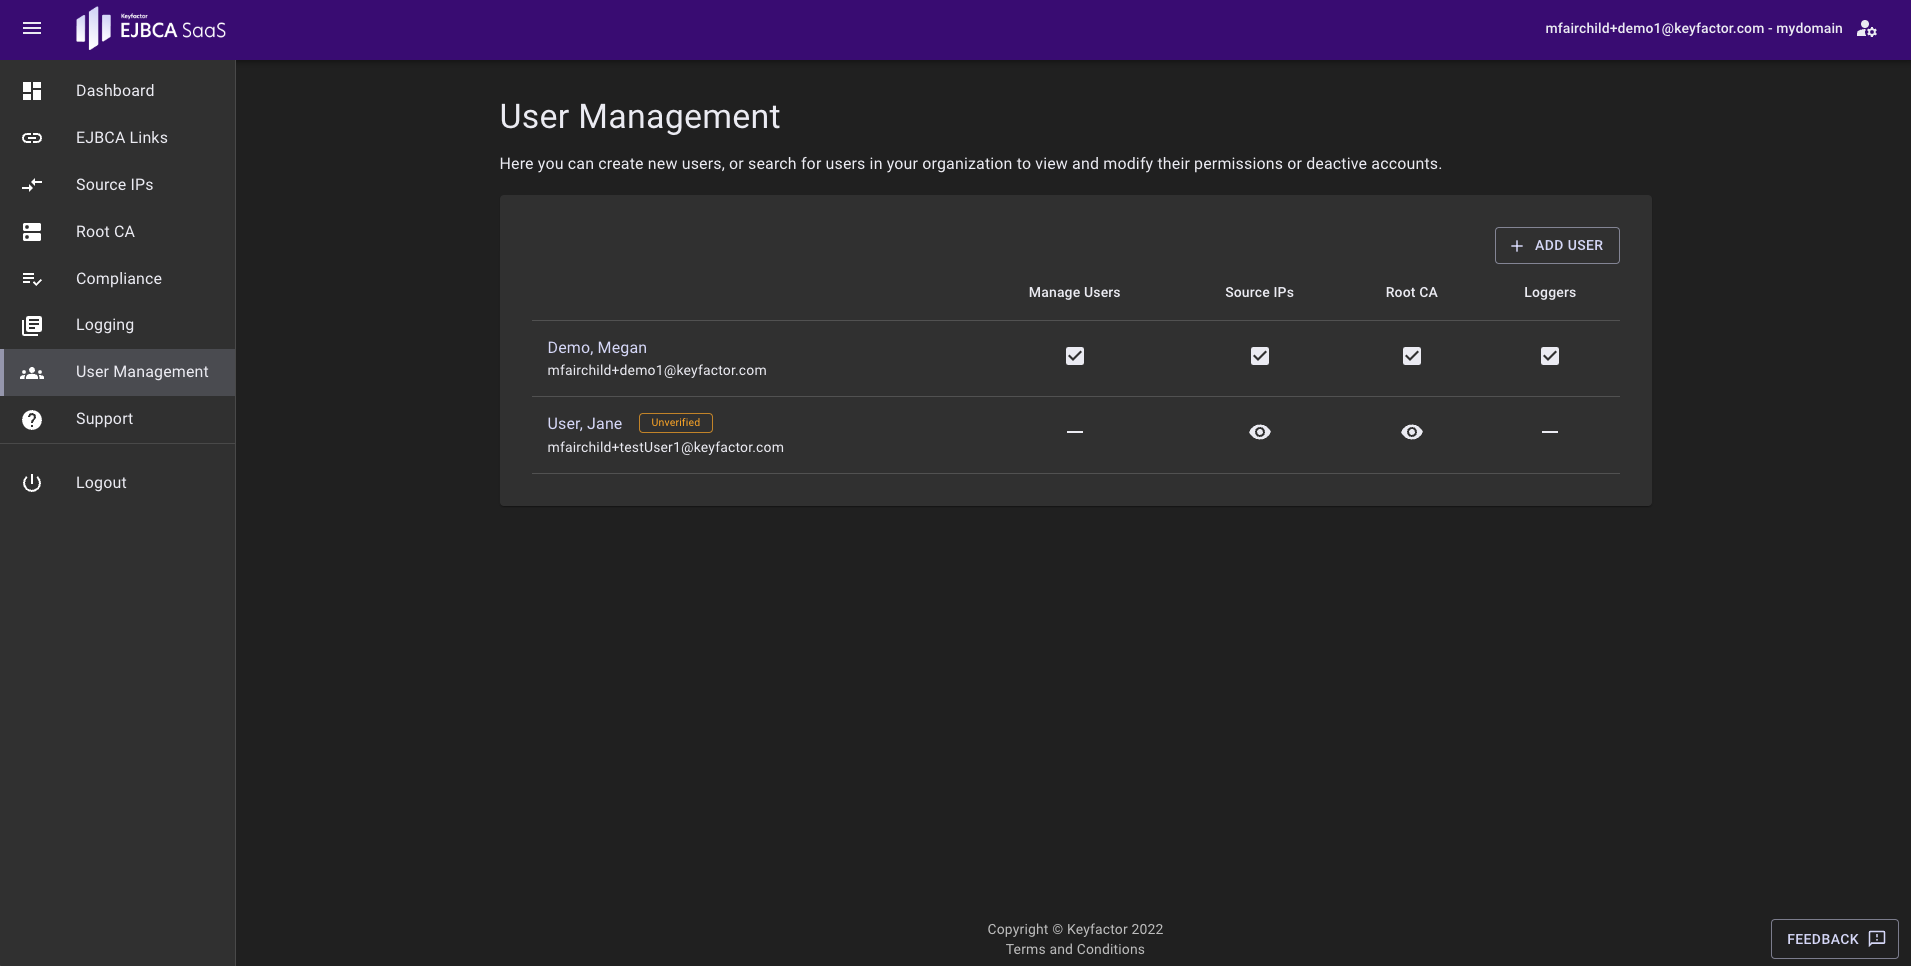
To access the user management page, click User Management in the navigation sidebar.
The user management page displays a list of all the users that are currently listed in the system. The following sections cover how to create users and how to edit or delete existing users.
If you do not see the User Management option, you do not have the Manage Users permission. Contact your EJBCA SaaS administrator to request access.
Create Users
To add a user:
On the User Management page, click Add User.
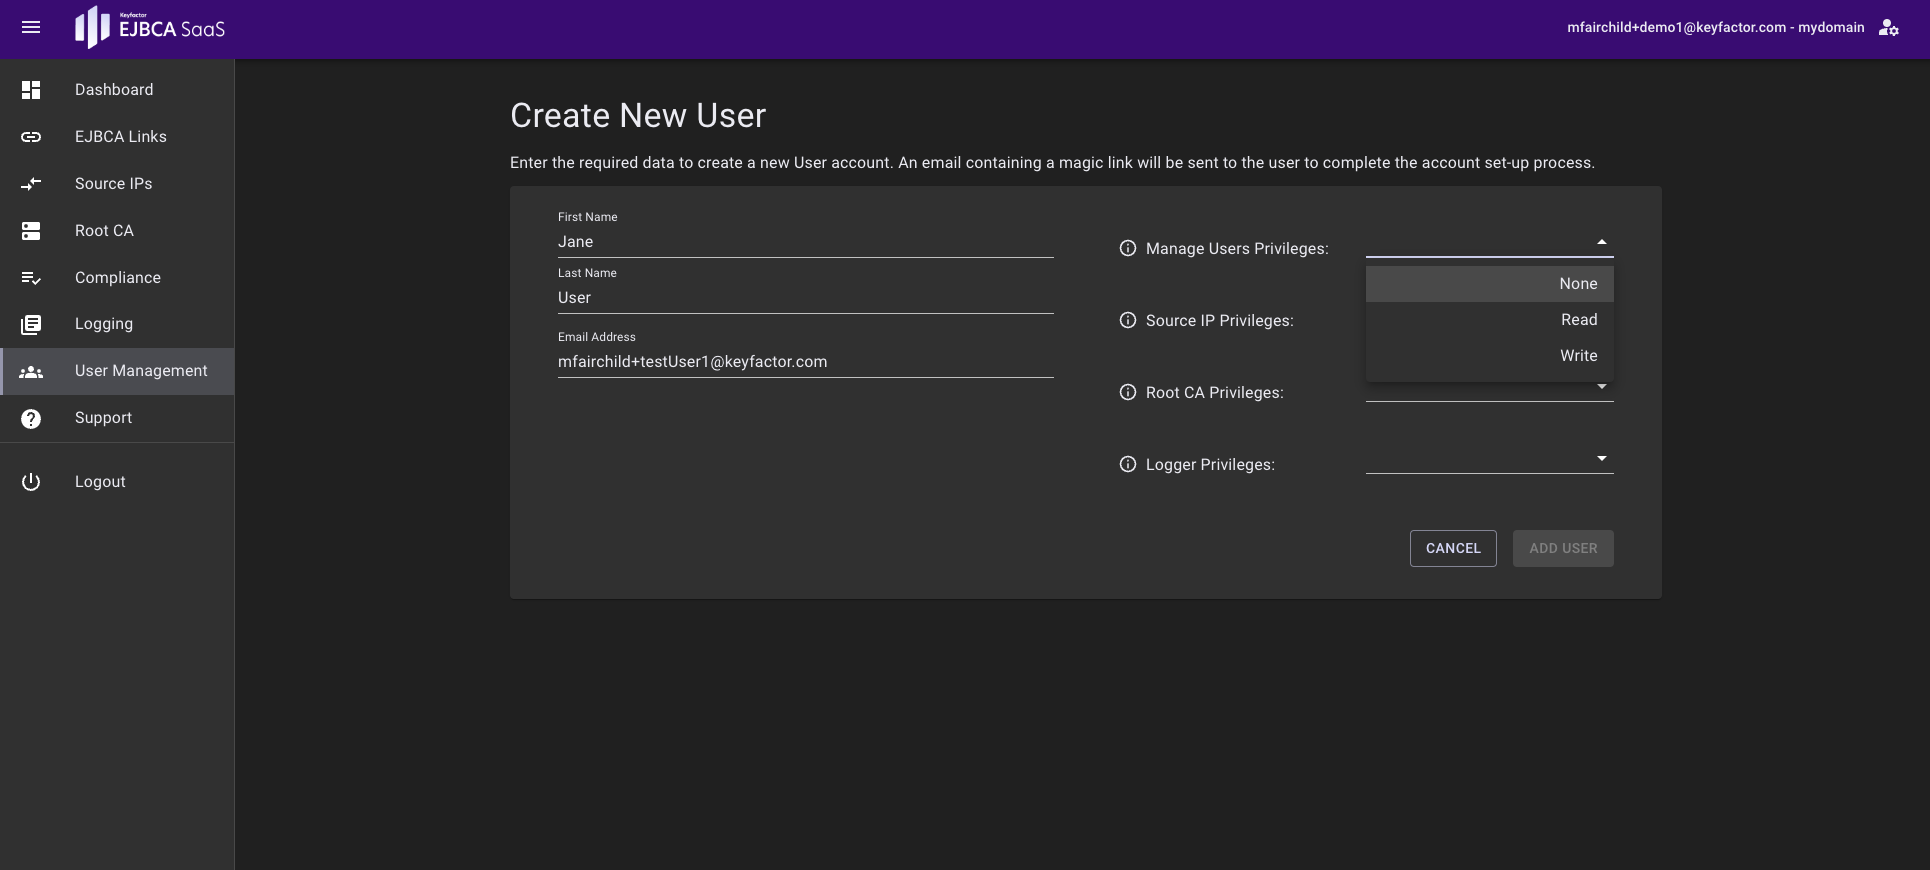
On the Create New User page, specify the following:
Enter the first name, last name, and email address of the user to be added. This email address must be a valid email address since the user will be sent a confirmation email upon account creation.
Specify the permissions for the user being added:
None: No access to the specific feature. The navigation item will be removed from their portal interface
Read: Access to view, but not change the specific feature and its settings.
Write: Access to view and change the specific feature and setting. The user added in the example below will not have the ability to manage users, will be able to change the Source IPs added to the system and the Logging settings, and can view the Root CA status.
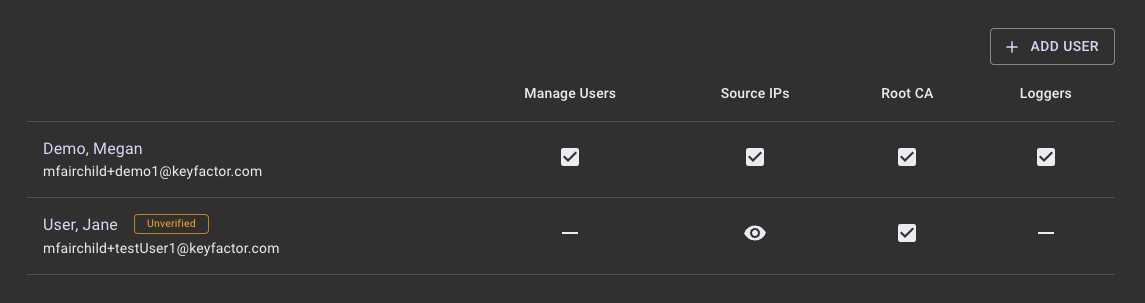
Click Add User once the user information is completed. Once the user is added they will be added to the list of users with a flag that shows they have not yet verified their email address.
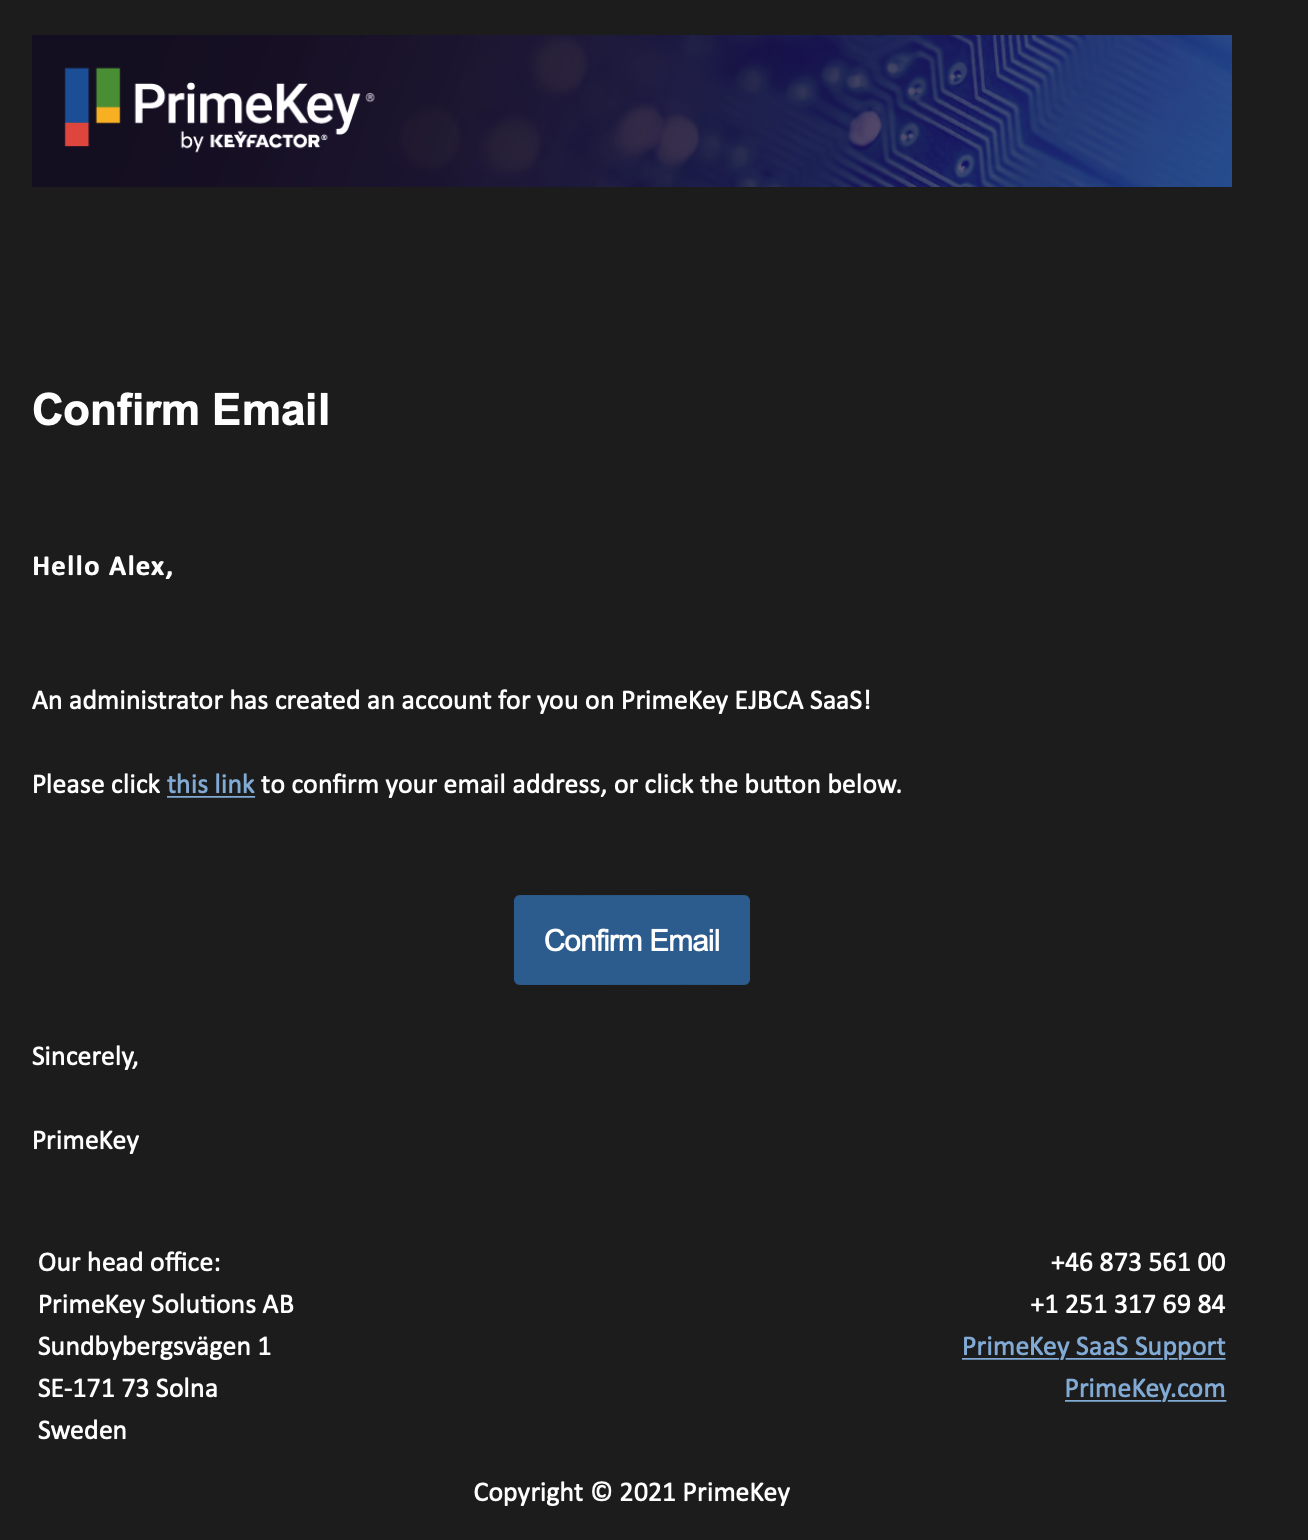
The user will get an email with a link to confirm their account.
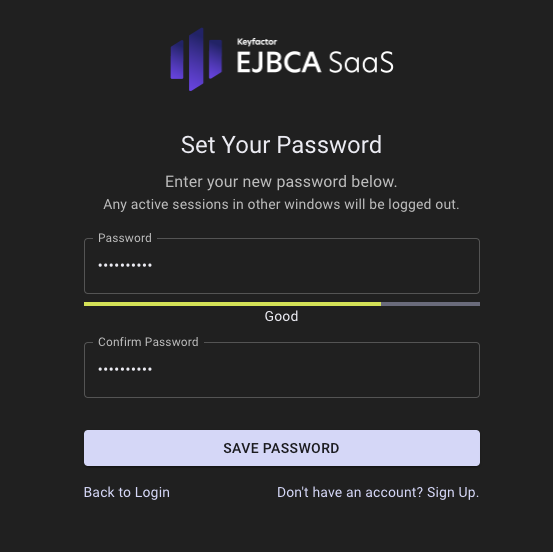
Upon clicking the link, the user will need to enter a password. Simple passwords may not be used and a password complexity meter will inform the user of their password strength.
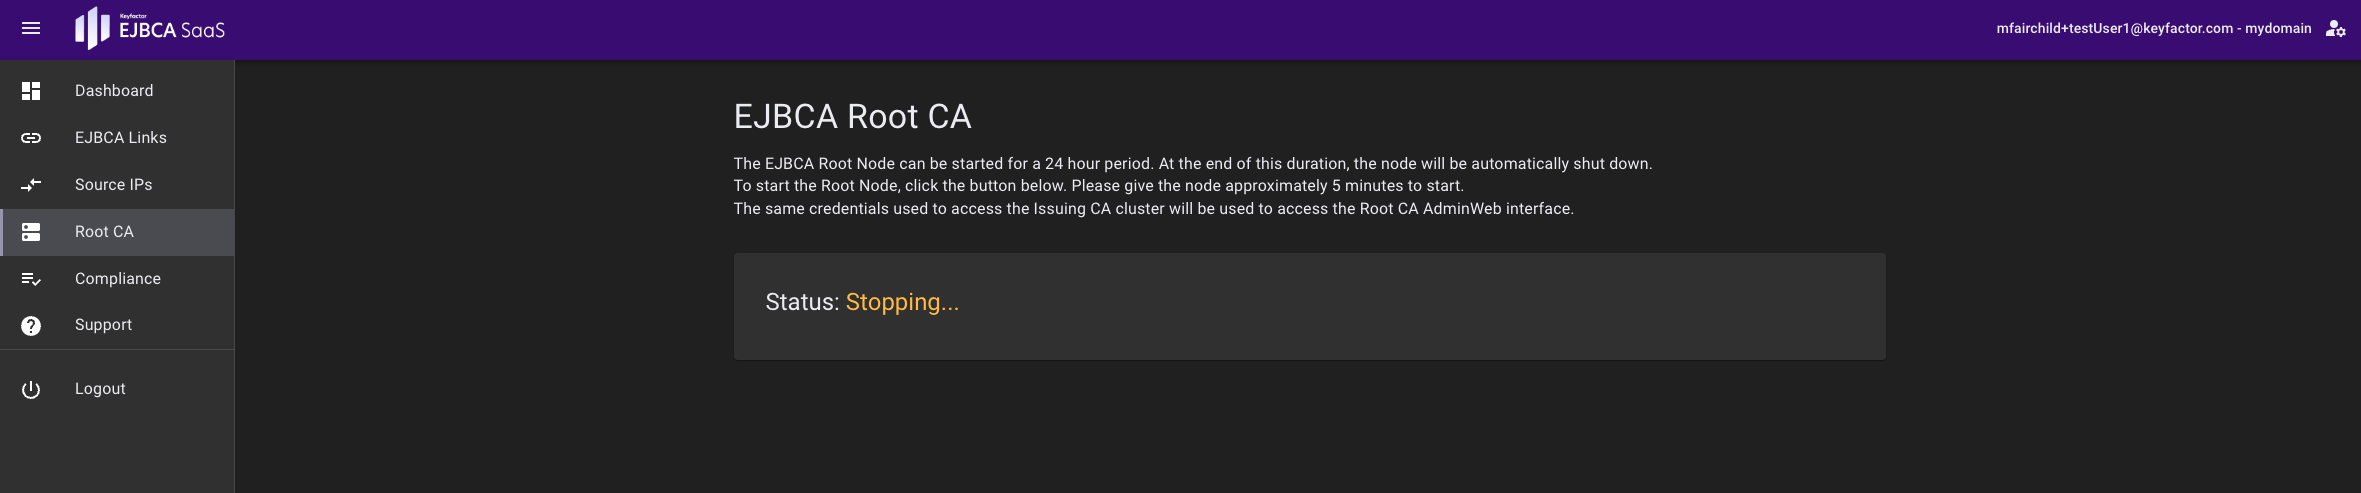
The new user will then be required to log in with the new password to begin using the EJBCA SaaS Portal. Once they do they will be at the dashboard. In this case, the user will have the User Management access removed from the navigation sidebar. On the Root CA page, they will also have the ability to read the Root CA status, but not change it.
Edit Users
To edit a user:
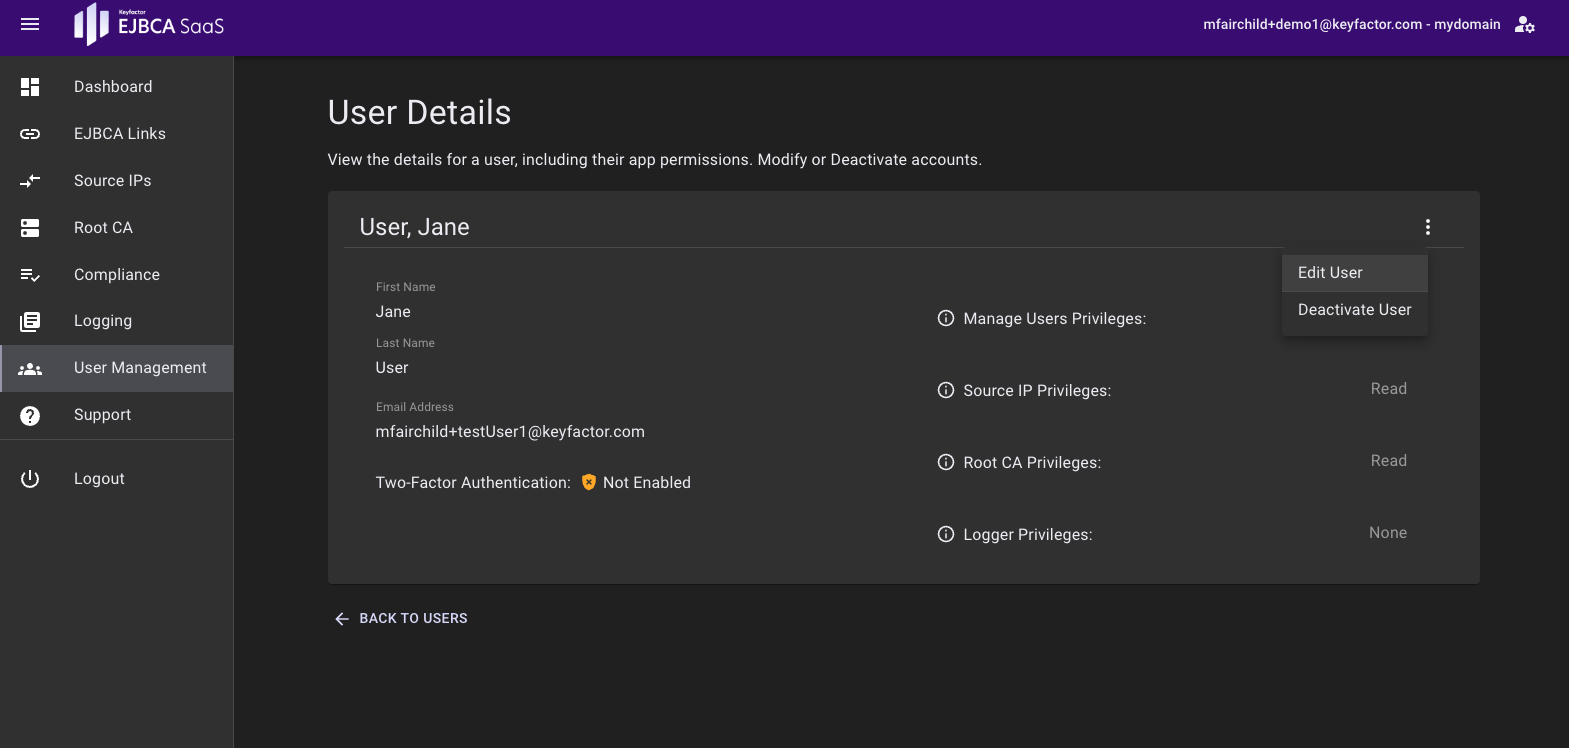
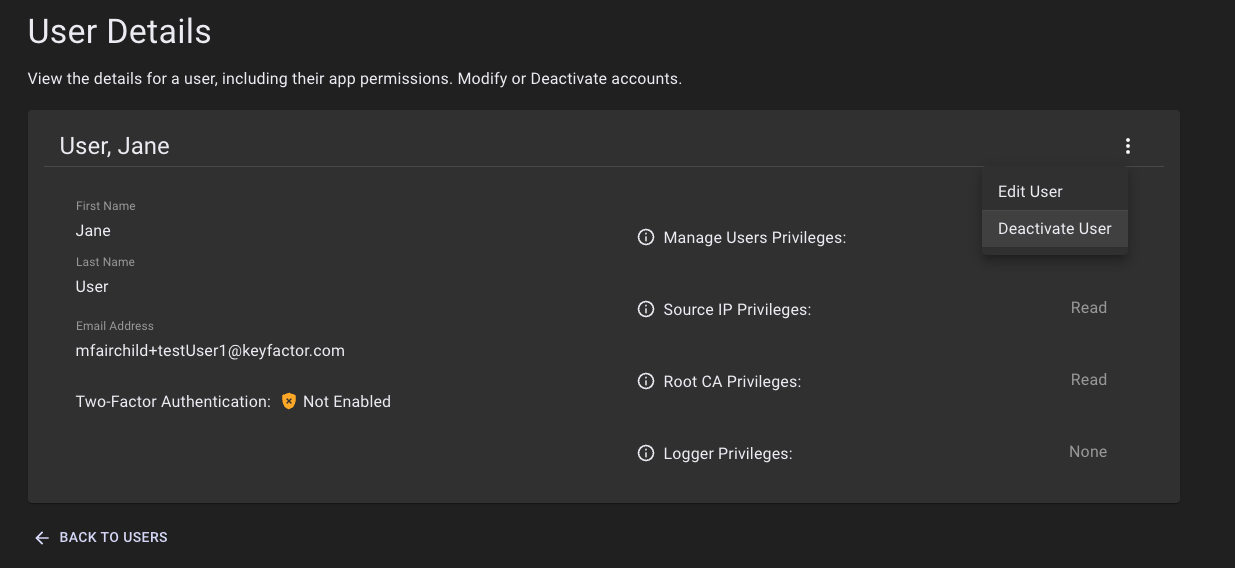
While logged in as a user with the Manage Users privilege, select the user to be edited and click the more options icon (vertical ellipsis).
Click Edit User and edit any of the user's permissions or name can be edited.
If a users email address is changed, an email will be sent to their new email address for confirmation.
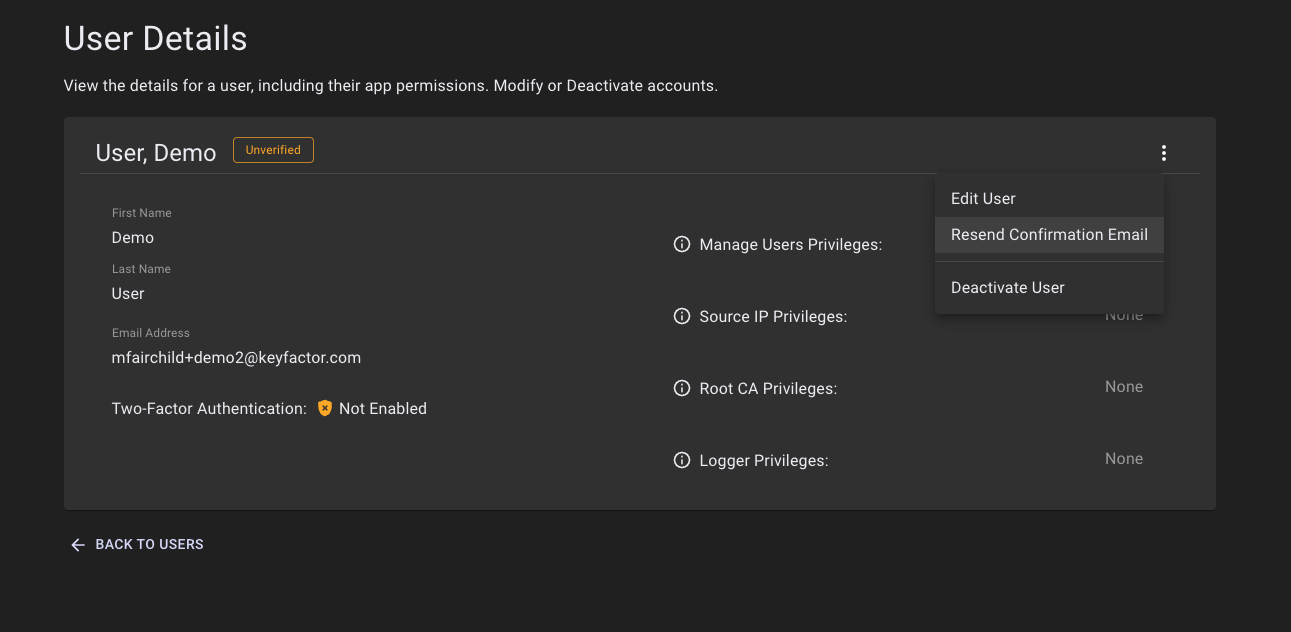
Note that if the user did not receive their email due to a spam filter and would like you to resend it, you can select Resend Confirmation Email of an unverified user.
Delete Users
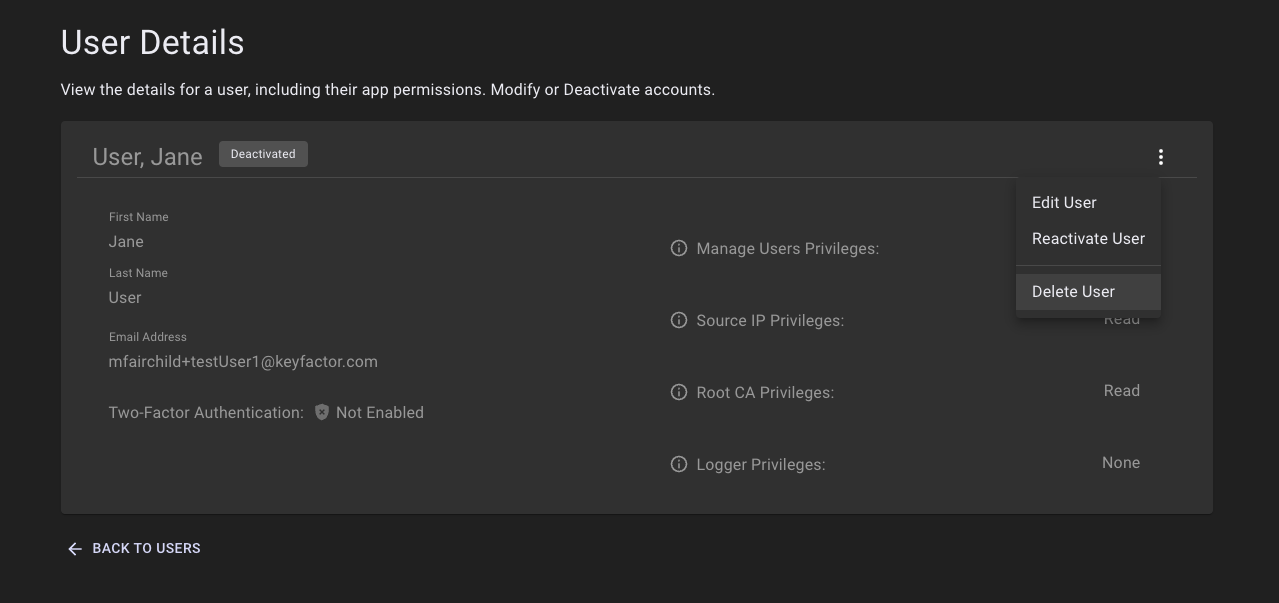
To delete a user:
While logged in as a user with the Manage Users privilege, select the user to be edited and click the more options icon (vertical ellipsis).