Security: Configuring a Luna Network HSM
You can configure a Hardware Security Module (HSM) to store and protect your cryptographic keys. Optionally, you can use the software-based SoftHSM implementation for demonstration or testing purposes.
The following describes how to configure a Luna HSM for the Software Appliance by registering the Software Appliance and connecting it to the HSM.
Choose between one of the following options:
- Luna Minimal Client 10.4.0
- Luna Minimal Client 10.5.1
- Luna TCT Client 7.12.1
Configuring an HSM for the Software Appliance is irrevocable. To change an HSM configuration, you must reset the Software Appliance.
The network-attached HSM stores, protects, and manages sensitive cryptographic keys in a centralized, high-assurance appliance, providing a root of trust for sensitive cryptographic data transactions. For more information, refer to the Thales docs on SafeNet Luna Hardware Security Modules.
To configure a Luna HSM for your Software Appliance, follow the steps below.
Connect the Software Appliance With the Luna Network HSM
To connect the Software Appliance with the HSM:
- Log in to your Software Appliance and open the Security page or click Configure HSM in the Overview.
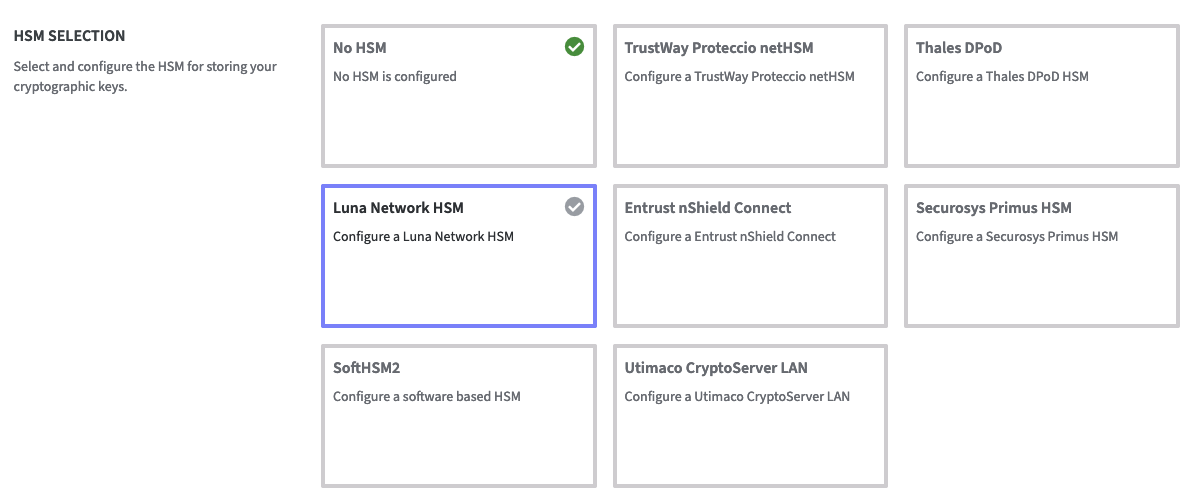
In the HSM Configuration section, select Luna Network HSM to access the Configuration fields.
HSM Client Version
Click on the HSM Client you want to use.
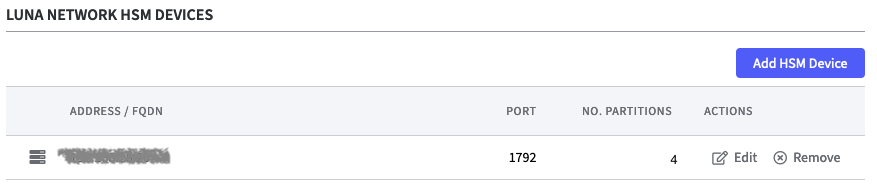
Click Add HSM Device to open the corresponding form for the certificate.
- HSM IP Address / FQDN:
Enter the IP address or the Fully Qualified Domain Name (FQDN) of your Luna Network HSM.
Only IPv4 addresses are supported. - The HSM Port is already set by default.
- Upload the HSM Server Certificate. Drag and drop or select the file.
- HSM IP Address / FQDN:
Confirm with Add HSM Device.
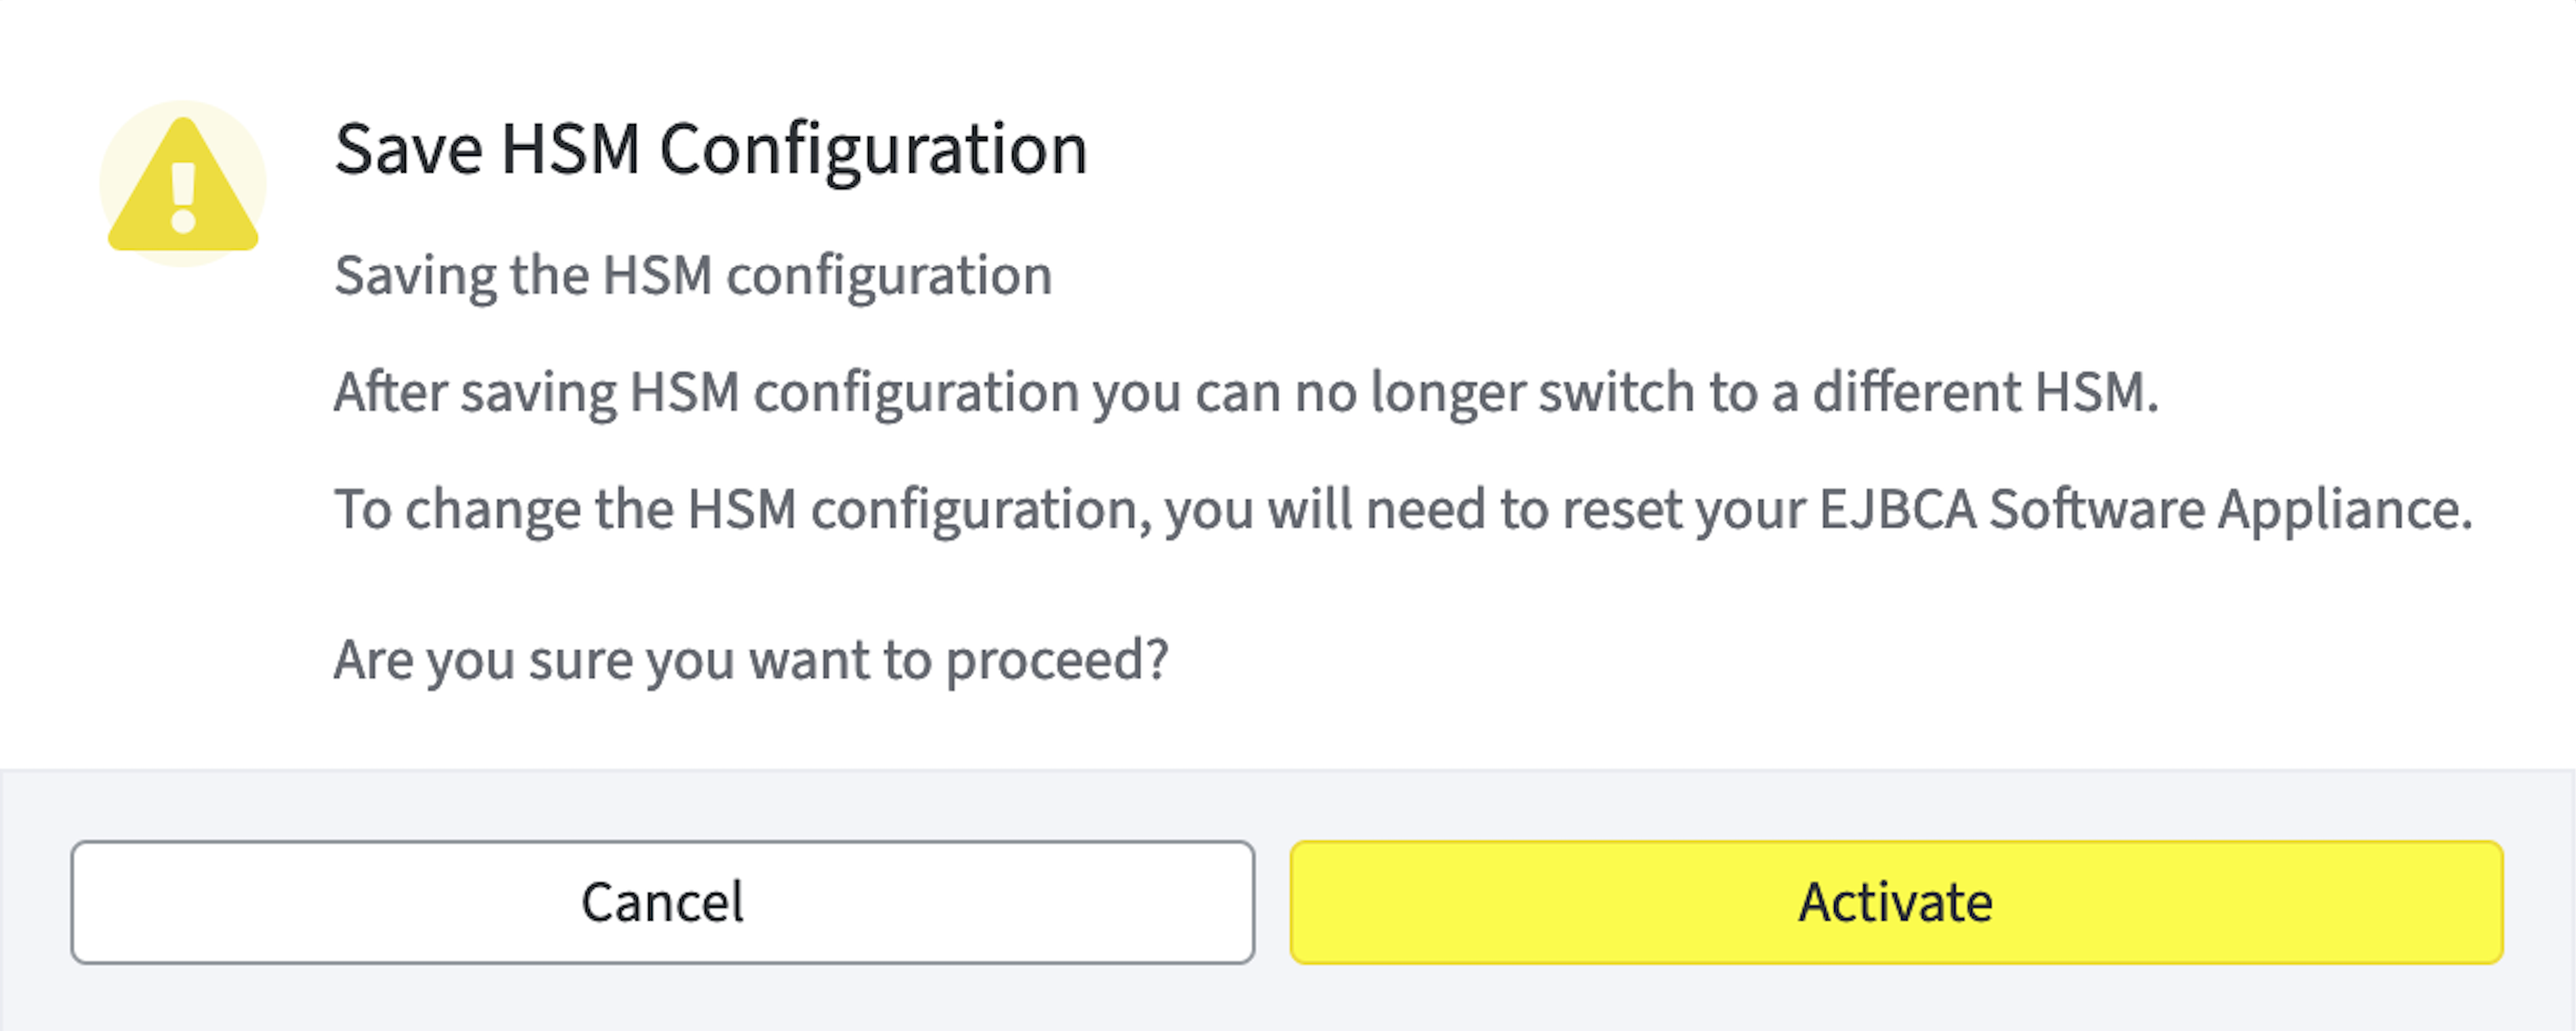
A warning appears to inform you that after saving HSM configuration you can no longer switch to a different HSM.
To change the HSM configuration, you need to reset your EJBCA Software Appliance. Proceed by clicking Activate.
Proceed with Activate.
The information on the HSM is displayed.
Configuration of Network Trust Link Service
Enter the following Configuration of Network Trust Link Service:
HSM Client Certificate:
Download your HSM Client Certificate and upload it to your Luna Network HSM.
If your HSM client certificate has expired or the Common Name (CN) field is incorrect, you can also renew the certificate.
Click Renew Client Certificate.
A pop-up window follows, displaying the current HSM Client Certificate Common Name.
Enter the new HSM Client Certificate Common Name.
Confirm that the old certificate can be removed permanently.
Click Renew Certificate to proceed.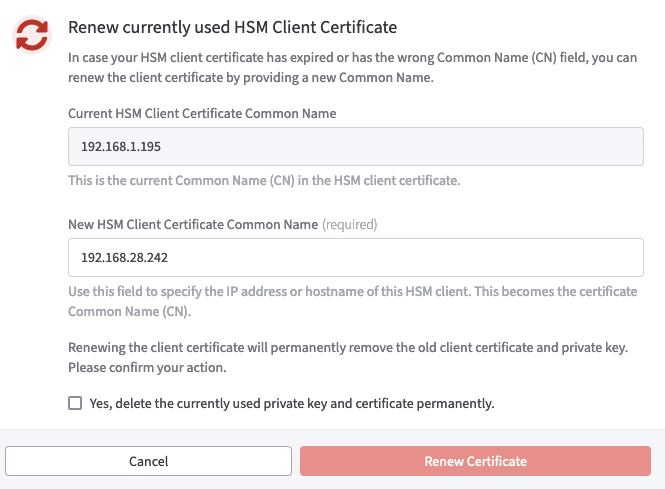
Miscellaneous Configurations
- Enter the following Miscellaneous Configurations:
Protected Authentication Path: Select the desired authentication protection: - No Challenge Request:
There will be no further authentication protection - Check for Crypto Officer Challenge Request (black PED key):
You need to insert the black PED key for authentication. - Check for Crypto User Challenge Request (grey PED key):
You need to insert the grey PED key for authentication.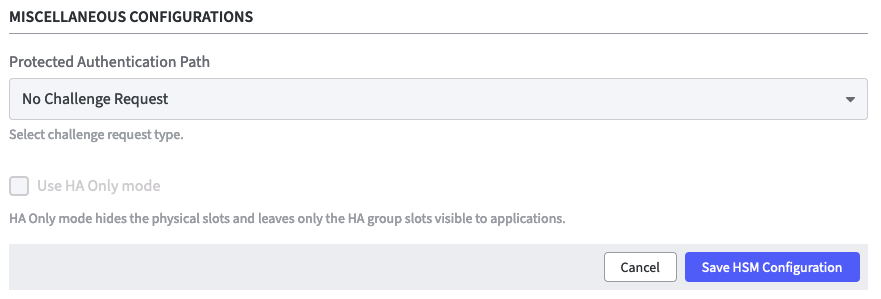
Continue with Save HSM Configuration.
Next, proceed with registering the Software Appliance at the Luna Network HSM.
Register the Software Appliance at the Luna Network HSM
The following provides example configuration steps on how to create a connection, by uploading the client certificate to the HSM, registering the client, and assigning a partition of the HSM to the client. For detailed information, refer to Thales docs on Creating an NTLS Connection Using Self-Signed Certificates.
To register and connect to the HSM:
On the Security page, section HSM Configuration, click Download Client Certificate to download and save the certificate.
Upload the client certificate to the Luna Network HSM.
scp <appliance IP>.pem <luna IP>:<appliance IP>.pemLog into the Luna Network HSM.
ssh admin@<luna IP> Register the client with the HSM:
client register -client <appliance name> -ip <appliance IP> Assign a partition of the HSM to the client.
client assignPartition -client <appliance name> -partition <partition name>On the Security page of the application, the status of the HSM Driver will change from Not Connected to Connected as soon as the configuration is completed.
On the Overview page of the application, the status in the HSM Overview also changes to Connected as soon as the configuration is completed. During configuration, the appliance is in the Restarting status. During this time, it is not available.
Create an HA Group for Luna HSM
If you want to use HA Groups, at least two HSM devices must be listed.
When another HSM Device is added, a warning appears to inform you that changing the configuration of the HSM will restart all applications on the Software Appliance.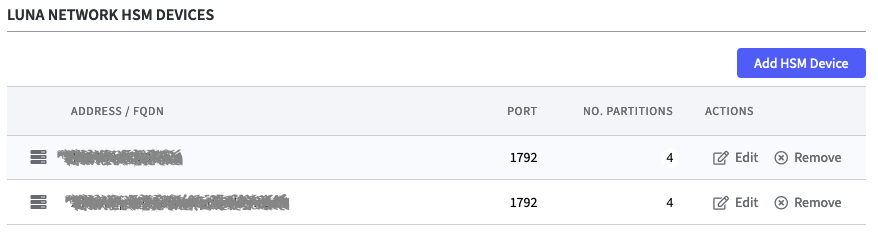
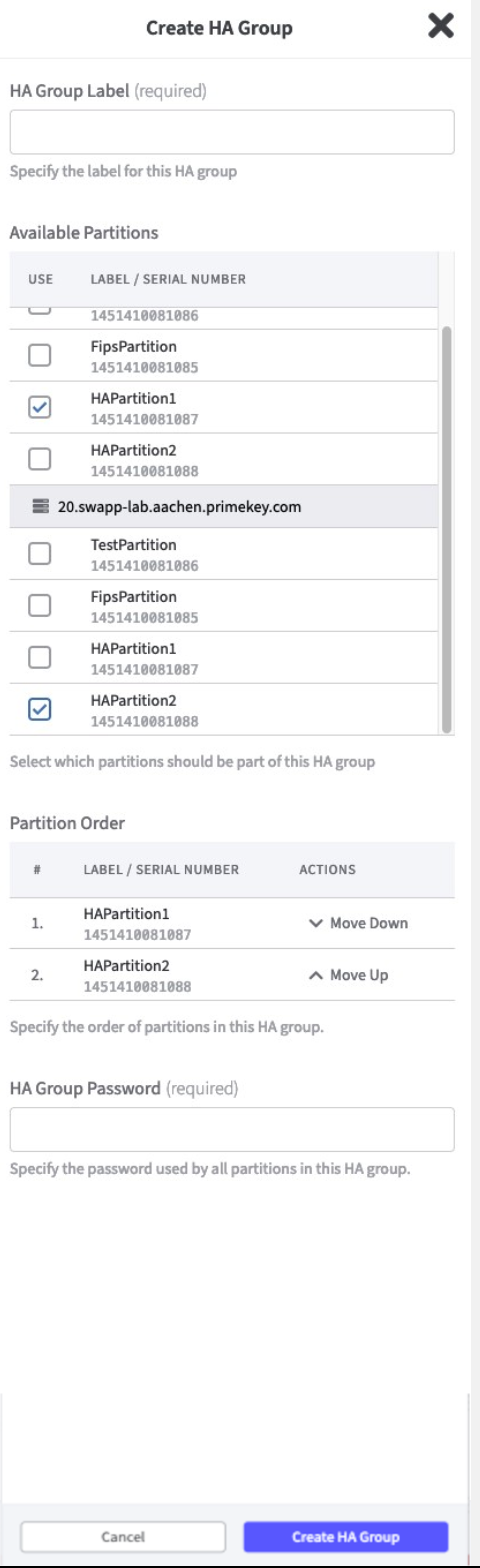
Click Create HA Group to open the corresponding form.
Enter HA Group Label.
Select the Partitions.
Ensure that all requirements described in the Thales Luna Network Documentation Archive under "Setting up an HA Group" are taken into account. For more information, see Set up an HA Group.
In Partitions Order you can set your preferences by moving the Partitions up or down.
Enter a HA Group Password and confirm by clicking Create HA Group.
The HA Group is now created.
By using Edit or Remove you can adjust the HSM Devices or the HA Group any time.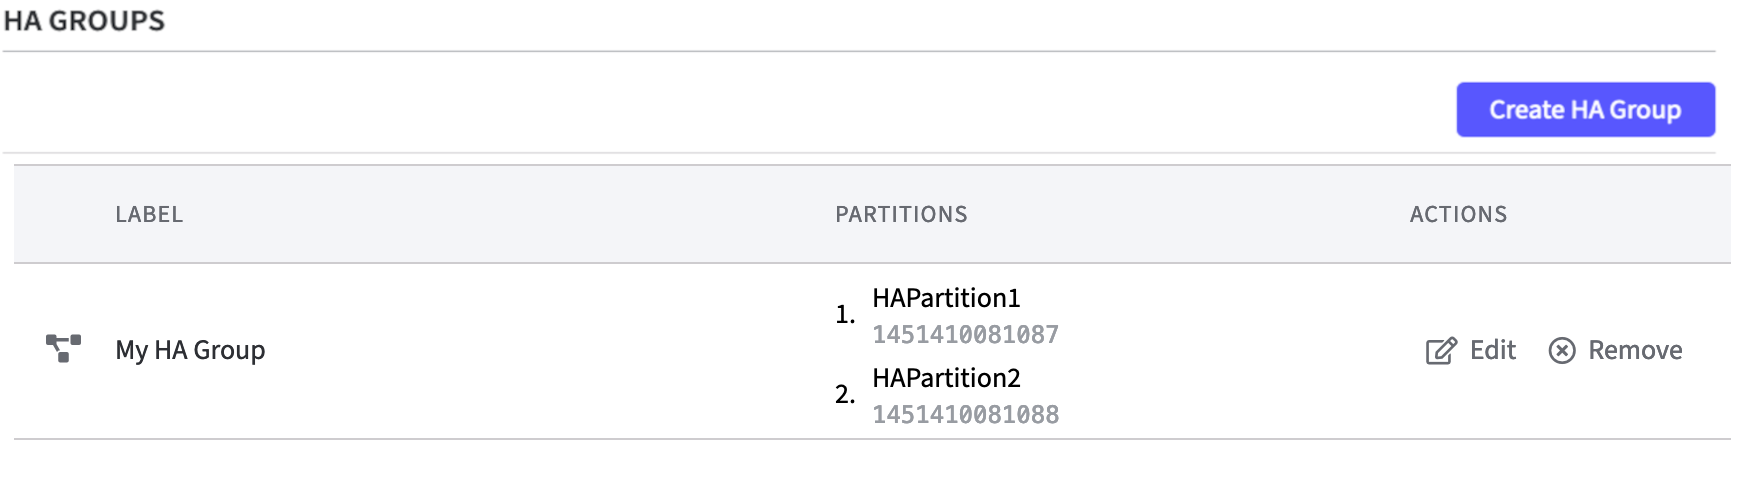
To hide the physical slots and leaving only the HA group slots visible to applications check Use HA Only mode.
Finalize with Save HSM Configuration.
Once EJBCA is running again, you can proceed with adding a crypto token.
Add a Crypto Token in EJBCA Enterprise
To create a crypto token:
- In the Overview page of the Software Appliance, click Admin Web for EJBCA.
- The EJBCA Enterprise page opens. Leave the settings on the Installation page as they are.
- In the sidebar, in the CA Functions section, select Crypto Tokens.
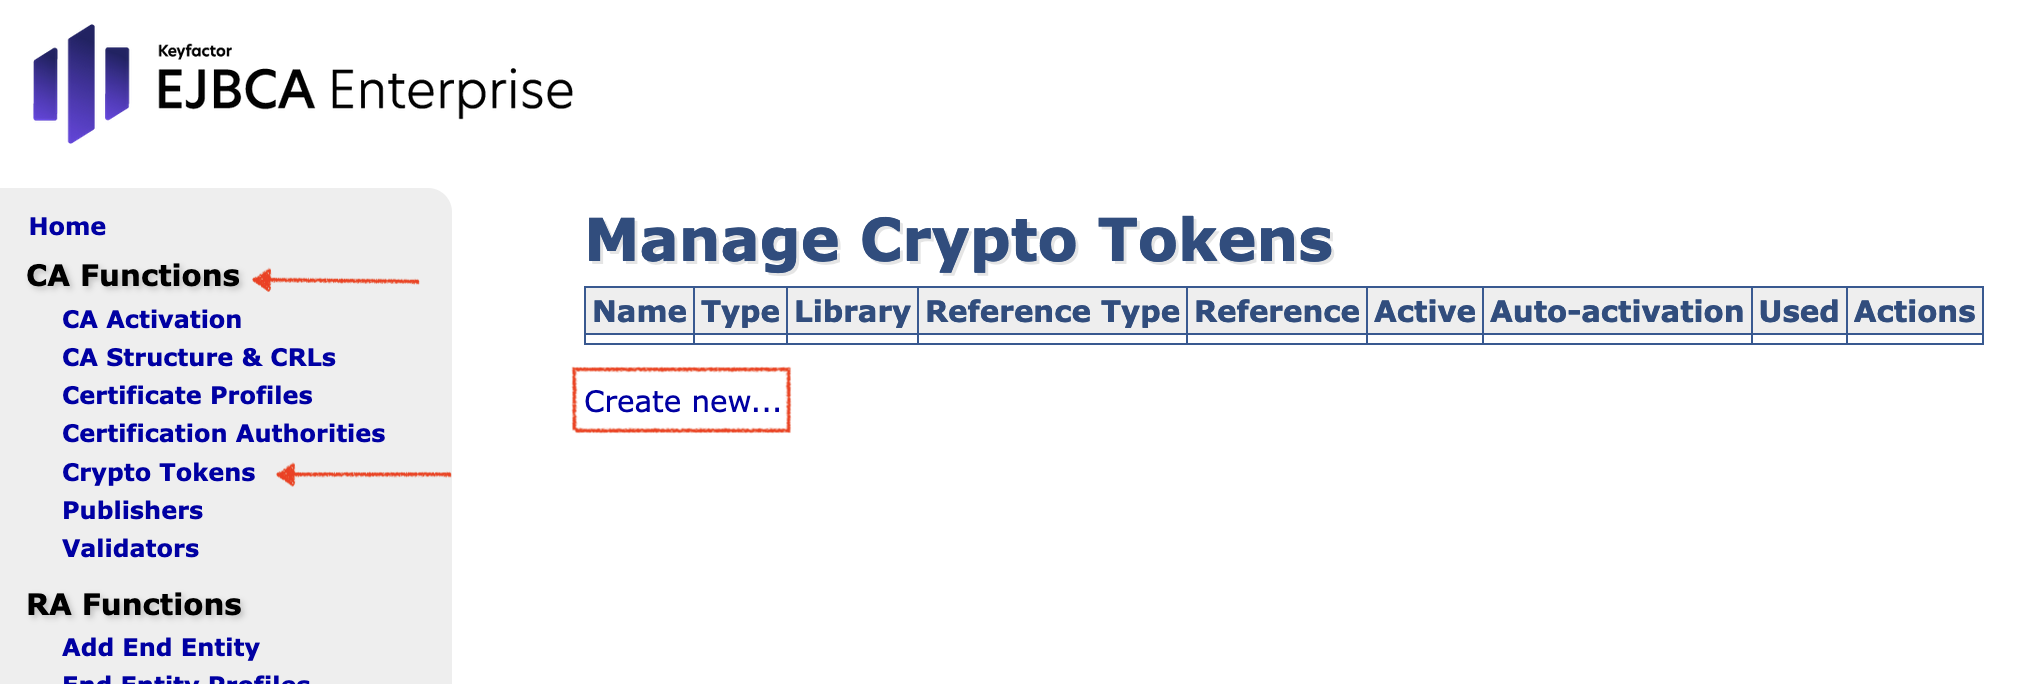
- On the Manage Crypto Tokens page, click Create New...
The individual configuration of the Crypto Token depends on the configuration of the HSM! For detailed Information please see managing crypto tokens.
HSM Troubleshooting
In the section HSM Driver Controls the current HSM Driver Status is displayed.
In case of HSM problems, the HSM driver can be restarted via the Restart button.