The Terminal UI provides the possibility to configure NTP (Network Time Protocol) Servers according to your needs. NTP is used to synchronize the time on a computer with an external time source.
When using NTP, time synchronization is instantaneous. In case of larger time intervals, a restart is advisable.
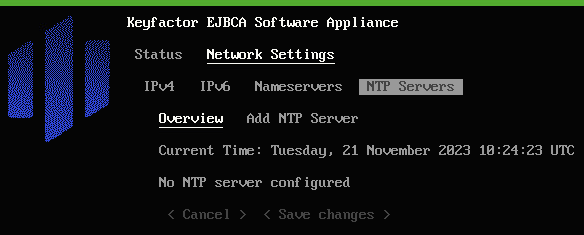
Open the Terminal UI. The Status overview will be displayed.
Use the arrow or TAB keys and ENTER to navigate to Network Settings.
Navigate to NTP Servers.
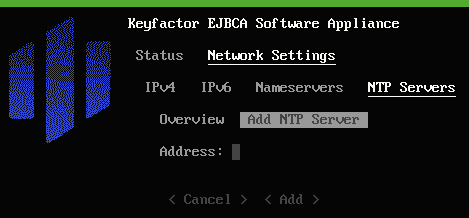
Navigate from Overview to Add NTP Server.
Enter the Address of the server(s) that you want to synchronize with your computer‘s time. The Address can be either an IP address or a hostname.
Navigate to <Add> to confirm your entry.
For ESXi
As soon as an NTP server is added to the configuration, the Software Appliance attempts to disable "Host-to-Guest time synchronization". It automatically turns back on when the last NTP server is removed.
For Hyper-V
To use the NTP feature of the Software Appliance under Hyper-V, we recommend disabling the time synchronization service in the "Integration Services" section of the VM settings in Hyper-V.
Now the Software Appliance is reconfigured and synchronized with the configured NTP servers.
Remove NTP Servers
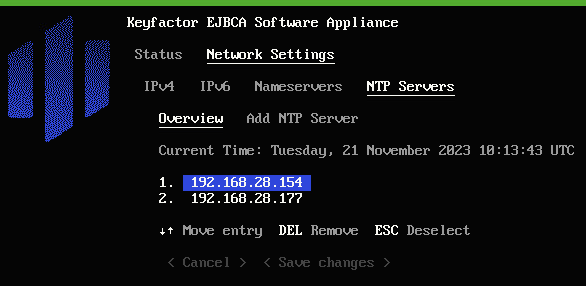
Open the Terminal UI. The Status overview is displayed.
Use the arrow or TAB keys and ENTER to navigate to Network Settings.
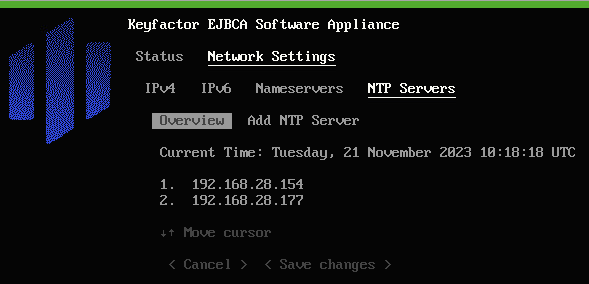
Navigate to NTP Servers and than to Overview.
All configured NTP servers are listed here.
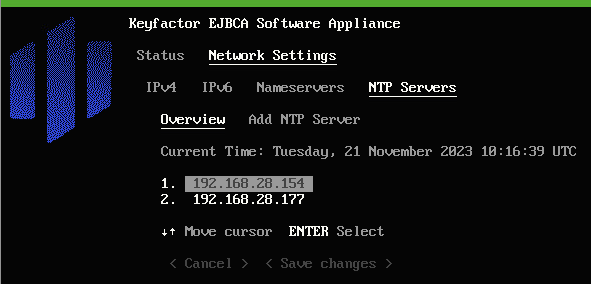
Navigate to the server you want to select.
Press ENTER on your keyboard to confirm your selection. A new line will be added for the next step.
DEL Remove the selected NTP server or ESCDeselect it by pressing the corresponding key on your keyboard.
Click DEL on your keyboard to Remove the entry and navigate to <Save changes> to confirm your selection.