Sign using Authenticode Signer
The MS Authenticode signer signs Portable Executable (PE) files and Windows Installer packages (MSIs) according to the Windows Authenticode PE signature format. Follow the instructions in the sections below to add, sign and verify using the SignServer MS Authenticode signer called MS Auth Code Signer:
Add MS Authenticode Signer
To add and configure the MS Authenticode signer, do the following:
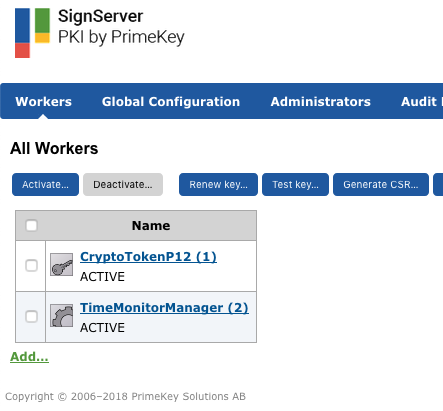
- Go to the SignServer Admin Web Workers tab and click Add to add a new worker.
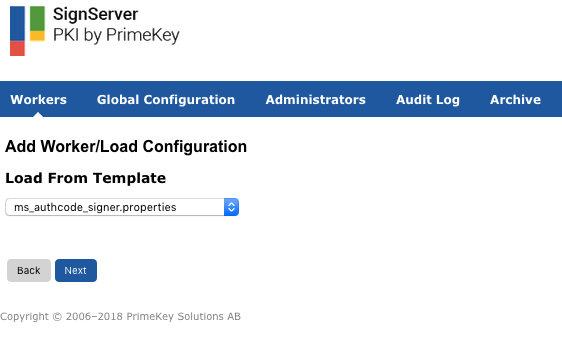
- Add a worker by clicking From Template.

- Choose ms_authcode_signer.properties from the Load From Template list menu and click Next.
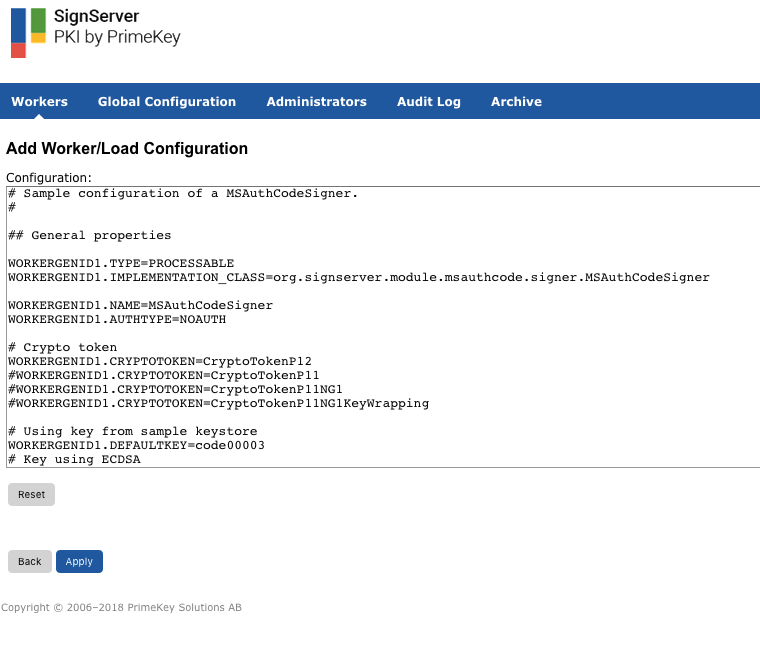
- Click Apply on the Configuration page to load the sample MS Authenticode signer configuration.
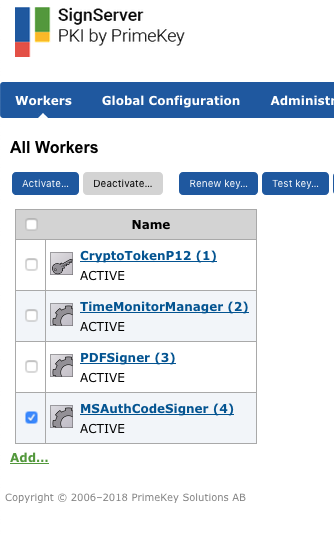
Ensure that the MSAuthCodeSigner worker is in state ACTIVE.
Submit and Sign file using MS Authenticode Signer
The following describes how to submit and sign an executable file with the MS Authenticode signer either using the SignServer Demo Web or the SignServer Client CLI SignClient.
You can use any unsigned executable file or use the provided example file HelloPE.exe.
Sign EXE using Demo Web
To download an example EXE file and then submit and sign the EXE using the Demo Web, do the following:
- Download the HelloPE.exe to test EXE Signing.
- Go to the SignServer Generic Signing and Validation Demo page on https://<yourinstancepublicdns>/signserver/demo/genericsign.jsp.
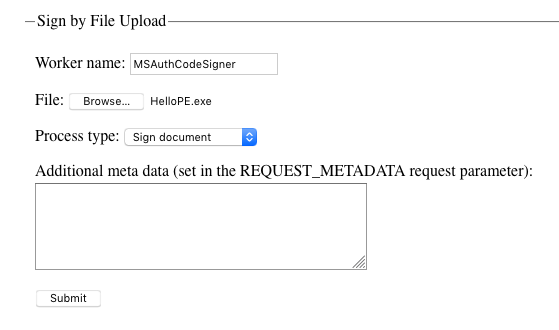
- Scroll down on the page to the Sign by File Upload section and specify MSAuthCodeSigner in the Worker name field.
- Click Browse, select HelloPE.exe and click Submit.
- You will be prompted to save the signed EXE file HelloPE.exe.
Sign EXE using Client CLI
To download an example executable file and then submit and sign the file using the Client CLI SignClient, do the following. Note that the Client CLI requires Java.
- Download the SignServer ClientCLI from the location: https://<yourinstancepublicdns>/signserver/clientcli-dist/signserver-clientcli.zip.
- Unzip signserver-clientcli.zip to the
signserver-clientclidirectory. - Copy HelloPE.exe to the bin directory inside the
signserver-clientclidirectory. - Open a command (cmd) window if on a Windows system, or a terminal on Linux or Mac and change directory (cd) to the
bindirectory. - Sign HelloPE.exe using SignClient:
If you are on a Windows system, use the following command:
# signclient.cmd signdocument -host yourinstancepublicdns -port 80 -workername MSAuthCodeSigner -infile HelloPE.exe -outfile HelloPESigned.exeCODEIf you are on a Linux or Mac system, use the following command:
./signclient signdocument -host yourinstancepublicdns -port 80 -workername MSAuthCodeSigner -infile HelloPE.exe -outfile HelloPESigned.exeCODE
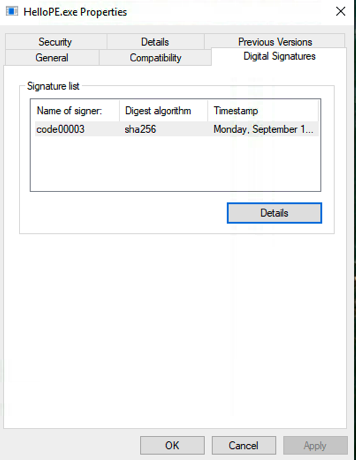
Verify the Signature
Verify that the file is signed by inspecting the signature attached to HelloPE.exe in the Windows environment.
To view the signature details, do the following:
Right-click the file and select Properties.
Click the Digital Signatures tab.
Select the signature in the Signature list and click Details.