The following covers how to deploy a virtual machine (VM) on Hyper-V.
Before installing the Software Appliance, review the System Requirements. For requirements for the hypervisor system, refer to Hyper-V Compatibility Guide.
Perform the steps below to deploy a virtual machine on Hyper-V, if not already installed or integrated, by using the hypervisor-based virtualization technology delivered by Microsoft.
- Download the Software Appliance package for your hypervisor from your Keyfactor download area.
For Hyper-V it is a .zip file: Keyfactor<Ejbca/SignServer>SoftwareAppliance-<version>.zip.
- Unzip and store the file to a storage on your computer where Hyper-V can access those.
The .zip file contains two disk images (disk1 and disk2) as .vhd files, as well as the guest instruction how to set up a VM on Hyper-V.
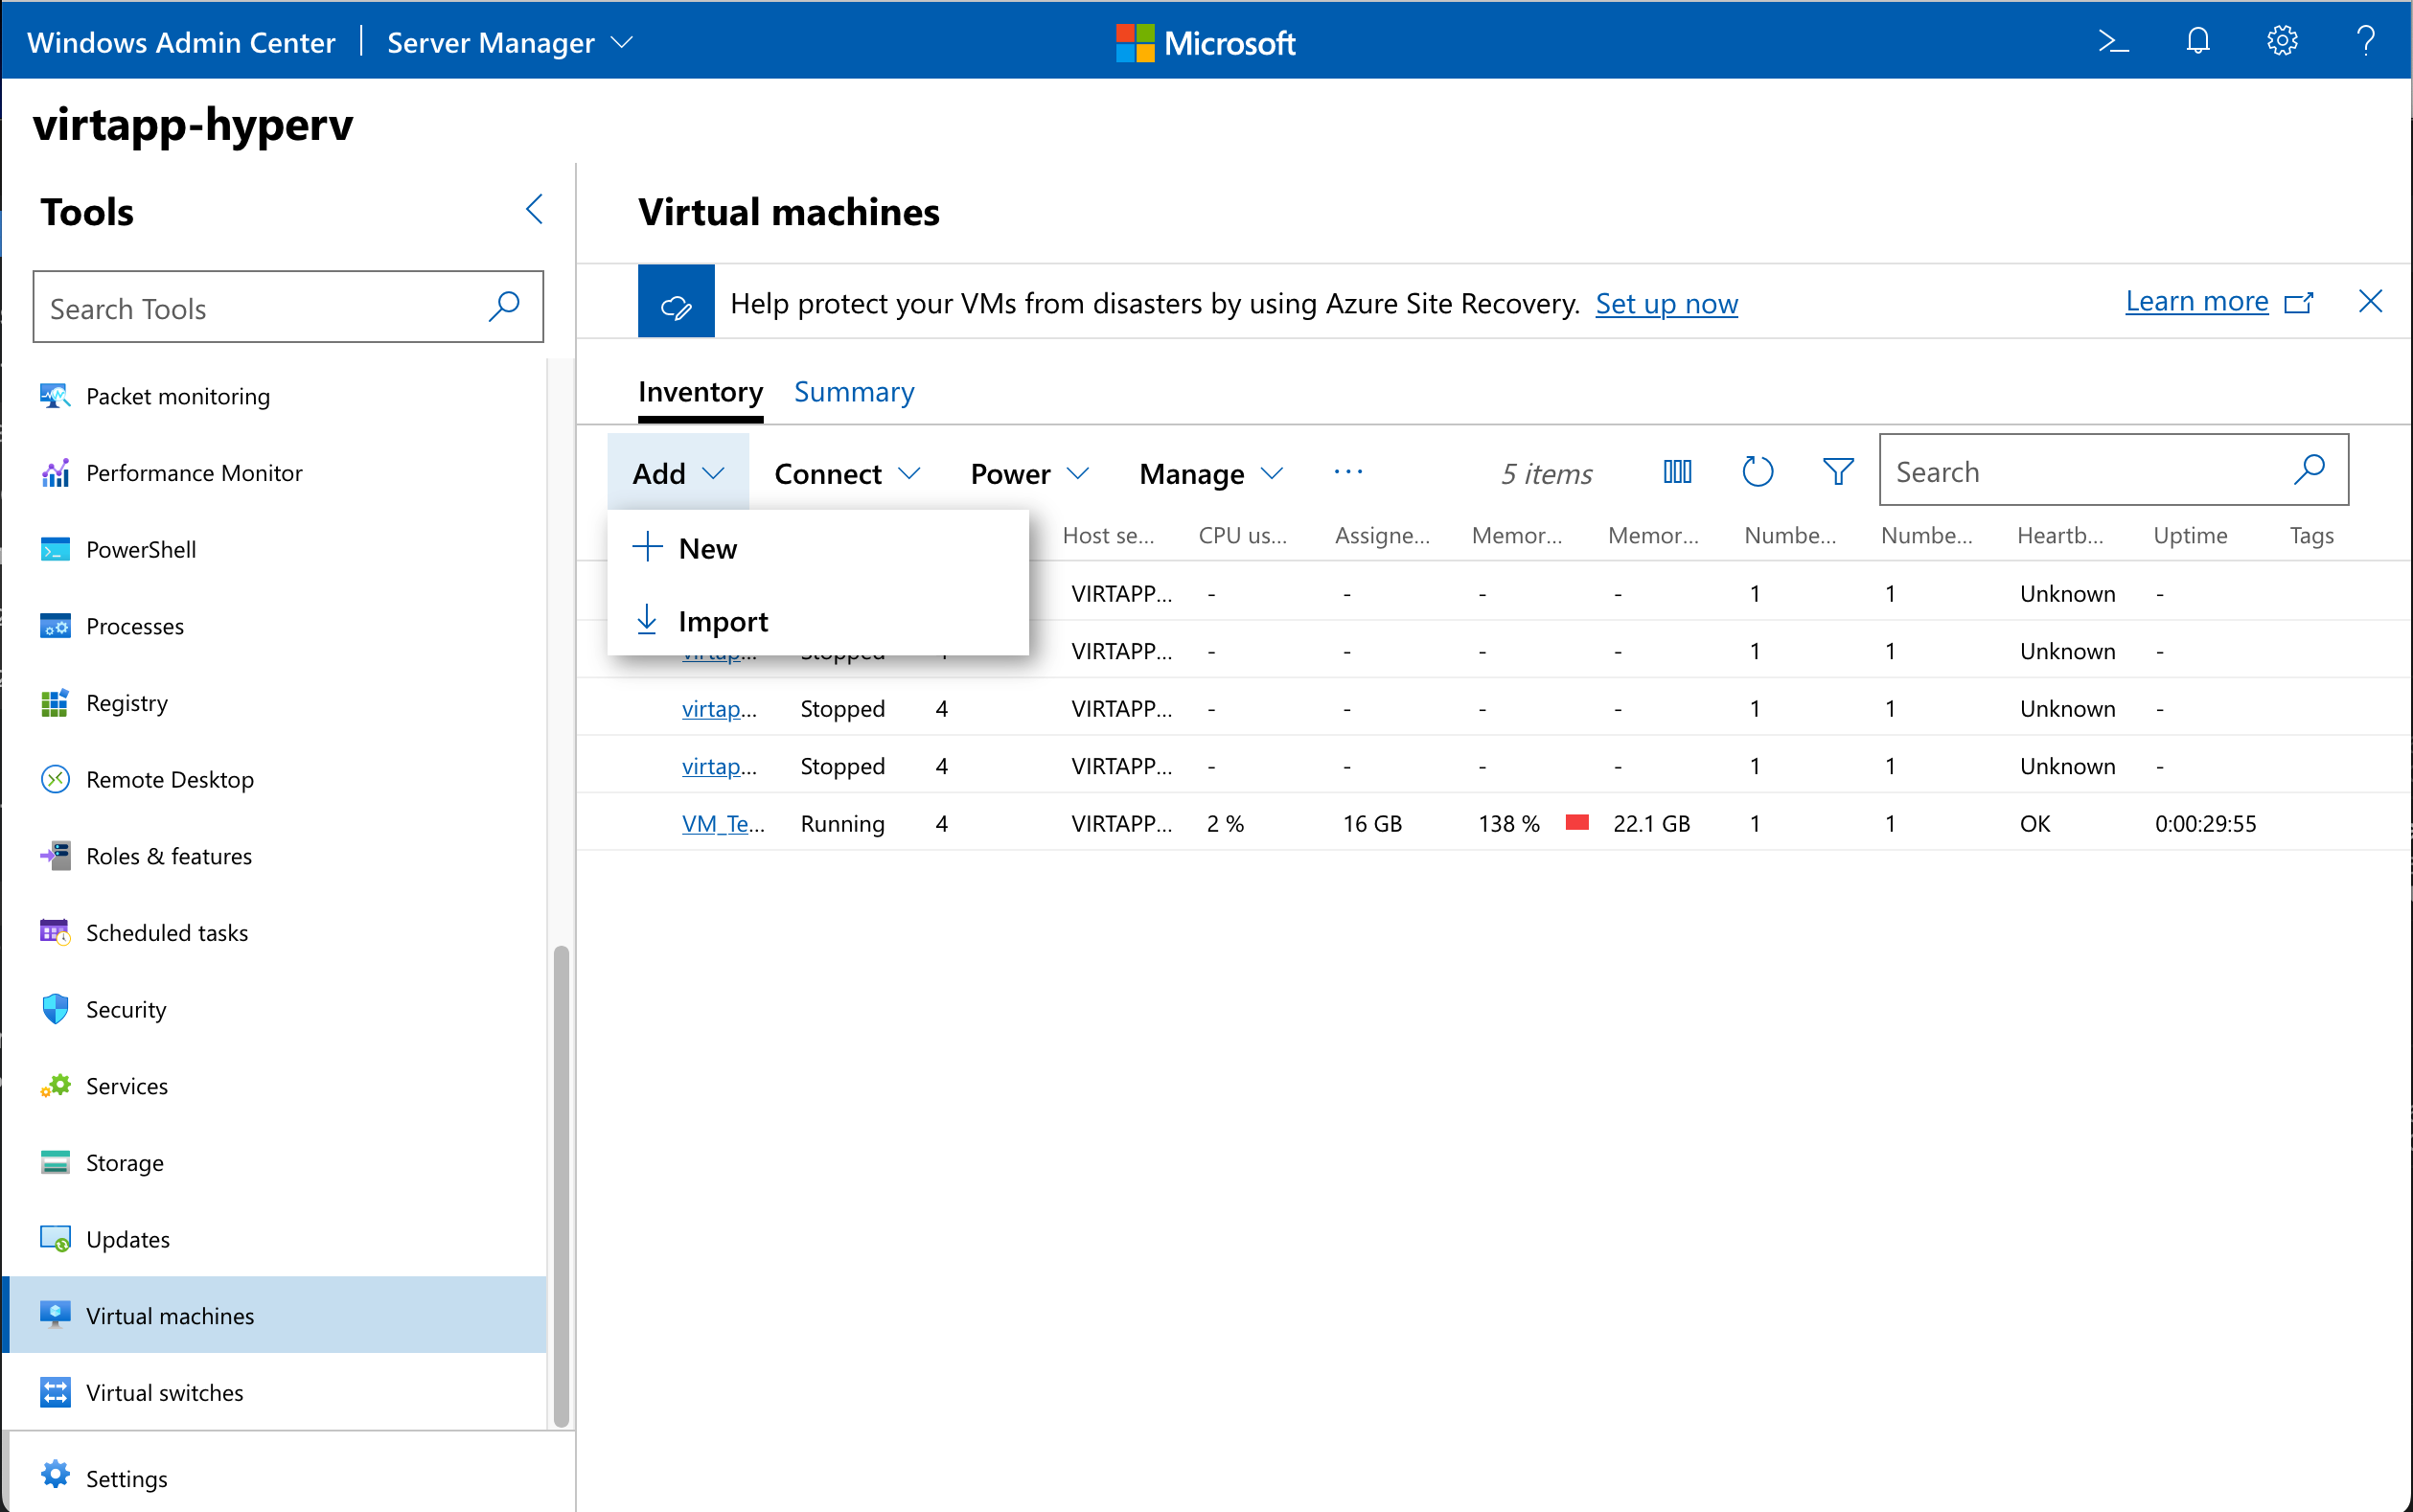
- Open your Microsoft Windows Admin Center, Server Manager.
- Choose Virtual machines from the Tools menu.
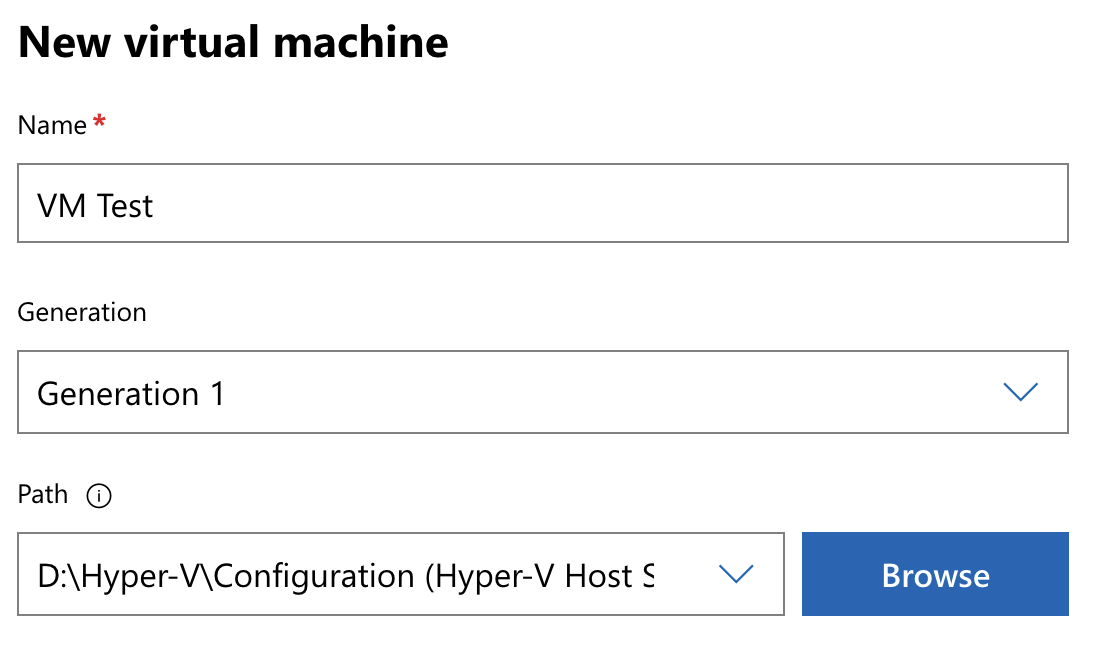
- Select the Inventory tab, click Add and choose New. A new sidebar opens: New virtual machine.
- Name: Name your new VM in the first required field.
- Generation: Select Generation 1 form the field.
Path: Enter a Path to store the VM using the Browse button.
- In Virtual processors adjusting the Count to 8 is recommended.
- Leave the checkbox for Enable nested virtualization cleared.
- In Memory adjust the required fields:
Startup memory to at least 16
Size unit to GB - Select Use dynamic memory and select the memory settings:
Minimum memory (GB) to 0.5
Maximum memory (GB) to at least 16 - Network > Virtual switch change the entry Not connected to your personal setting.
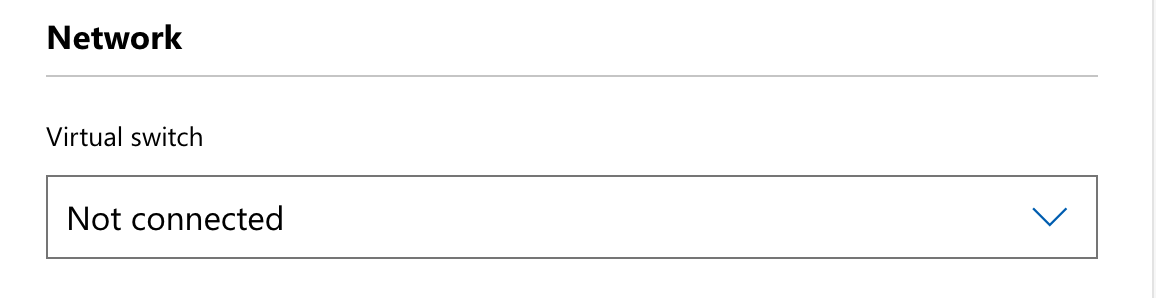
- A new drop-down menu Isolation mode appears. Take over the entry Default (None).

- Click Add in the Storage section.
The Storage section will expand and the window New disk 1 opens.
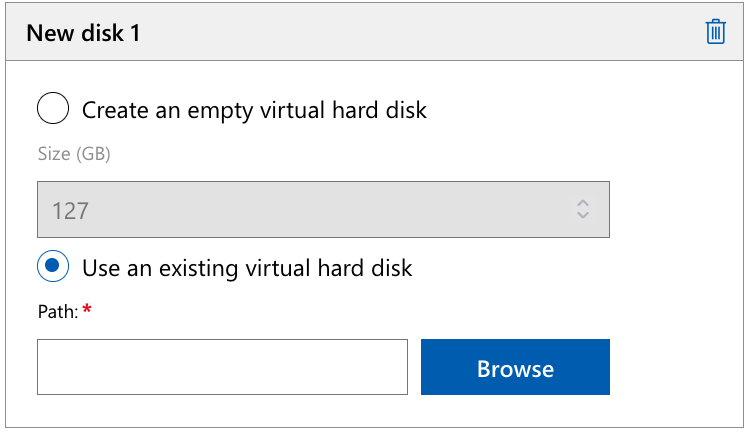
- Configure this section:
Select Use an existing virtual hard disk.
To select a Path click Browse. A new window opens: Select a virtual hard disk template. - Navigate to the path where the virtual hard disk template is stored. Double-click a folder to add the path.
Select ...disk1.vhd and continue with the OK button to upload the disk. - To add the second disk repeat steps 9 to 11 and choose ...disk2.vhd.
- Finalize the form by clicking Create.
You have now deployed the VM. If you click Virtual machine in the Windows Admin Center the new VM is listed.
- Select the newly deployed VM from the list.
Choose the Power tab in the top menu bar and power on the VM with Start.
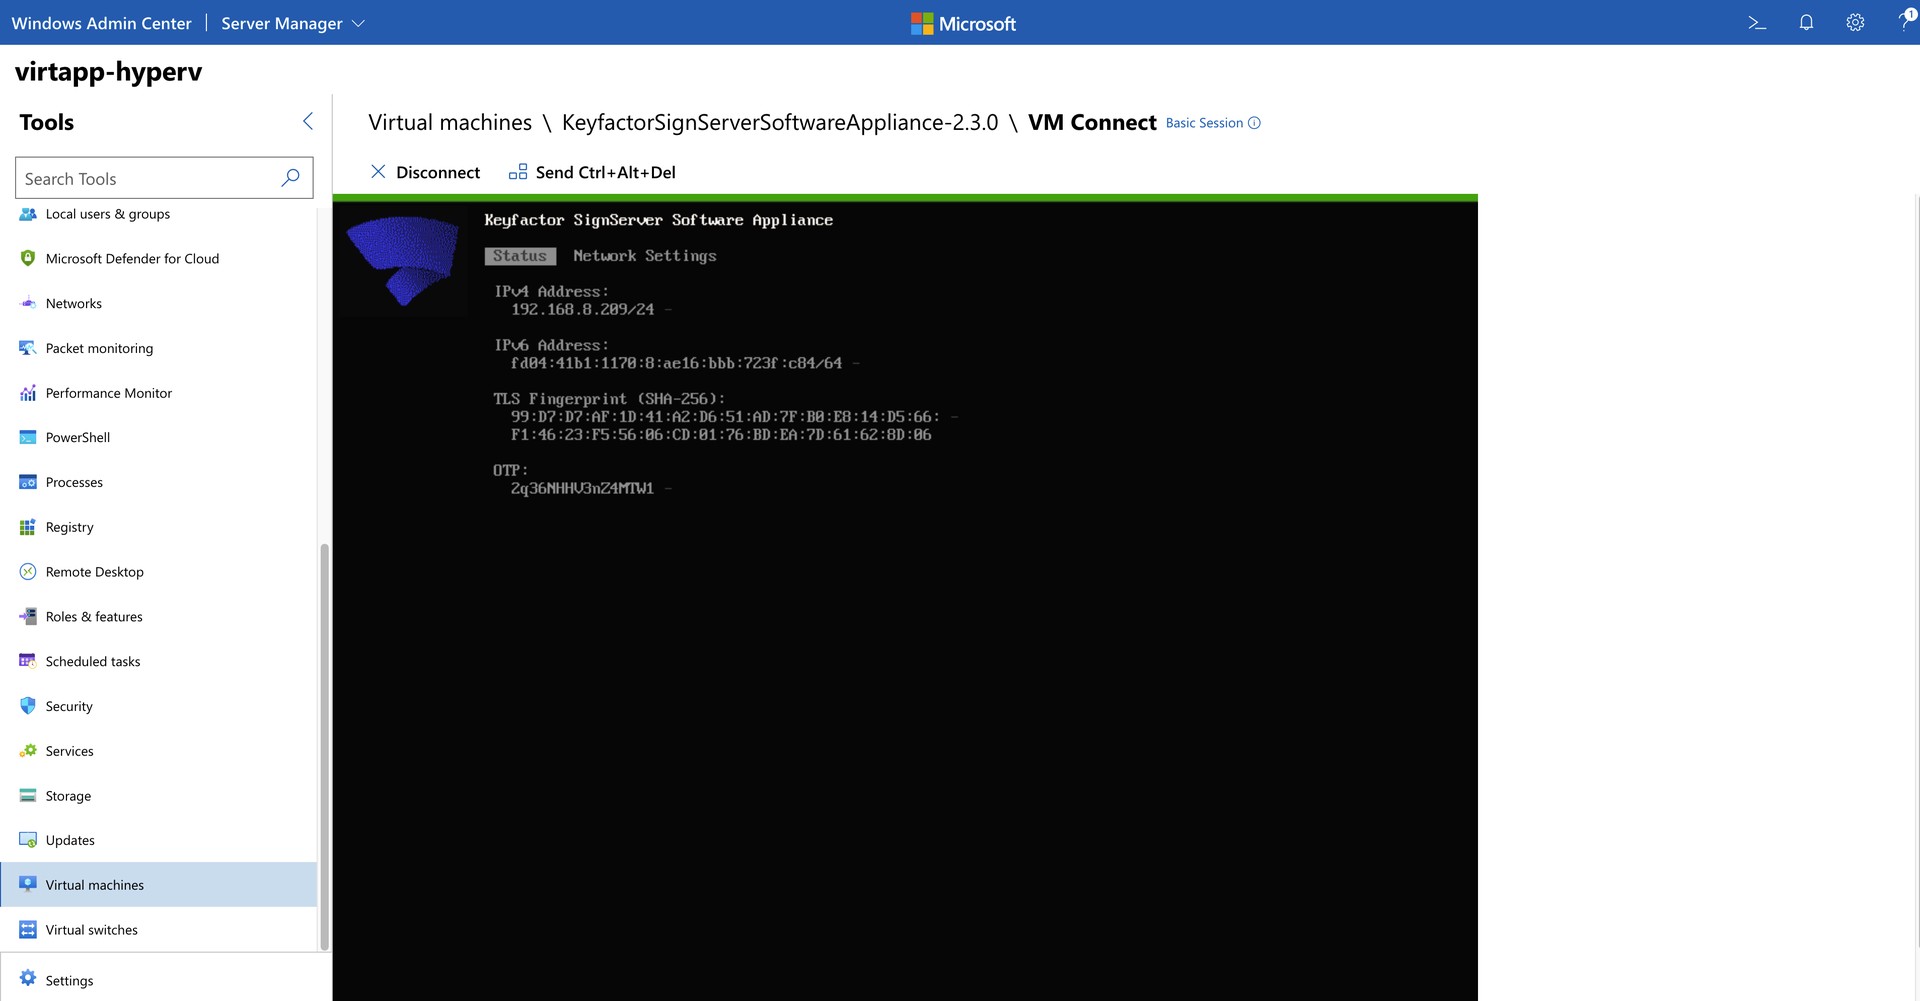
- Click on the Connect tab in the top menu and select Connect again.
- A dialog will appear requesting your user login credentials for the session.
- Continue and complete with Connect.
Next, .