Security: Configuring a Securosys Primus HSM
You can configure a Hardware Security Module (HSM) to store and protect your cryptographic keys. Optionally, you can use the software-based SoftHSM implementation for demonstration or testing purposes.
The following covers how to configure a Securosys Primus HSM for the Software Appliance. For more information on the Securosys Primus HSM, refer to the Securosys Primus product documentation that you received with your purchase of the HSM.
Configuring an HSM for the Software Appliance is irrevocable. To change an HSM configuration, you must reset the Software Appliance.
To configure a Securosys Primus HSM for your Software Appliance, follow the steps below.
If you run into issues after the configuration, you can get HSM specific log messages from a HSM Support Package. For further information please refer to Create an HSM Log.
Connect the Software Appliance with the Securosys Primus HSM
To connect the Software Appliance with the HSM:
- Log in to your Software Appliance and open the Security page or click Configure HSM in the Overview.
In the HSM Configuration section, select Securosys Primus HSM to access the Configuration fields.
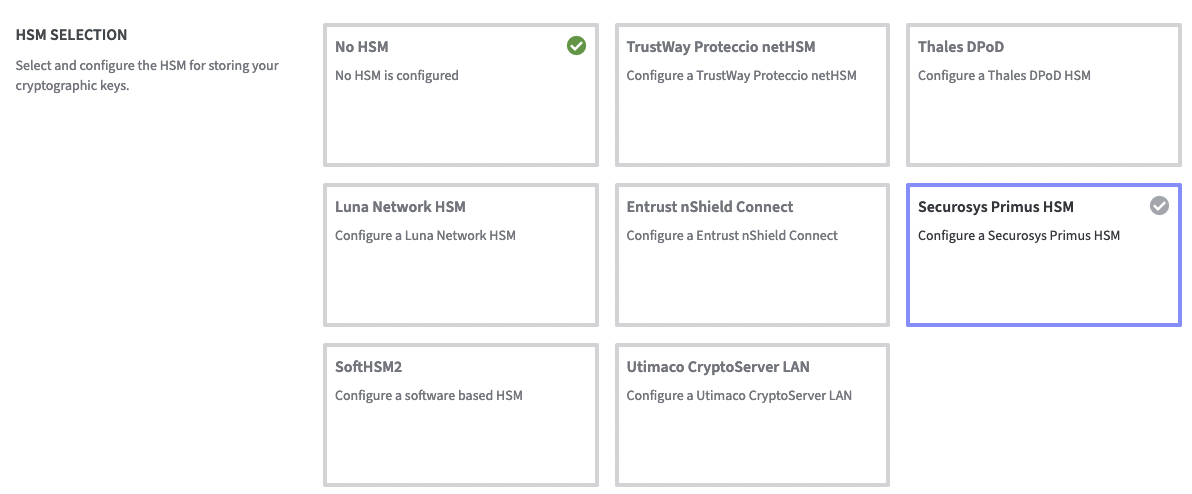
Securosys Primus HSM Configuration
There are 3 different tables that are currently empty.
- one is for the HSM Devices,
- one is for the Slots,
- and one is for Permanent Secrets.

- Further down there is a Miscellaneous section where you can provide details.
The individual sections are: Wait Delay, Wait Retries, Trace Level or set the Trace PKCS#11 function inputs.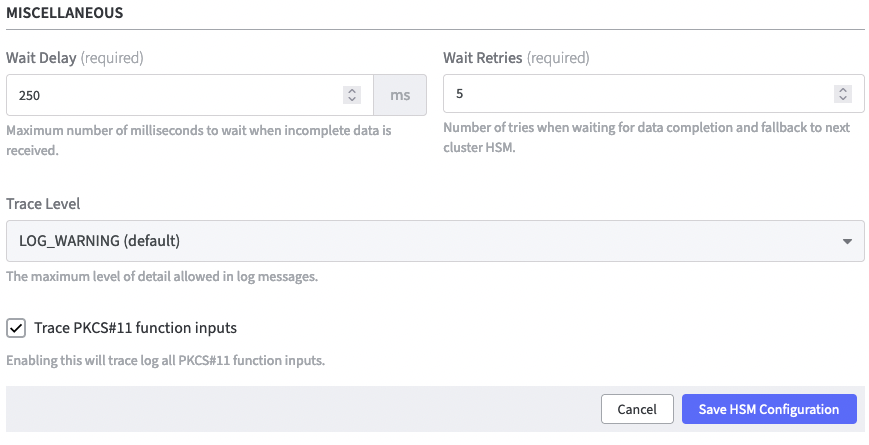
- Adjust the settings if applicable.
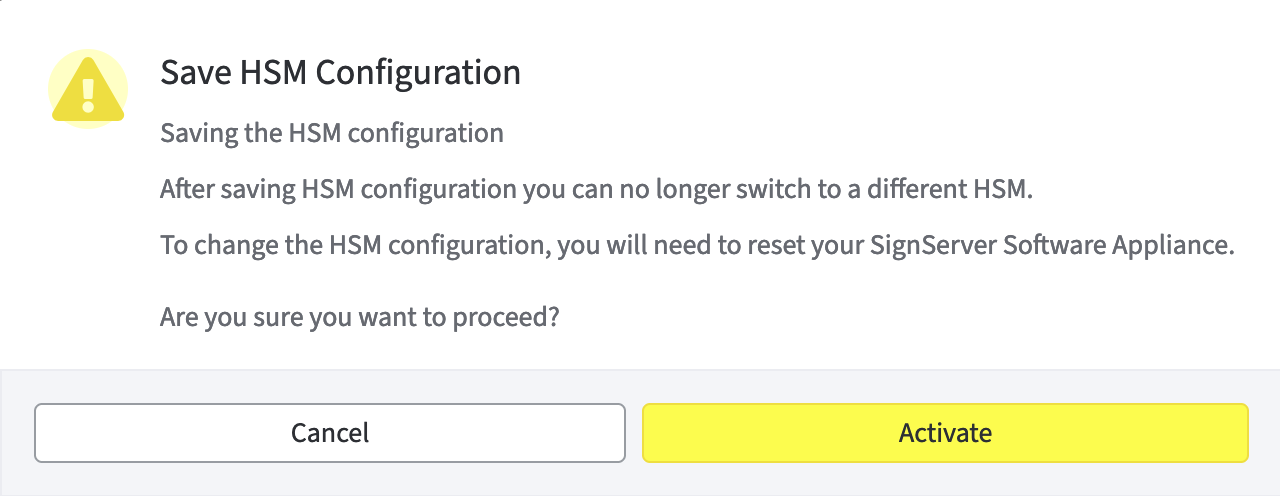
Confirm your entries with Save HSM Configuration.
A warning appears to inform you that after saving HSM configuration you can no longer switch to a different HSM.
To change the HSM configuration, you need to reset your SignServer Software Appliance. Proceed by clicking Activate.
- In the Overview you can now see that Securosys Primus HSM is listed, but Not Connected and no device is configured yet.
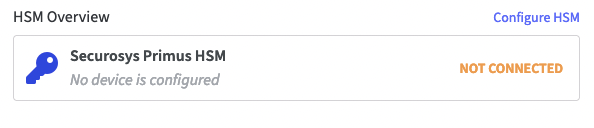
Go back to the Security page and procced with Add HSM Device.
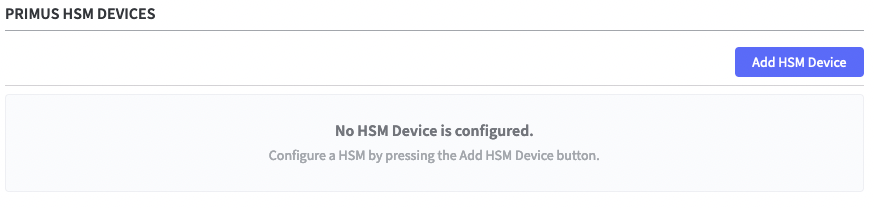
Add HSM Device
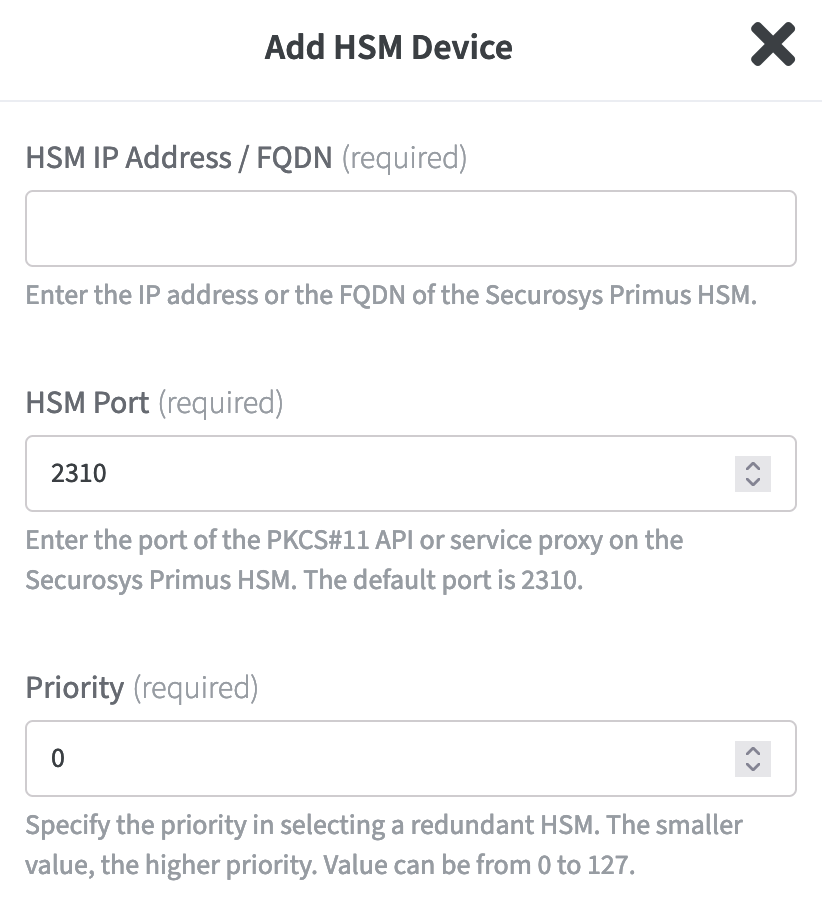
- To add a HSM Device click Add HSM Device in the Primus HSM Devices table.
- Start with entering the HSM IP Address / FQDN to add a device.
- Enter the HSM Port.
If applicable specify the Priority in selecting a redundant HSM. If you configure the first HSM leave the value 0.
For more information on how to set the priority, please refer to the Securosys Primus HSM product documentation that you received when you purchased the HSM.
Click Add HSM Device to confirm your settings.
A warning appears to inform you that changing the configuration of your HSM will restart all applications on your SignServer Software Appliance.
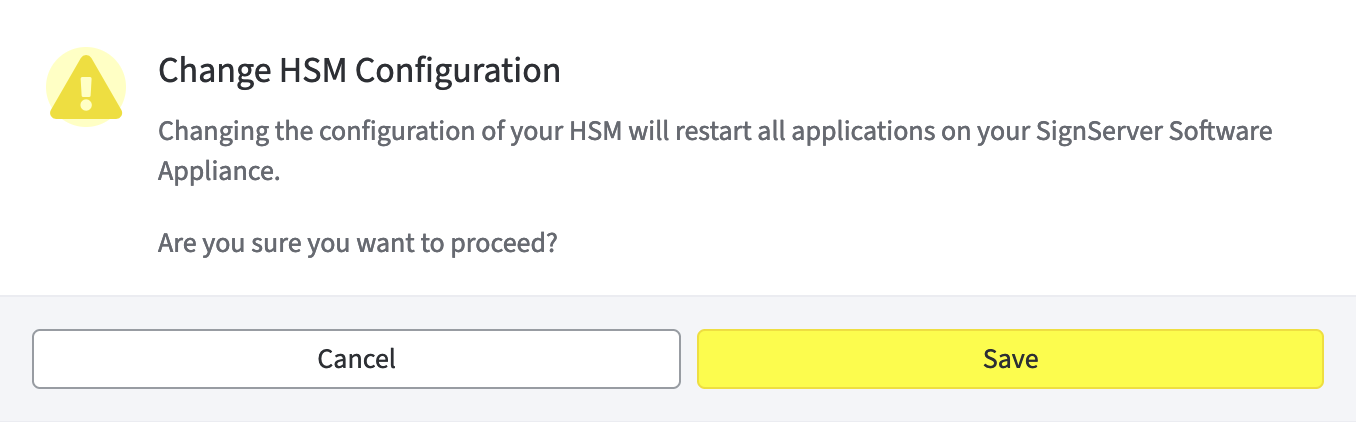
Continue with Save.
The device will now be listed in the table Primus HSM Devices. Here you can now preform actions such as Edit Device or Remove Device.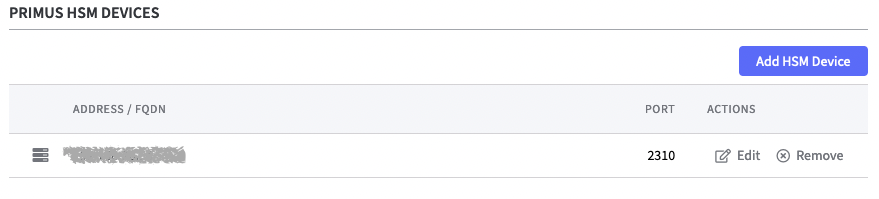
You can of course add multiple devices. Just repeat the process as described before.
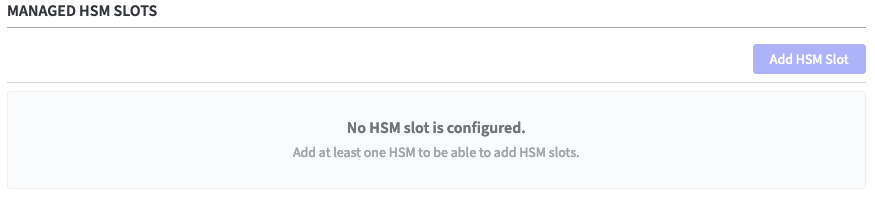
Managed HSM Slots

There are no slots configured for this HSM at this time.
Add HSM Slot
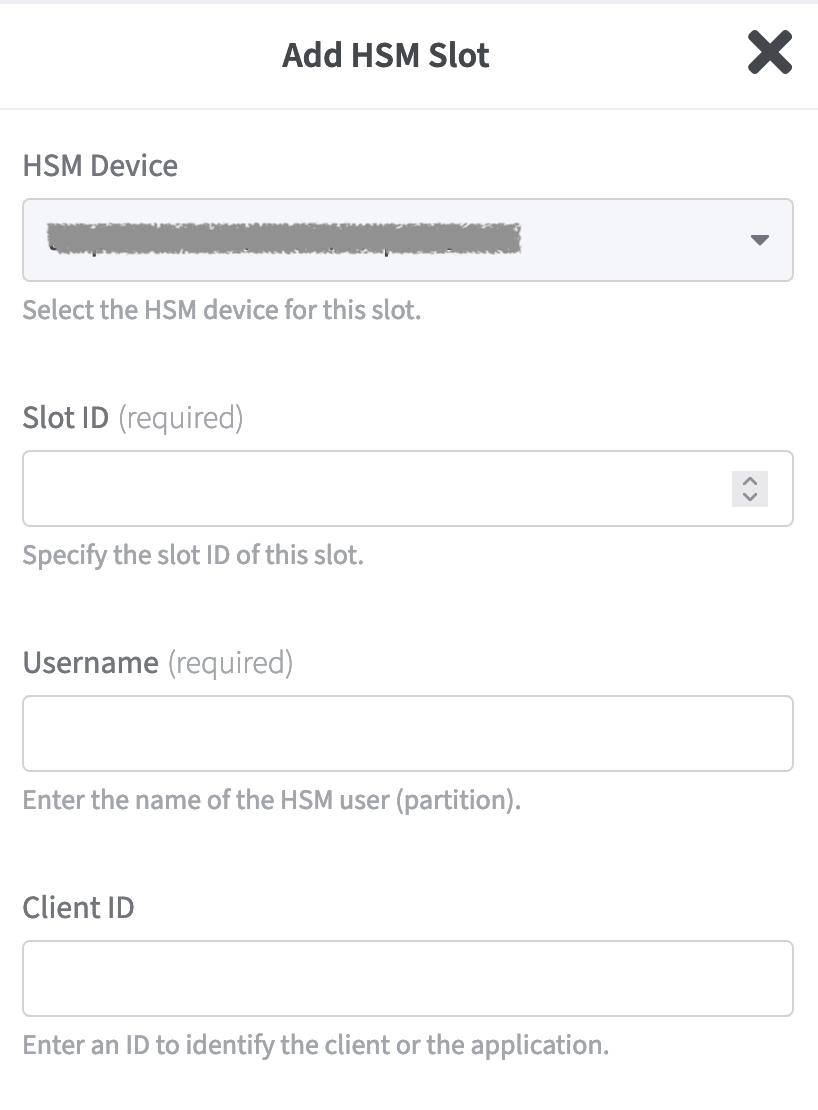
- To add a slot click Add HSM Slot.
- At the first line: HSM Device, select the HSM for which the slot is to be defined. If several HSM Devices are configured, you can open the corresponding list using the drop-down menu.
- Continue to specify the Slot ID.
- Next you must specify a Username.
- You can configure an optional Client ID to identify the client or the application.
Slot Setup
Enter the slot Setup Password.
Provide the PKCS#11 Password of the slot (PIN/Password).
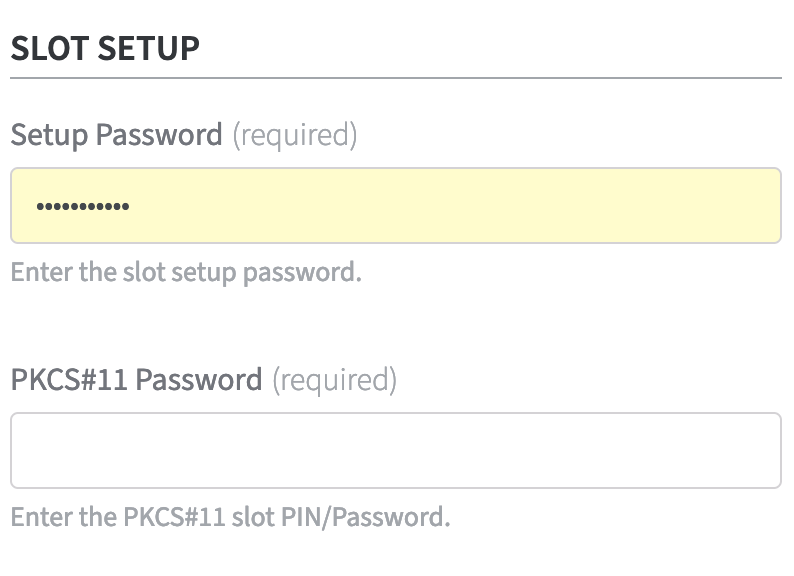
If there is a proxy in front of the HSM, the proxy settings have to be added first. If this is not the case, you can click Add HSM Slot to confirm the HSM slot configuration.
Proxy Settings
- Add the Proxy User.
- Enter the Proxy Password.
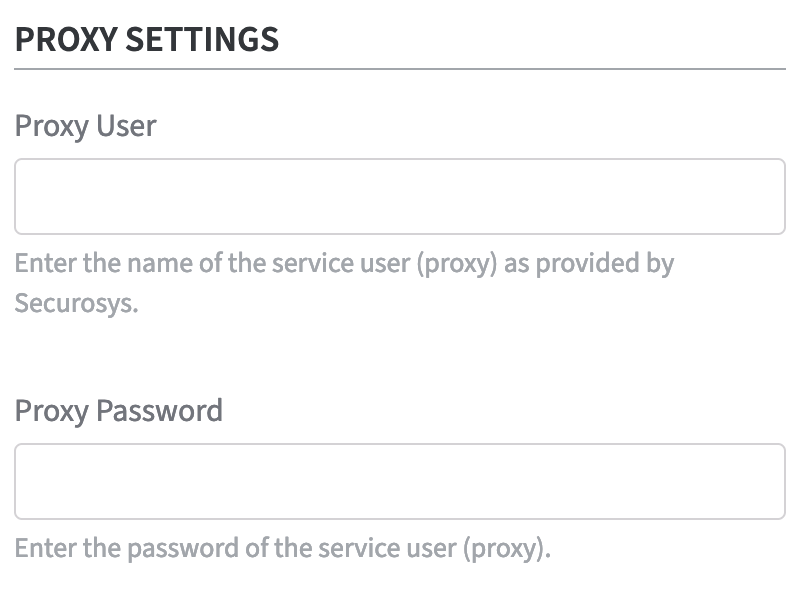
- Click Add HSM Slot to confirm the HSM slot configuration.
A warning appears to inform you that changing the configuration of your HSM will restart all applications on your SignServer Software Appliance.
Finalize with Save.
Permanent Secrets
After the configuration of the HSM Slots, the user name (partition) will be displayed under Permanent Secrets.
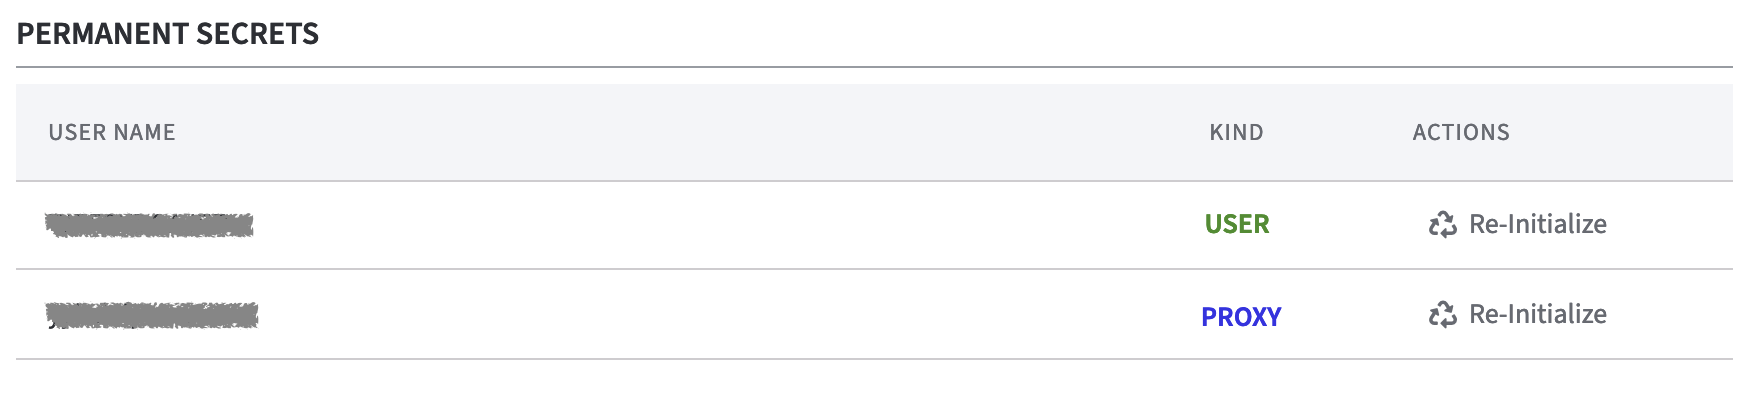
Should the password for the partition change you can Re-Initialize the Permanent Secret for a user or proxy.
Re-Initialize Permanent Secrets
It is possible to Re-Initialize Permanent Secrets for the User or for the Proxy.
- From the list Permanent Secrets select the line of the Username you want to edit.
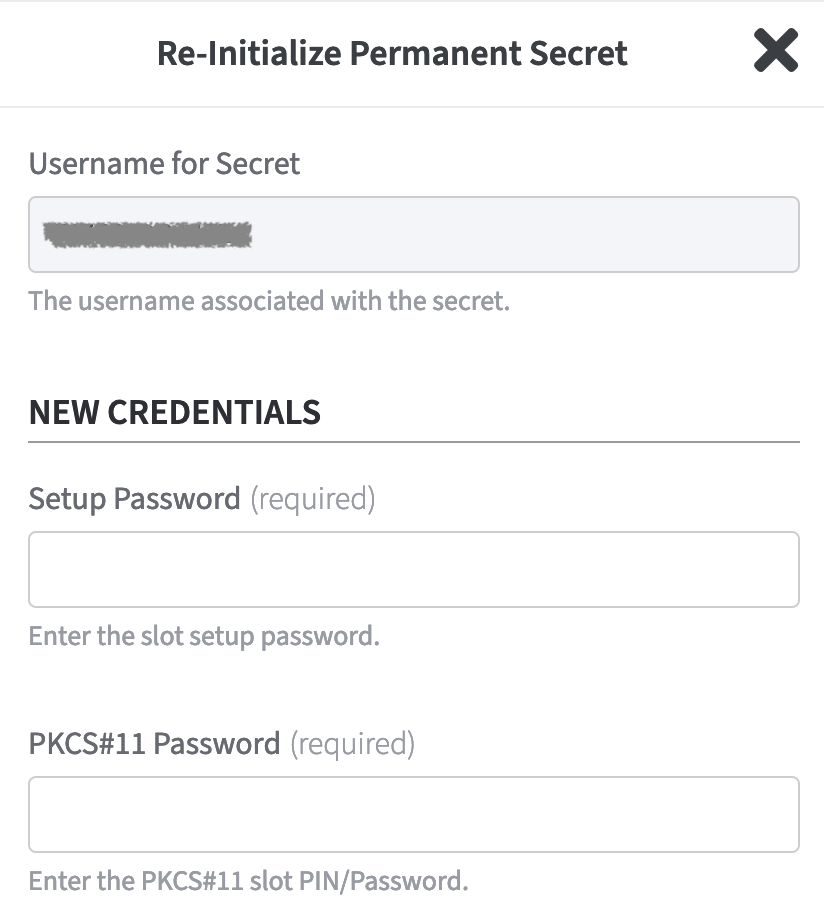
- In the column Actions click Re-Initialize to open the form.
- Enter the New Credentials.
To confirm your settings click Re-Initialize.
A warning appears to inform you that changing the configuration of your HSM will restart all applications on your SignServer Software Appliance.
- Finalize with Save.
On the Security page of the application, the status of the HSM Driver will change from Not Connected to Connected as soon as the configuration is completed.
On the Overview page of the application, the status in the HSM Overview also changes to Connected as soon as the configuration is completed. During configuration, the appliance is in the Restarting status. During this time, it is not available.
Once the SignServer is running again, you can proceed with adding a Crypto Worker.
Add a Crypto Worker in SignServer
To create a Crypto Worker:
- In the Overview page of the Software Appliance, click Admin Web for SignServer.
- The SignServer page opens.
- Click Add... to continue.

- In the top menu, select Worker. You can choose the method you want to use to configure the Worker. In this example we will work with From Template.
Click From Template to continue.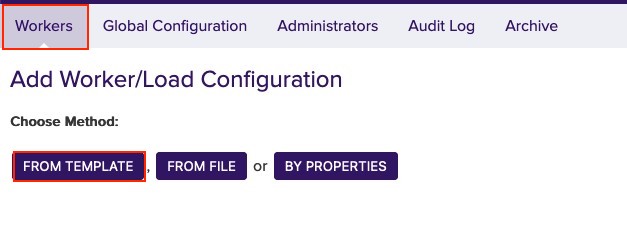
- Open the drop-down menu under Load from Template. Here you can select the worker to be configured. In this example we will work with p11ng-crypto.properties.
Click Next to continue.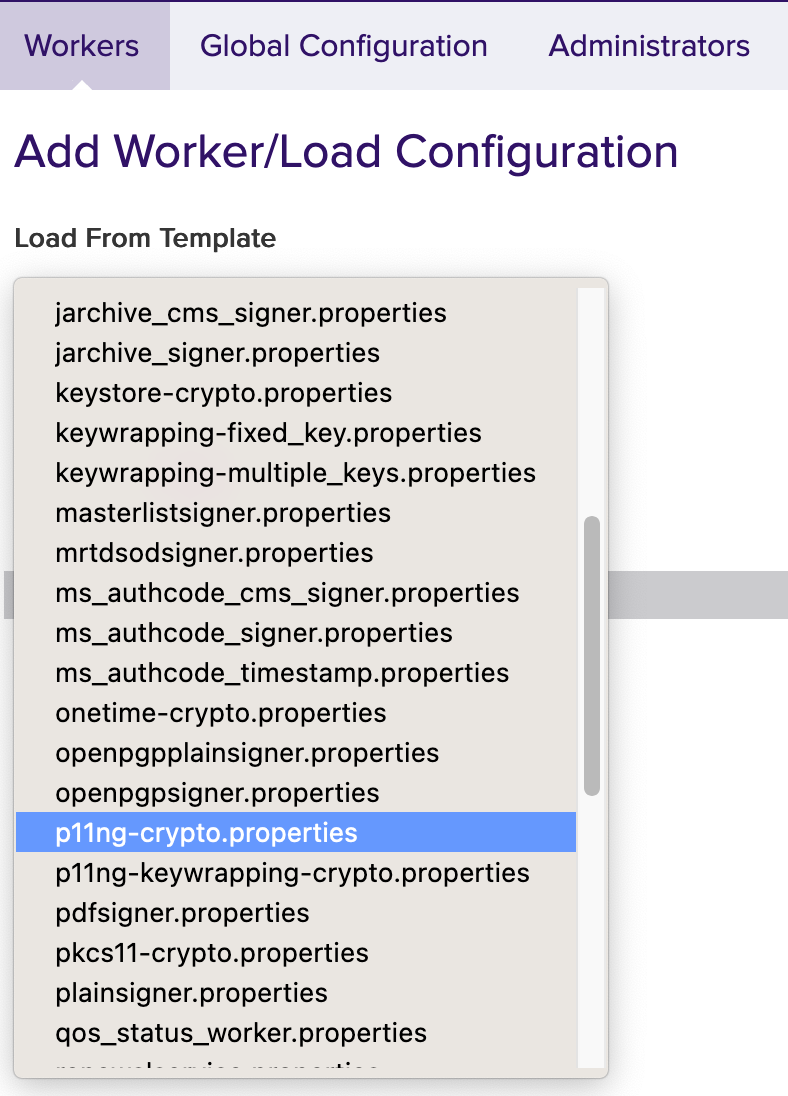
The Configuration page opens.
WORKERGENID1.NAME=CryptoTokenP11NG1: this name can be customized (CryptoTokenP11NG1) as desired.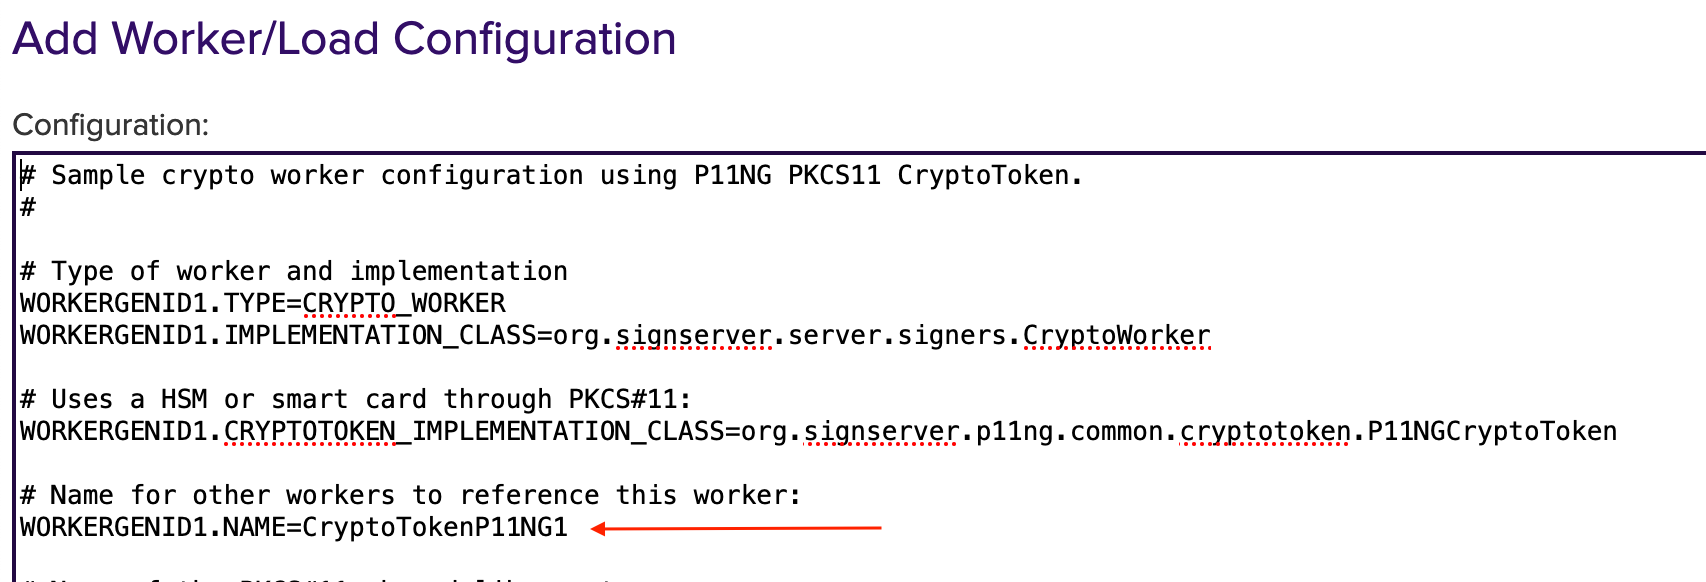
WORKERGENID1.SHAREDLIBRARYNAME=P11 Proxy should be configured as default.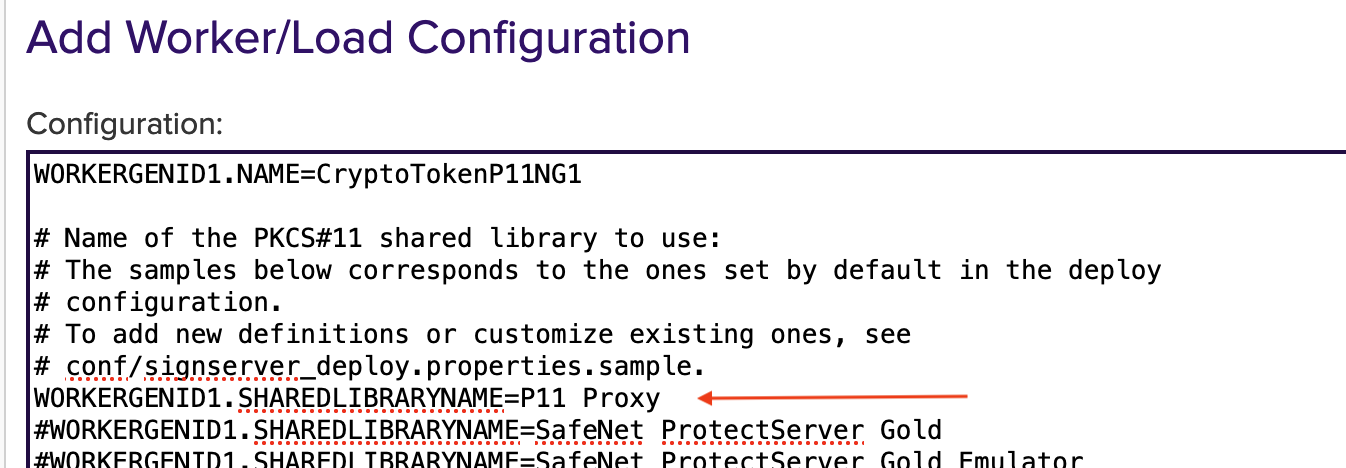
# Method will specifying the slot to use. Here it is important to know if the HSM uses SLOT_NUMBER or SLOT_INDEX. Select the applicable one.
To deselect it, put # in front of it.
To enable it, remove # in front of it.
The # can be replaced for the slot to be used and specify the number of the HSM slot instead.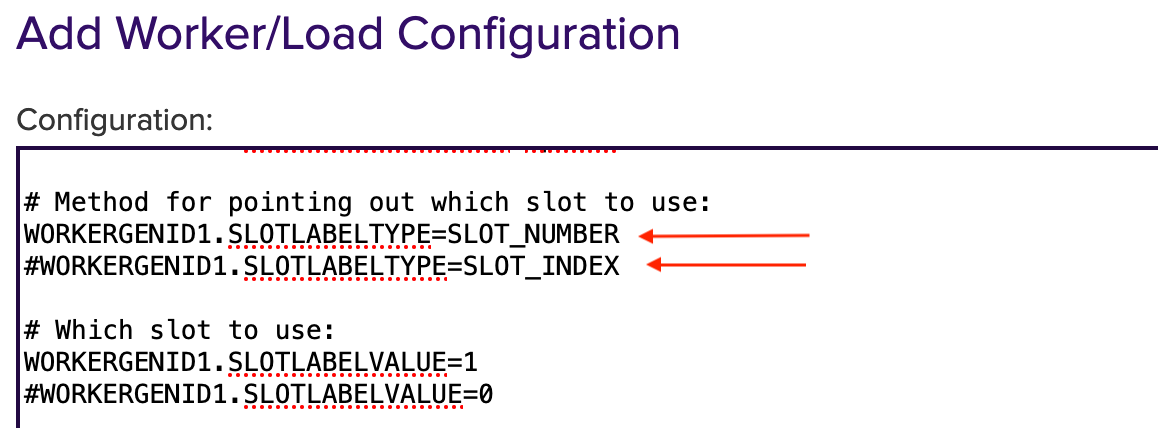
#WORKERGENID1.PIN=foo123 here the password can be enabled or disabled.
To deselect it, put # in front of it.
To enable it, remove # in front of it.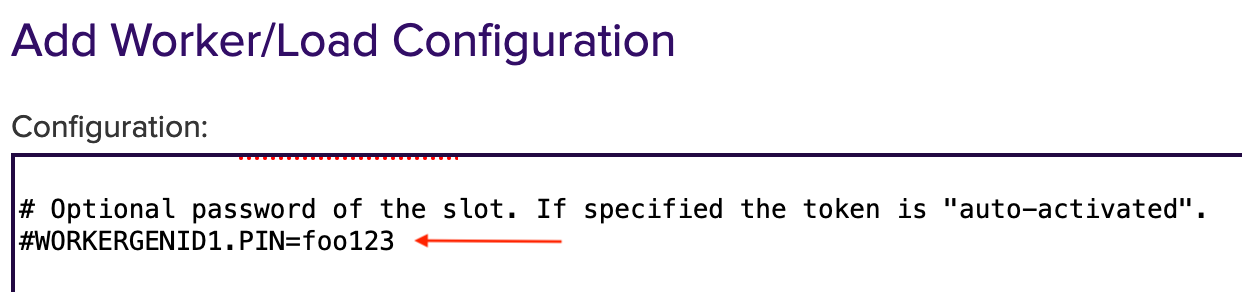
# Optional PKCS#11 attributes is used for key generation, you can select the attributes.
To deselect it, put # in front of it.
To enable it, remove # in front of it.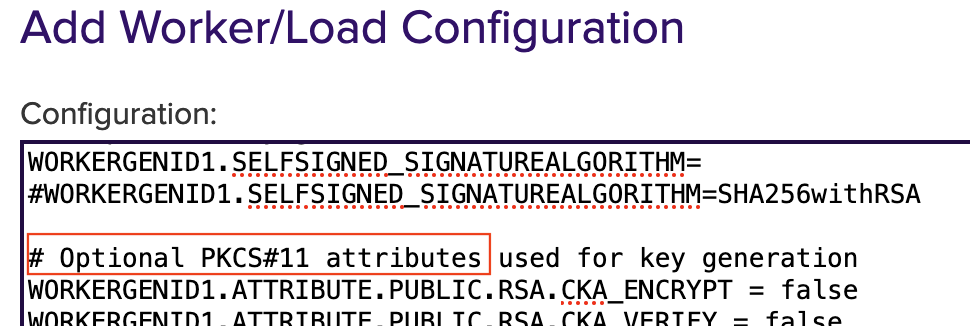
WORKERGENID1.DEFAULTKEY=testkey0 here you can add an existing key or use the default key.
Click Apply to save the settings.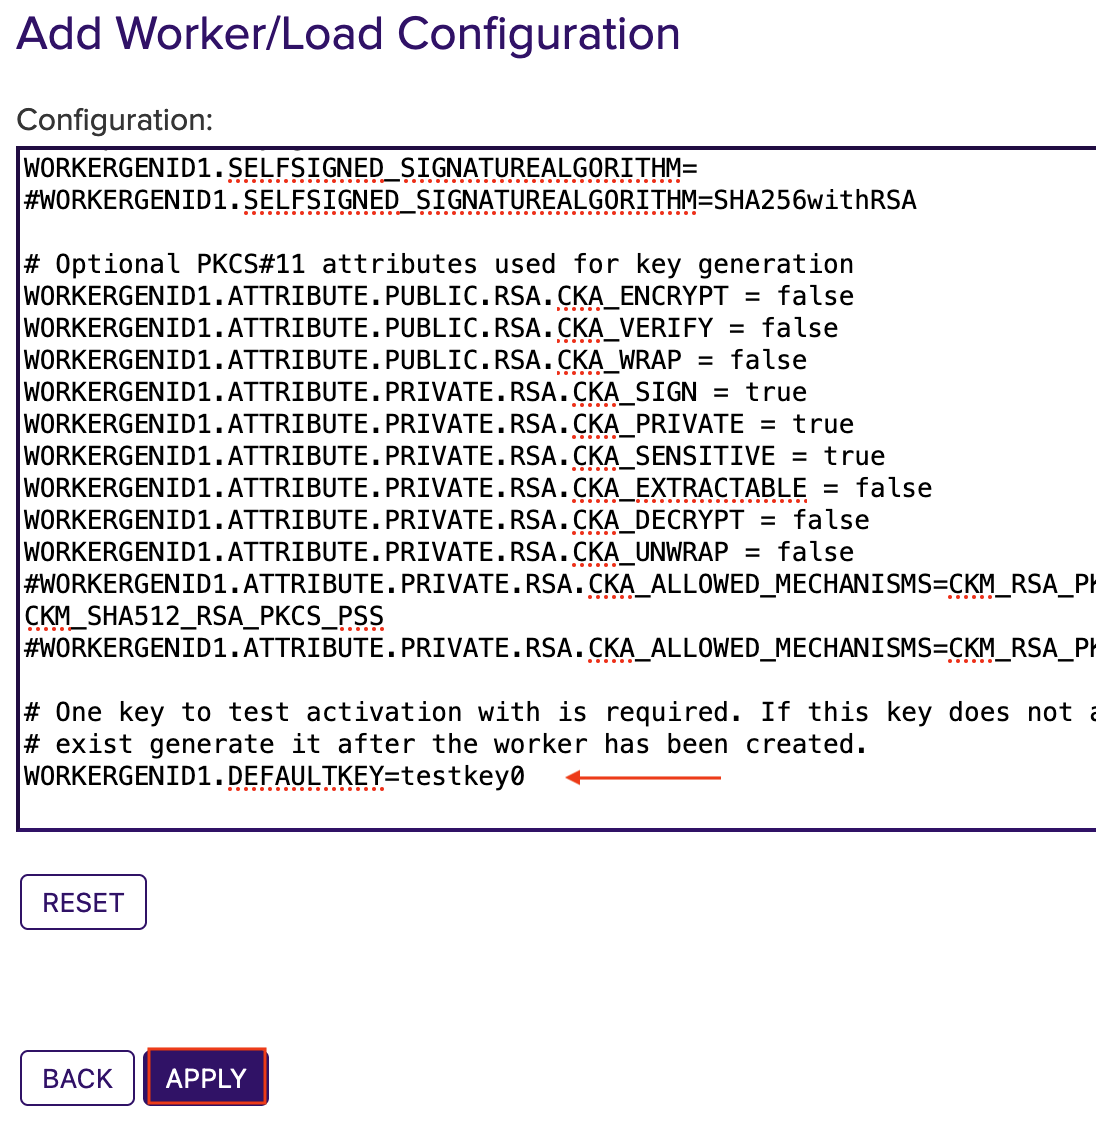

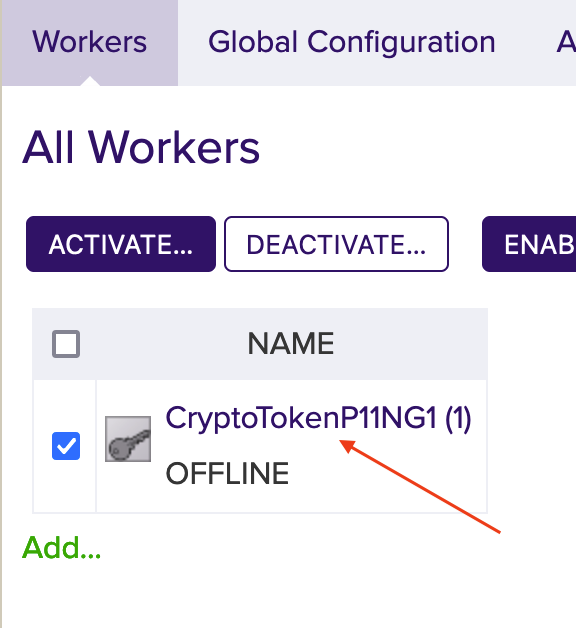
The token (CryptoTokenP11NG1) is automatically logged in when the PIN is set in the Crypto Worker configuration.
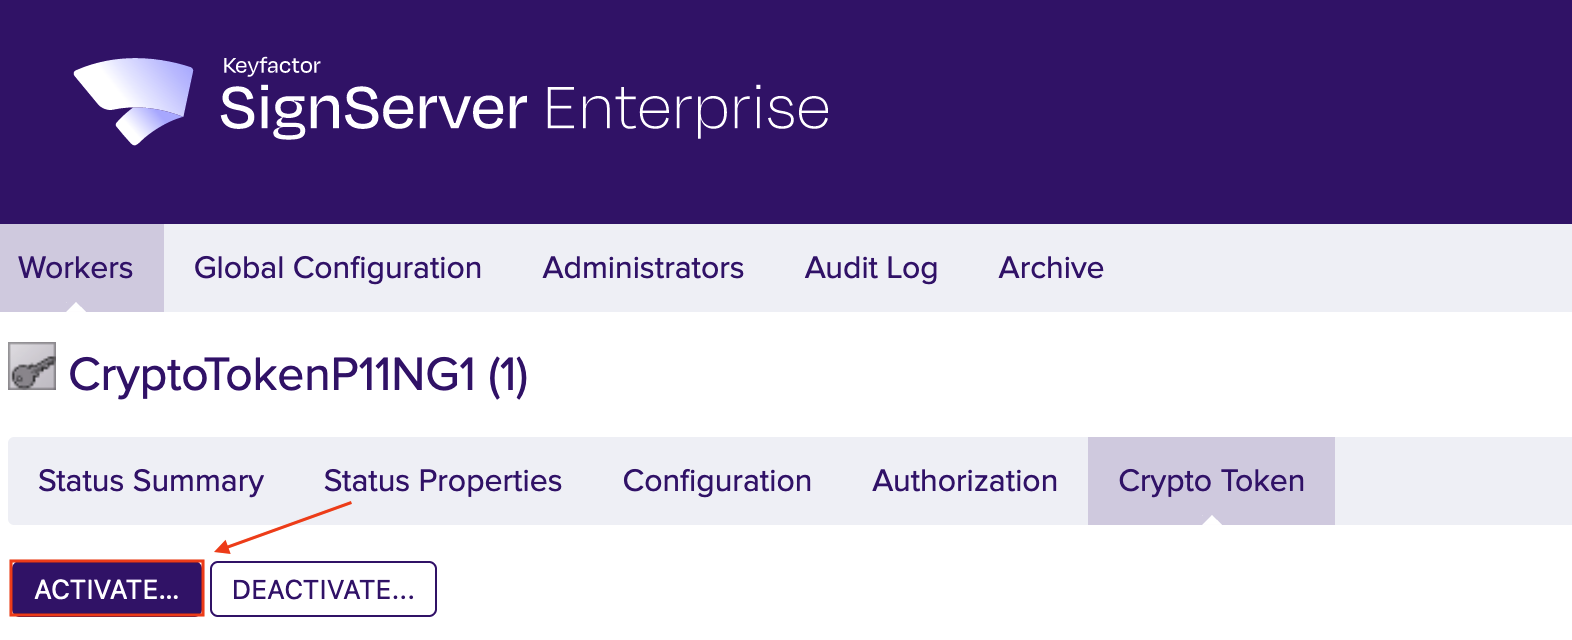
- The Worker is not activated yet. Click on the created token and you will see the information about the token in the Status Summary.
- Click the Configuration tab to view the full configuration of the token.
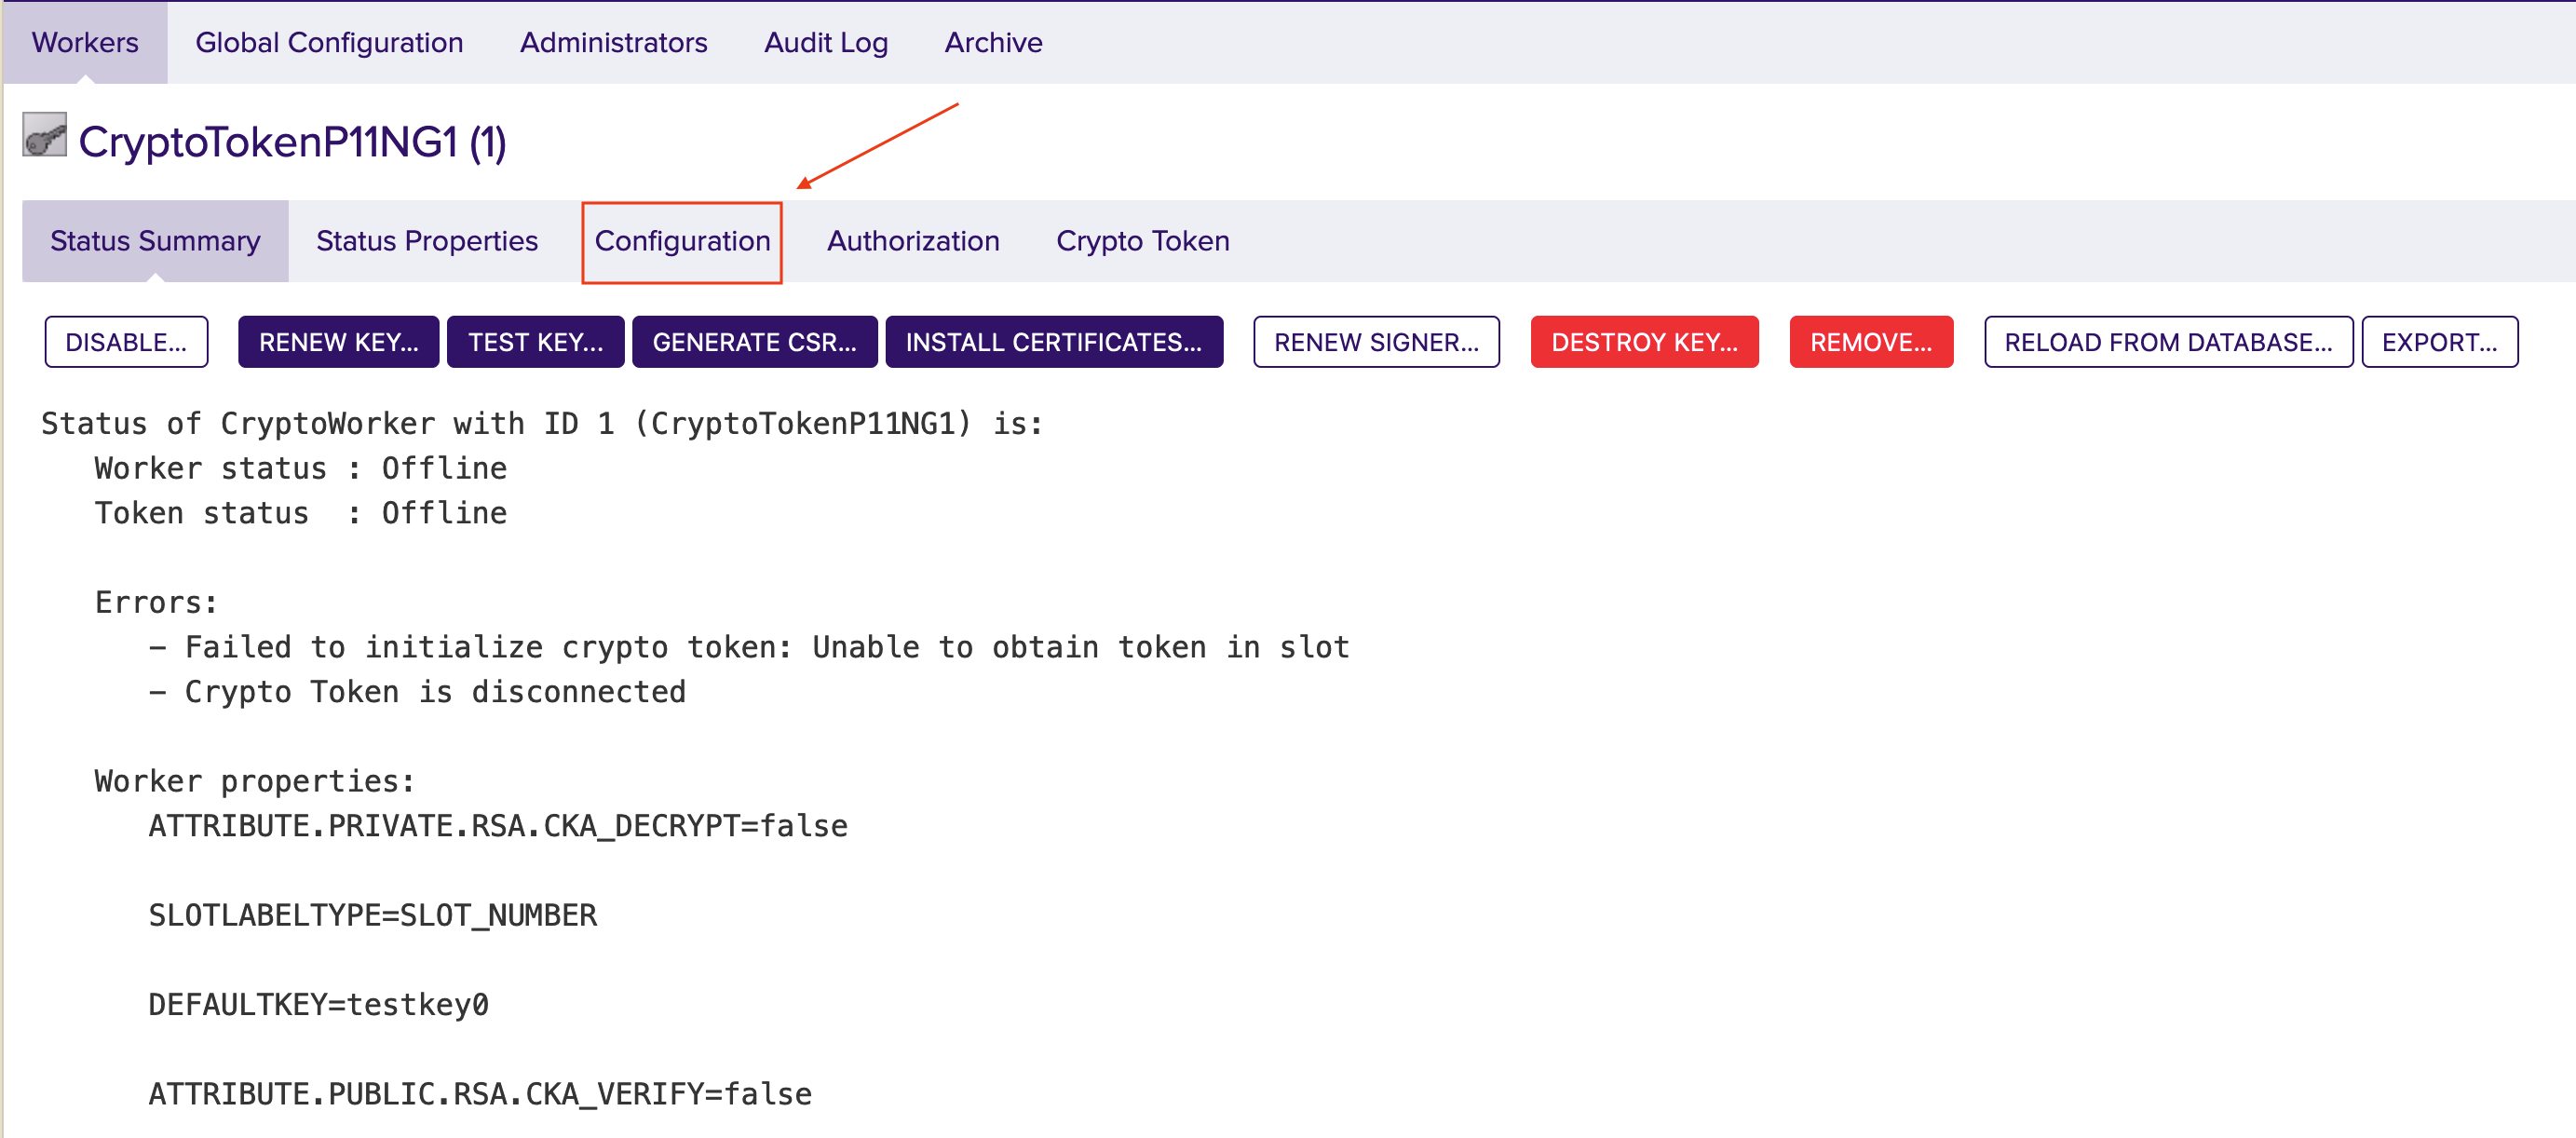
- If the configuration meets your needs, click the Crypto Token tab. Edit them if necessary.

Click Activate.
This step is optional!
The latest version of SignServer logs on automatically if the correct PIN is defined in the configuration as described in step 6.
In the field Authentication Code enter the optional password from Step 6. Here foo123.
Click Activate.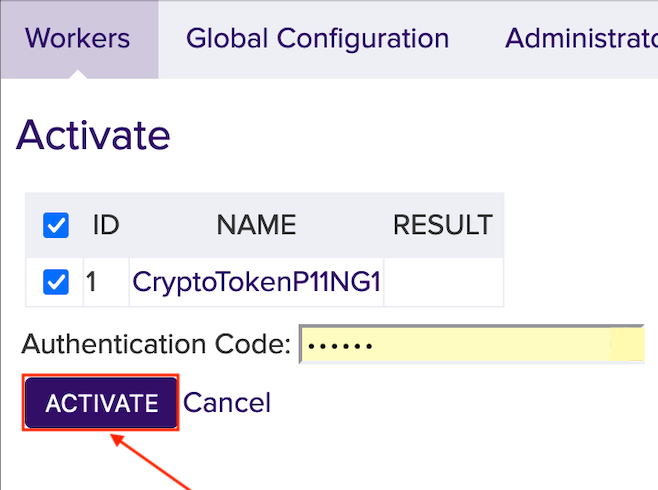
- If the default key exists and has been activated, the Crypto Worker is now ACTIVE.
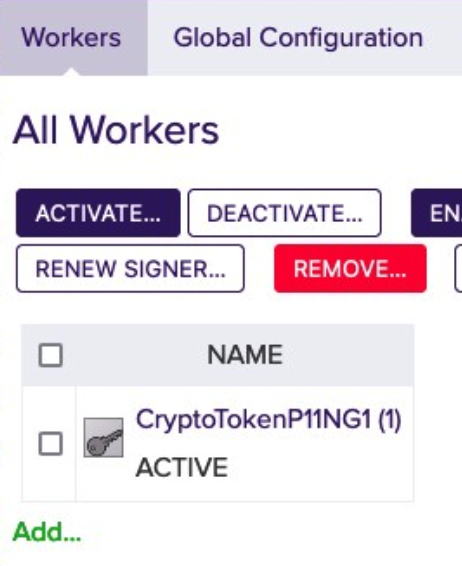
For more information please see Worker Crypto Token Page.
HSM Troubleshooting
In the section HSM Driver Controls the current HSM Driver Status is displayed.
In case of HSM problems, the HSM driver can be restarted via the Restart button.