Security: Configuring an Utimaco CryptoServer LAN
You can configure a Hardware Security Module (HSM) to store and protect your cryptographic keys. Optionally, you can use the software-based SoftHSM implementation for demonstration or testing purposes.
The following covers how to configure an Utimaco CryptoServer LAN for the Software Appliance. For more information on the Utimaco CryptoServer LAN, refer to the Utimaco SecurityServer product CD that you received with your purchase of the HSM.
If you are using the Firmware Version: SecurityServer-Se2-Series-4.32.0.3-FIPS from Utimaco, you should select this driver: SecurityServer 4.32.0.6 FIPS.
Choose between one of the following Utimacto software packages:
- SecurityServer 4.32.0.6 FIPS
- SecurityServer 4.45.5.1
- SecurityServer 4.51.0.1
Configuring an HSM for the Software Appliance is irrevocable. To change an HSM configuration, you must reset the Software Appliance.
To configure an Utimaco CryptoServer LAN for your Software Appliance, follow the steps below.
Connect the Software Appliance With the Utimaco CryptoServer LAN
To connect the Software Appliance with the HSM:
- Log in to your Software Appliance and open the Security page or click Configure HSM in the Overview.
In the HSM Configuration section, select Utimaco CryptoServer LAN to access the Configuration fields.
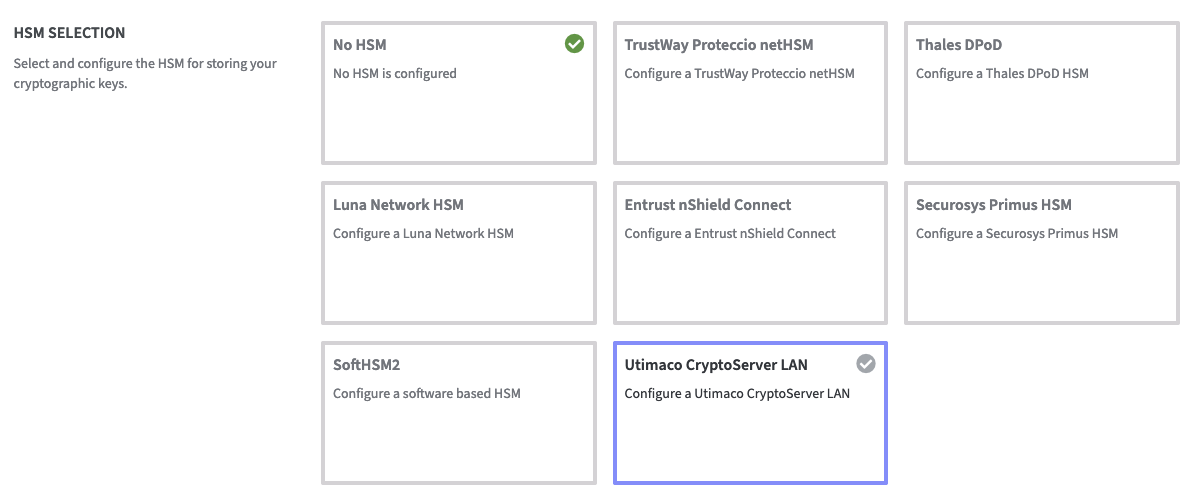
HSM Client Version
Click on the HSM Client you want to use.
Connection Settings
- HSM IP Address / FQDN:
Enter the IP address or the Fully Qualified Domain Name (FQDN) of the HSM. Only IPv4 addresses are supported. - HSM Port:
Enter the Port of the Utimaco CryptoServer LAN. Connection Timeout:
Enter the timeout in milliseconds to wait for a non-responding device.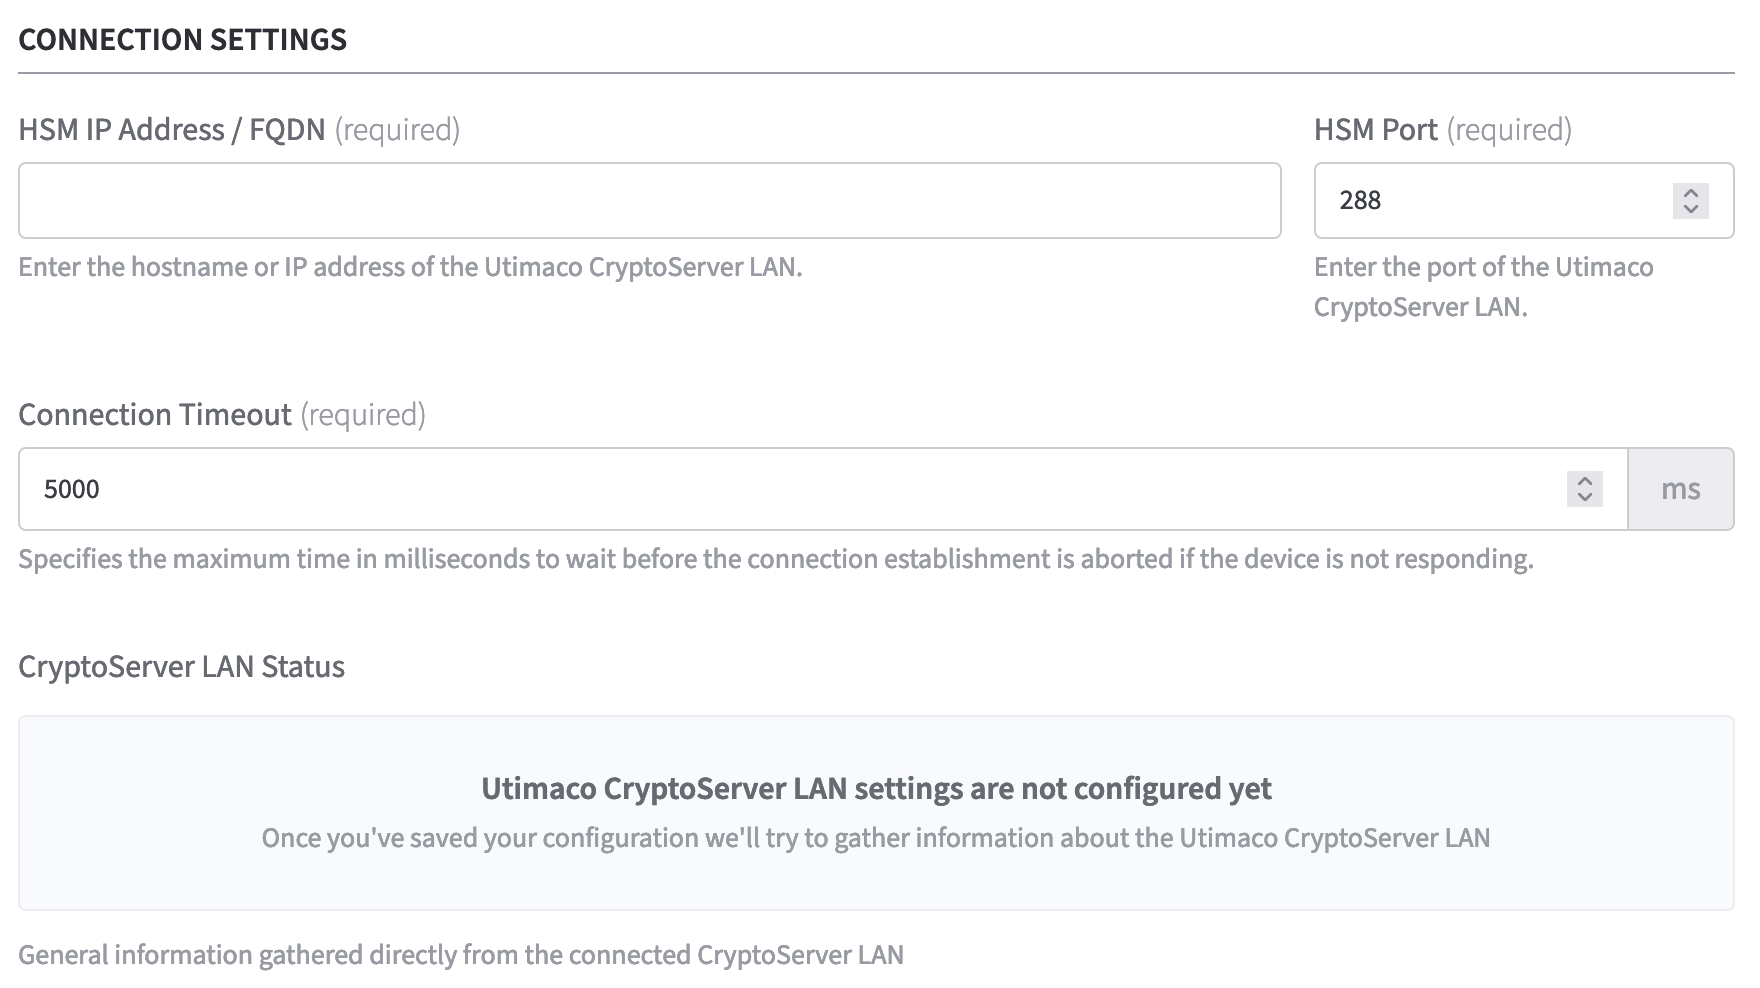
- HSM IP Address / FQDN:
PKCS#11 Related Settings
- Command Timeout:
Enter the time in milliseconds to wait for the answer from CryptoServer after sending a command.
Increase the default value if you know your device to be slow. Slot Count:
Enter the amount of slots configured on your Utimaco CryptoServer LAN.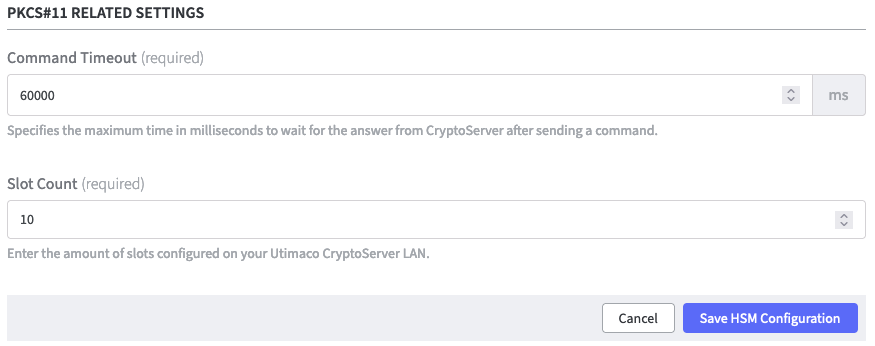
- Command Timeout:
Finalize with Save HSM Configuration.
A warning appears to inform you that after saving HSM configuration you can no longer switch to a different HSM.
To change the HSM configuration, you need to reset your SignServer Software Appliance. Proceed by clicking Activate.
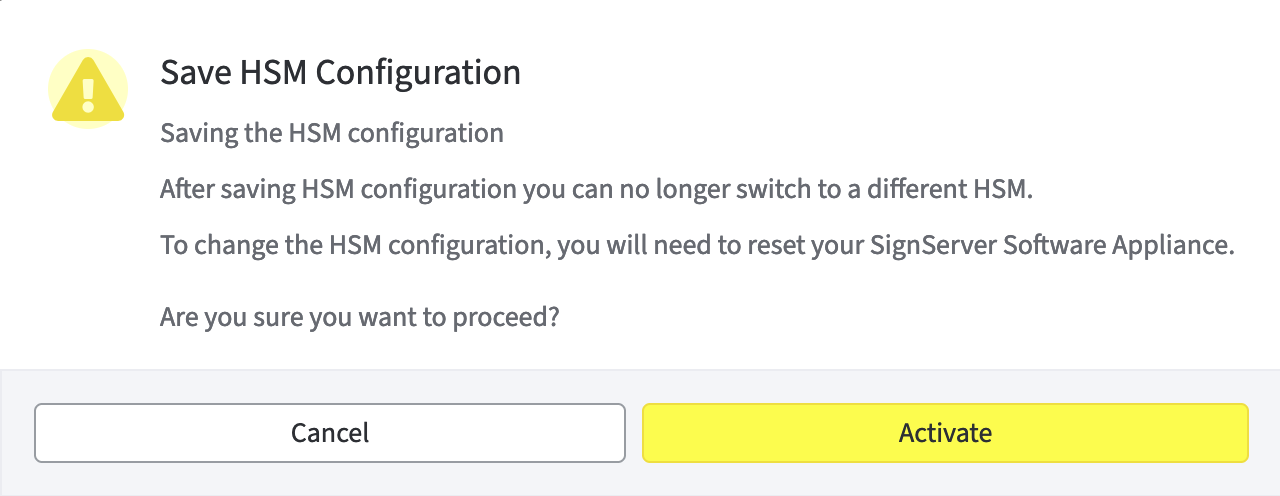
Proceed with Activate.
The CryptoServer LAN Status information will be shown.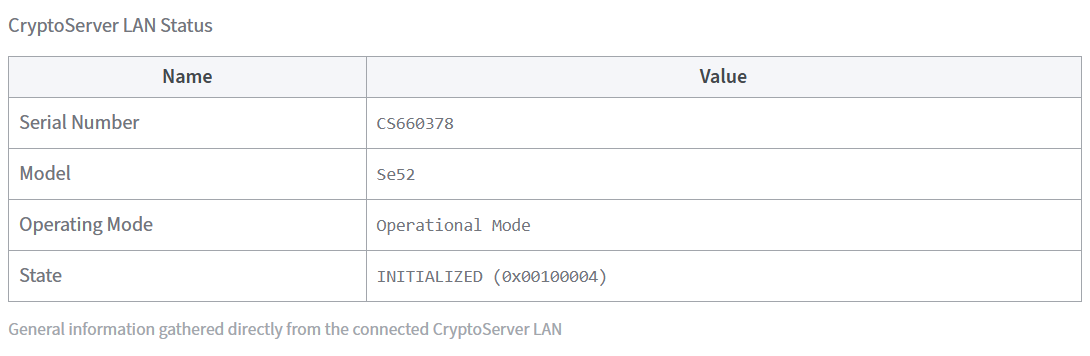
On the Security page of the application, the status of the HSM Driver will change from Not Connected to Connected as soon as the configuration is completed.
On the Overview page of the application, the status in the HSM Overview also changes to Connected as soon as the configuration is completed. During configuration, the appliance is in the Restarting status. During this time, it is not available.
Once the SignServer is running again, you can proceed with adding a Crypto Worker.
Add a Crypto Worker in SignServer
To create a Crypto Worker:
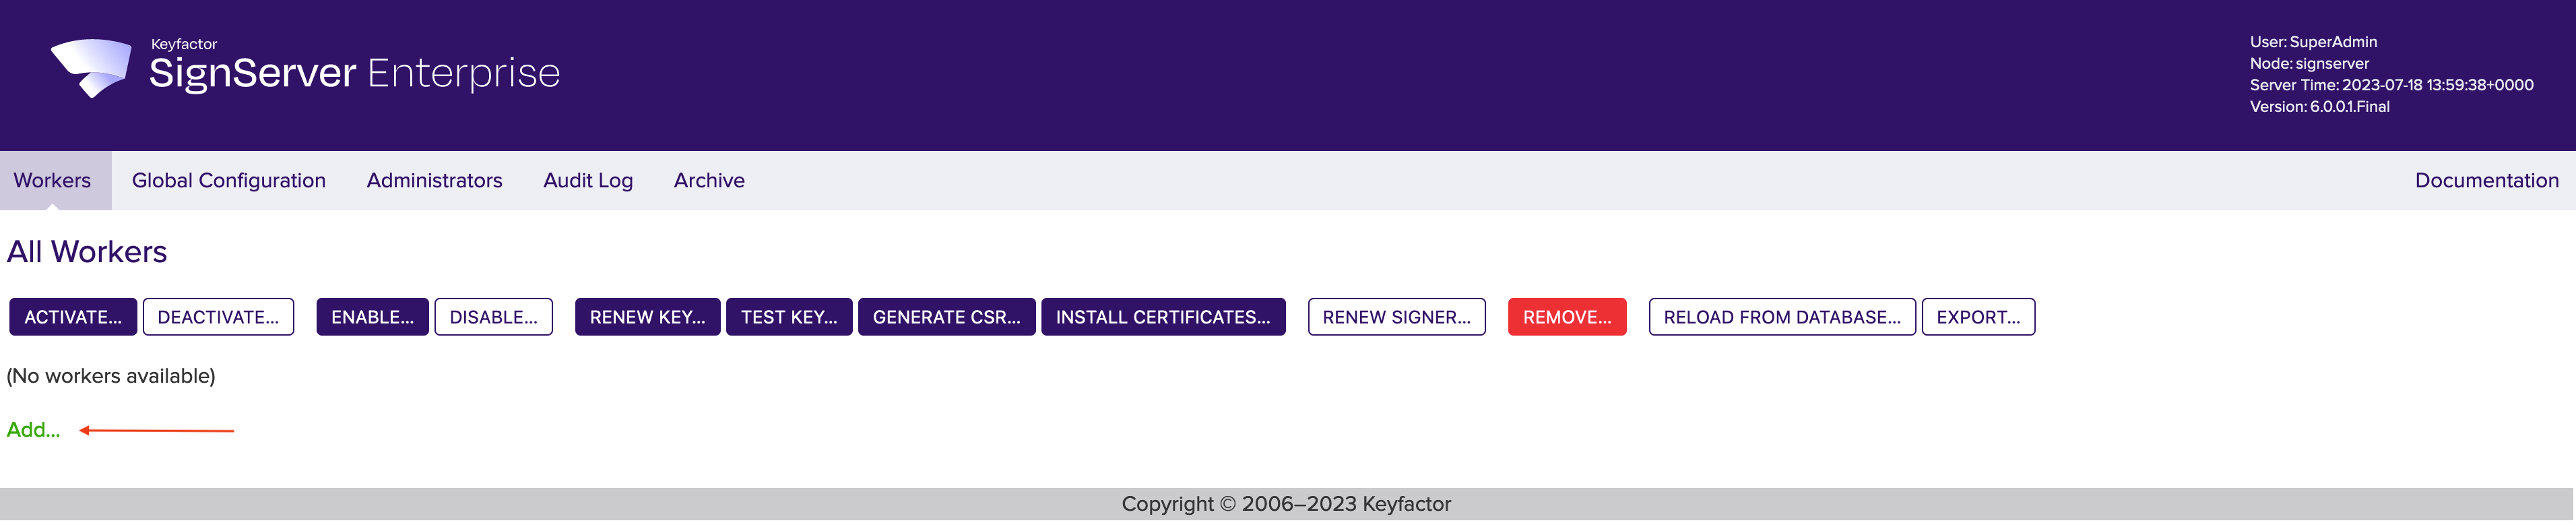
- In the Overview page of the Software Appliance, click Admin Web for SignServer.
- The SignServer page opens.
- Click Add... to continue.
- In the top menu, select Worker. You can choose the method you want to use to configure the Worker. In this example we will work with From Template.
Click From Template to continue.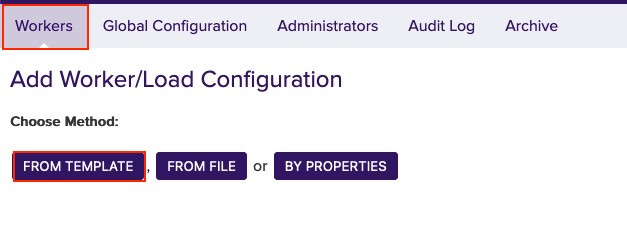
- Open the drop-down menu under Load from Template. Here you can select the worker to be configured. In this example we will work with p11ng-crypto.properties.
Click Next to continue.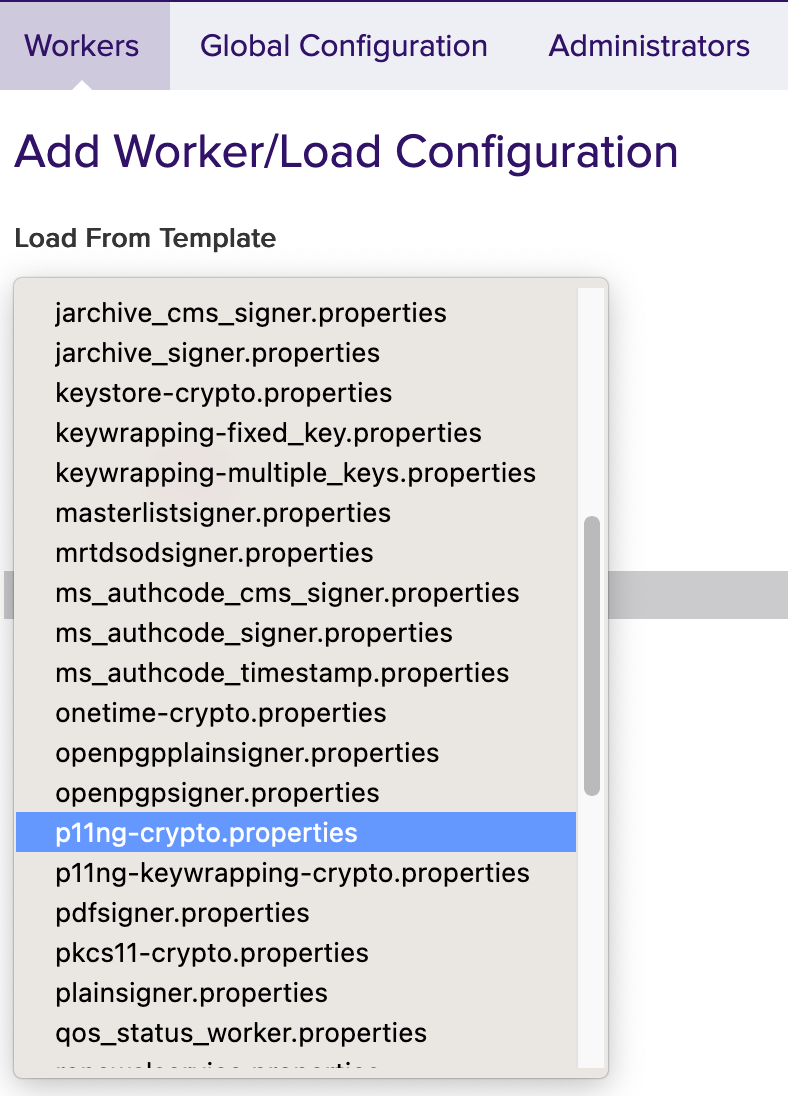
The Configuration page opens.
WORKERGENID1.NAME=CryptoTokenP11NG1: this name can be customized (CryptoTokenP11NG1) as desired.
WORKERGENID1.SHAREDLIBRARYNAME=P11 Proxy should be configured as default.
# Method will specifying the slot to use. Here it is important to know if the HSM uses SLOT_NUMBER or SLOT_INDEX. Select the applicable one.
To deselect it, put # in front of it.
To enable it, remove # in front of it.
The # can be replaced for the slot to be used and specify the number of the HSM slot instead.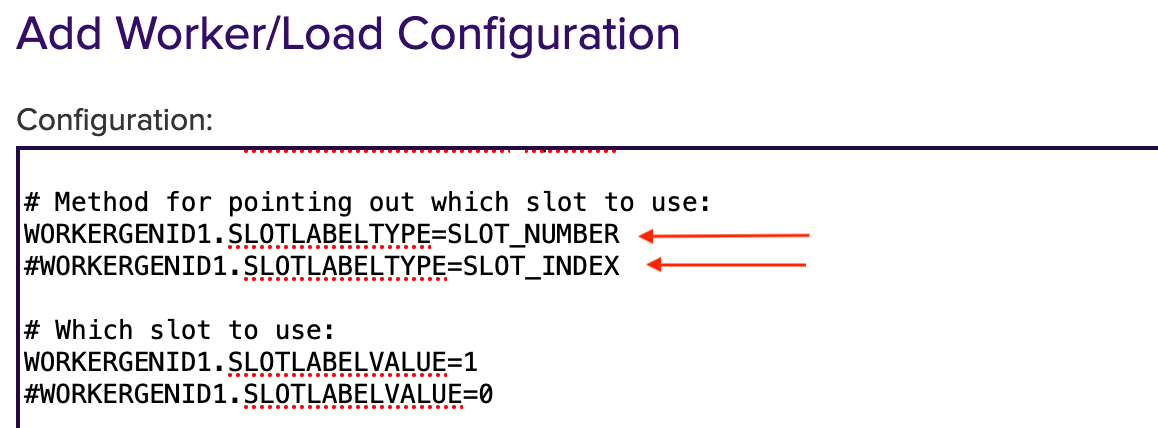
#WORKERGENID1.PIN=foo123 here the password can be enabled or disabled.
To deselect it, put # in front of it.
To enable it, remove # in front of it.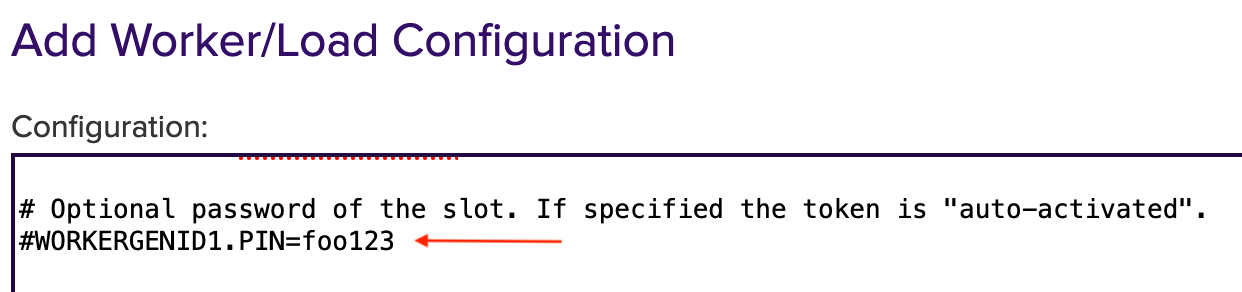
# Optional PKCS#11 attributes is used for key generation, you can select the attributes.
To deselect it, put # in front of it.
To enable it, remove # in front of it.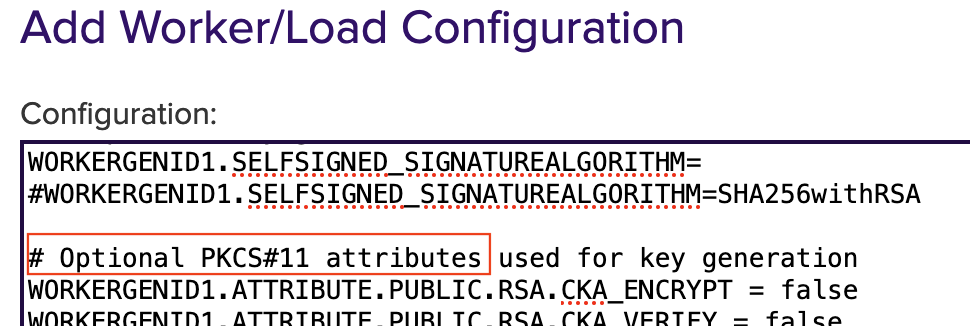
WORKERGENID1.DEFAULTKEY=testkey0 here you can add an existing key or use the default key.
Click Apply to save the settings.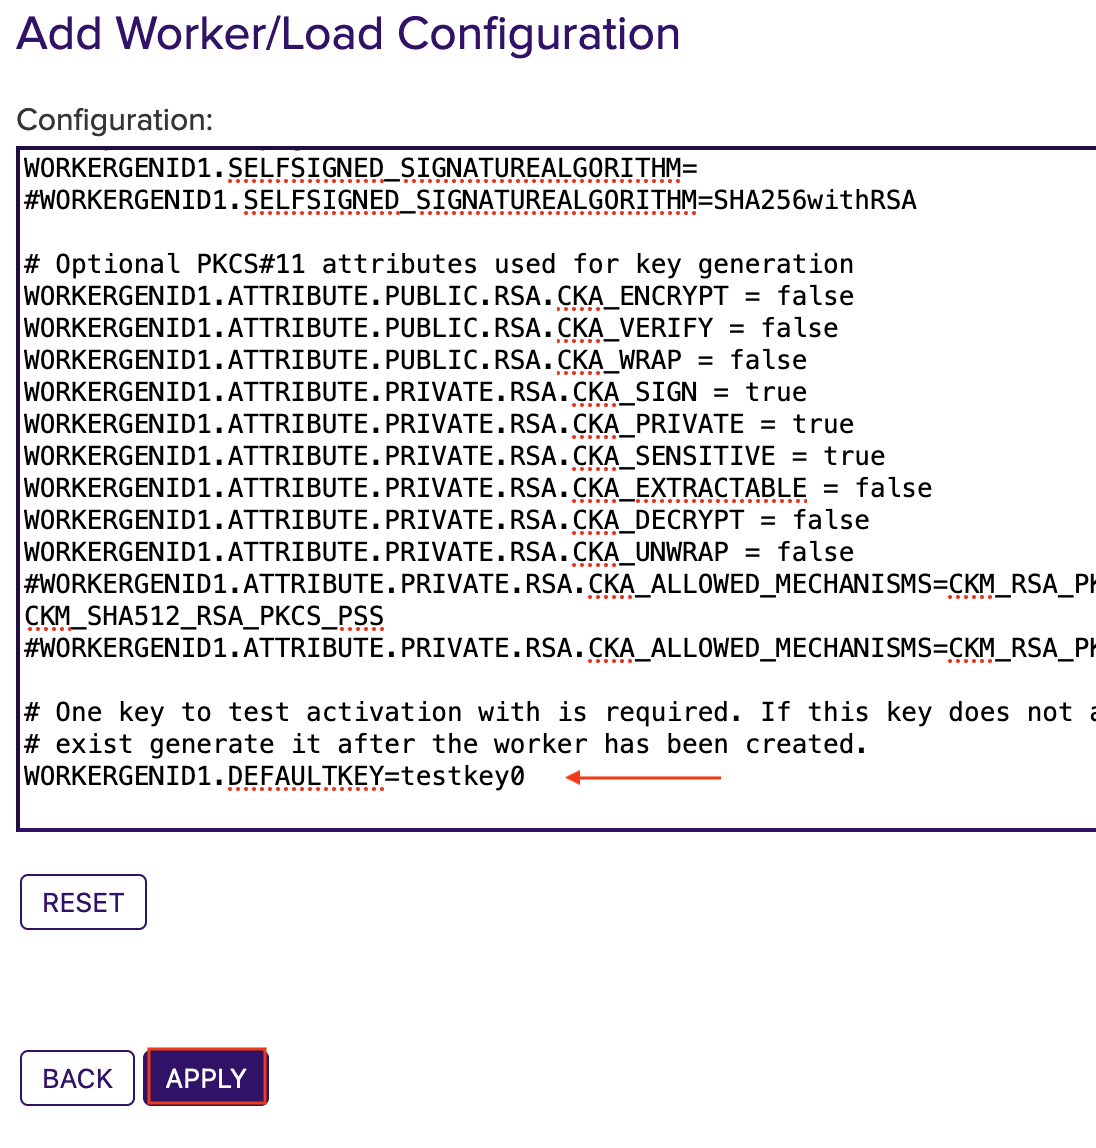

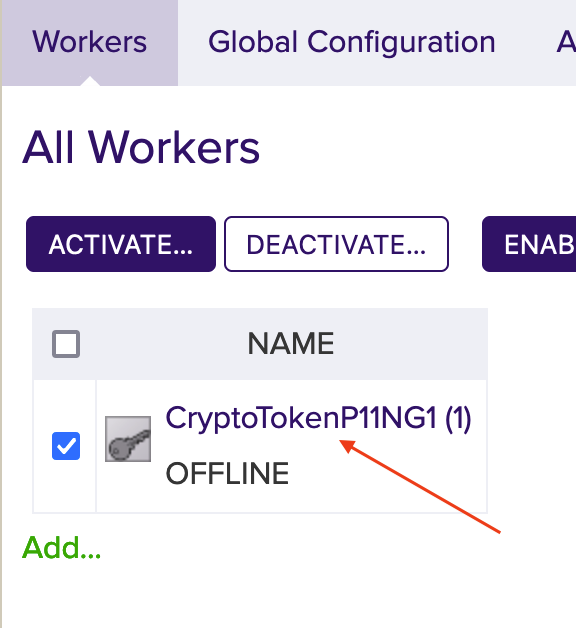
The token (CryptoTokenP11NG1) is automatically logged in when the PIN is set in the Crypto Worker configuration.
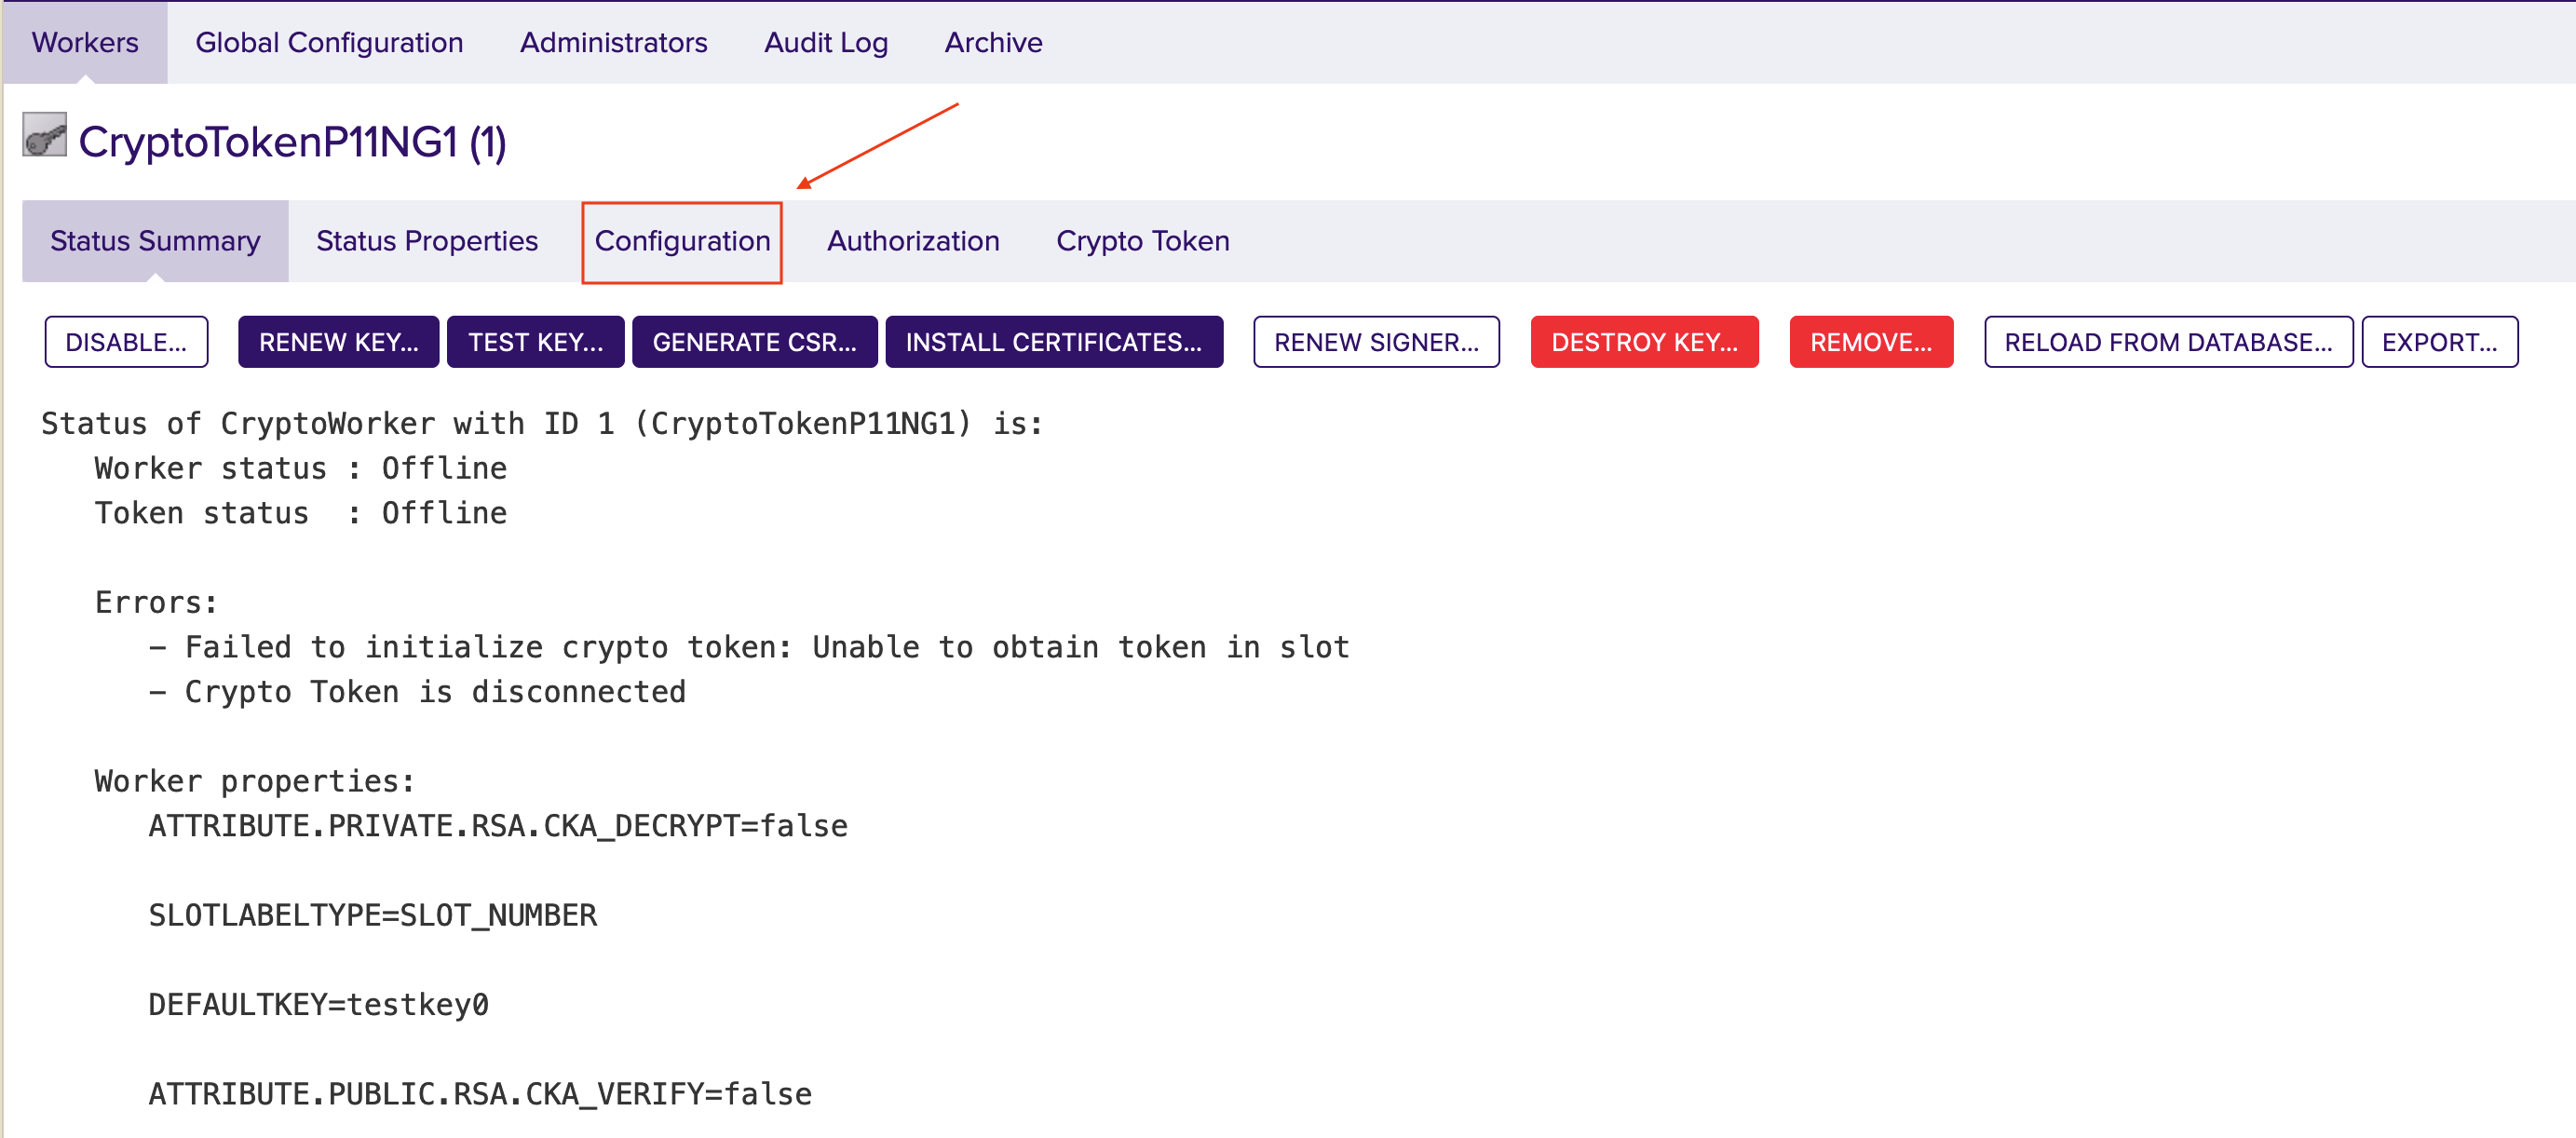
- The Worker is not activated yet. Click on the created token and you will see the information about the token in the Status Summary.
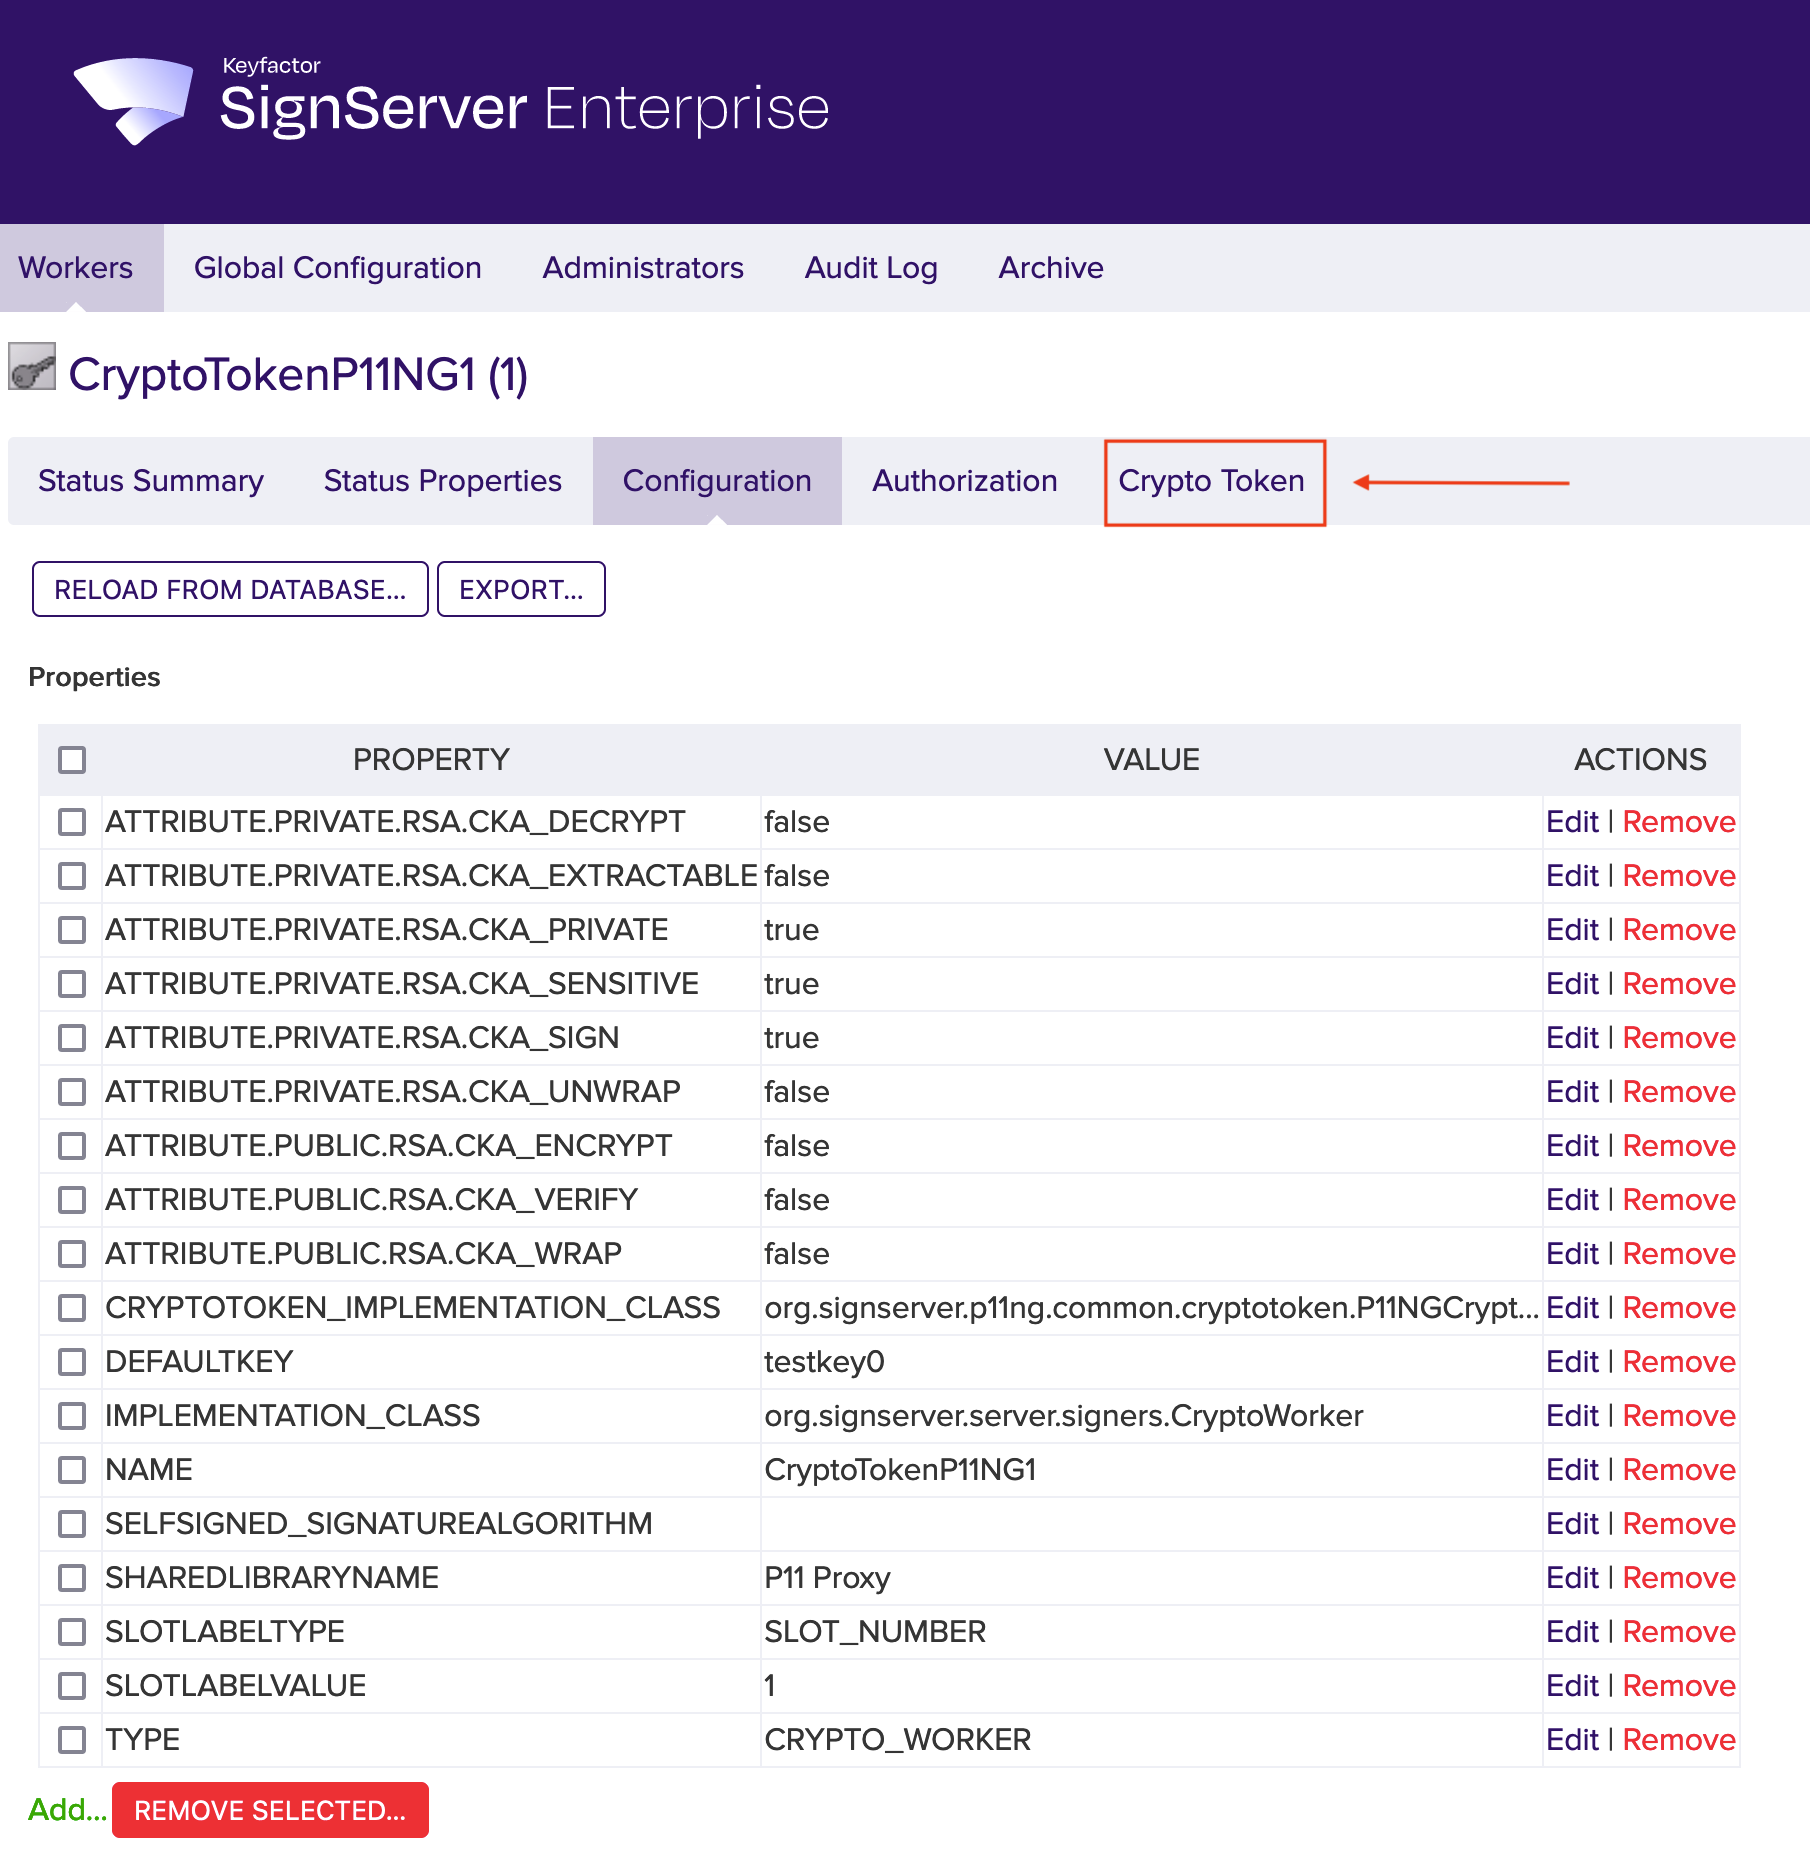
- Click the Configuration tab to view the full configuration of the token.
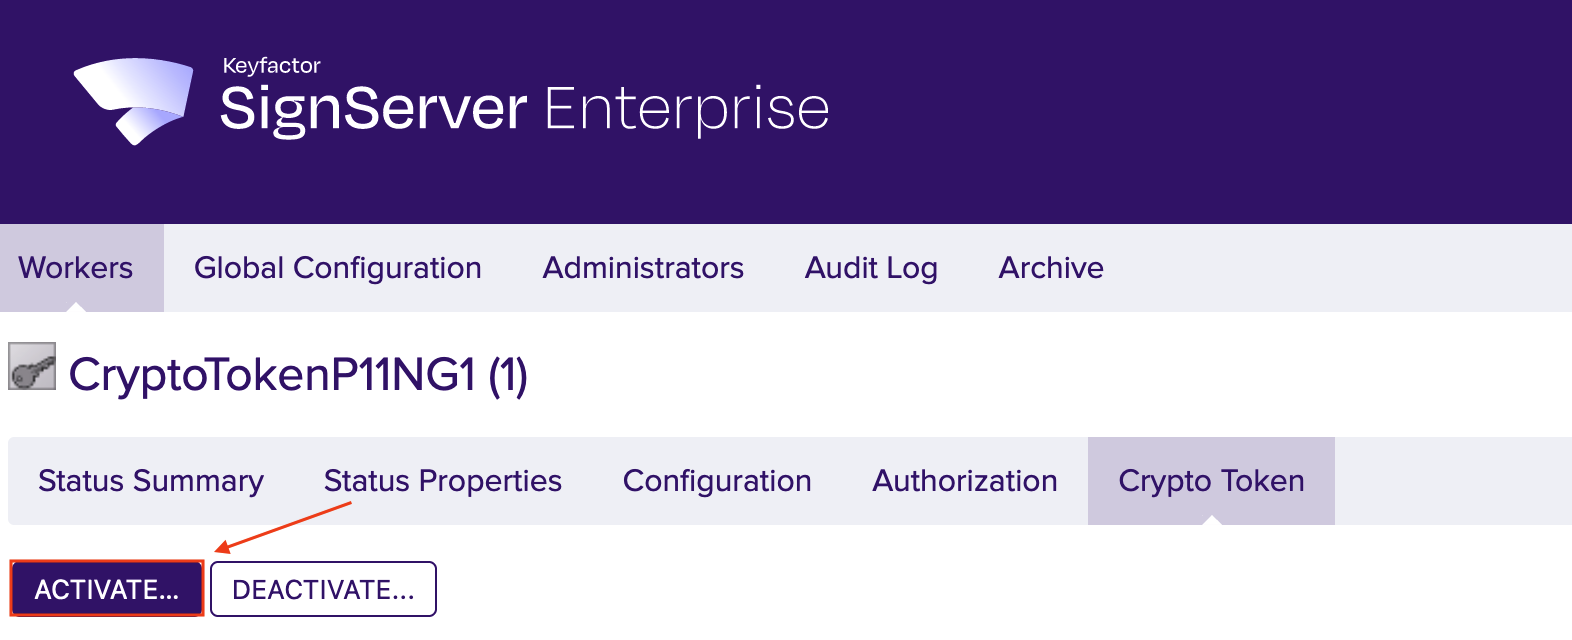
- If the configuration meets your needs, click the Crypto Token tab. Edit them if necessary.
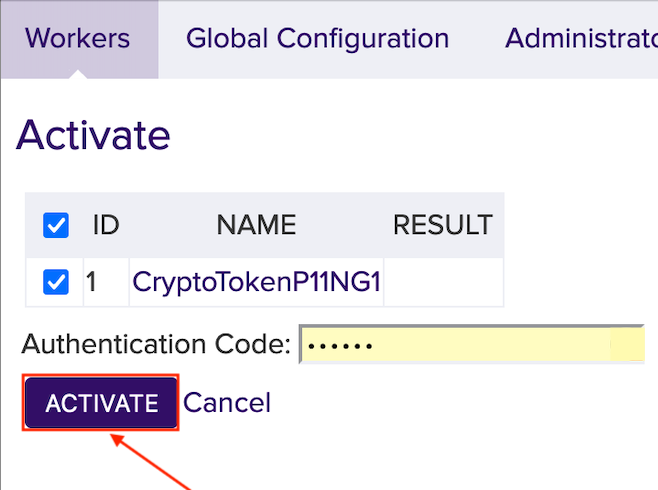
Click Activate.
This step is optional!
The latest version of SignServer logs on automatically if the correct PIN is defined in the configuration as described in step 6.In the field Authentication Code enter the optional password from Step 6. Here foo123.
Click Activate.
If the default key exists and has been activated, the Crypto Worker is now ACTIVE.
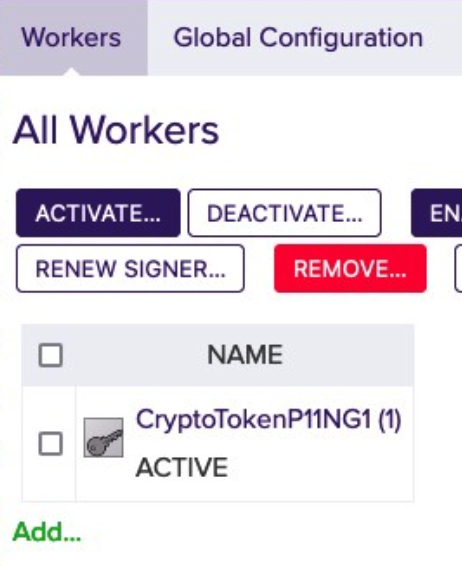
For more information please see Worker Crypto Token Page.
HSM Troubleshooting
In the section HSM Driver Controls the current HSM Driver Status is displayed.
In case of HSM problems, the HSM driver can be restarted via the Restart button.