Step 9: Create End Entity Profiles for SubCAs in Node A
End entity profiles define which parts of the user DN will be registered for various types of end entities. It defines, for example, the preset part and the part that can be altered. It also contains other information for issuing certificates, that is specific to each individual end entity. For each SubCA you will configure a different end entity profile.
The following sections describe the actions you have to perform.
Create End Entity Profile for AuthCA in Node A
This section describes the creation of the end entity profile for the end entities that will use AuthCA.
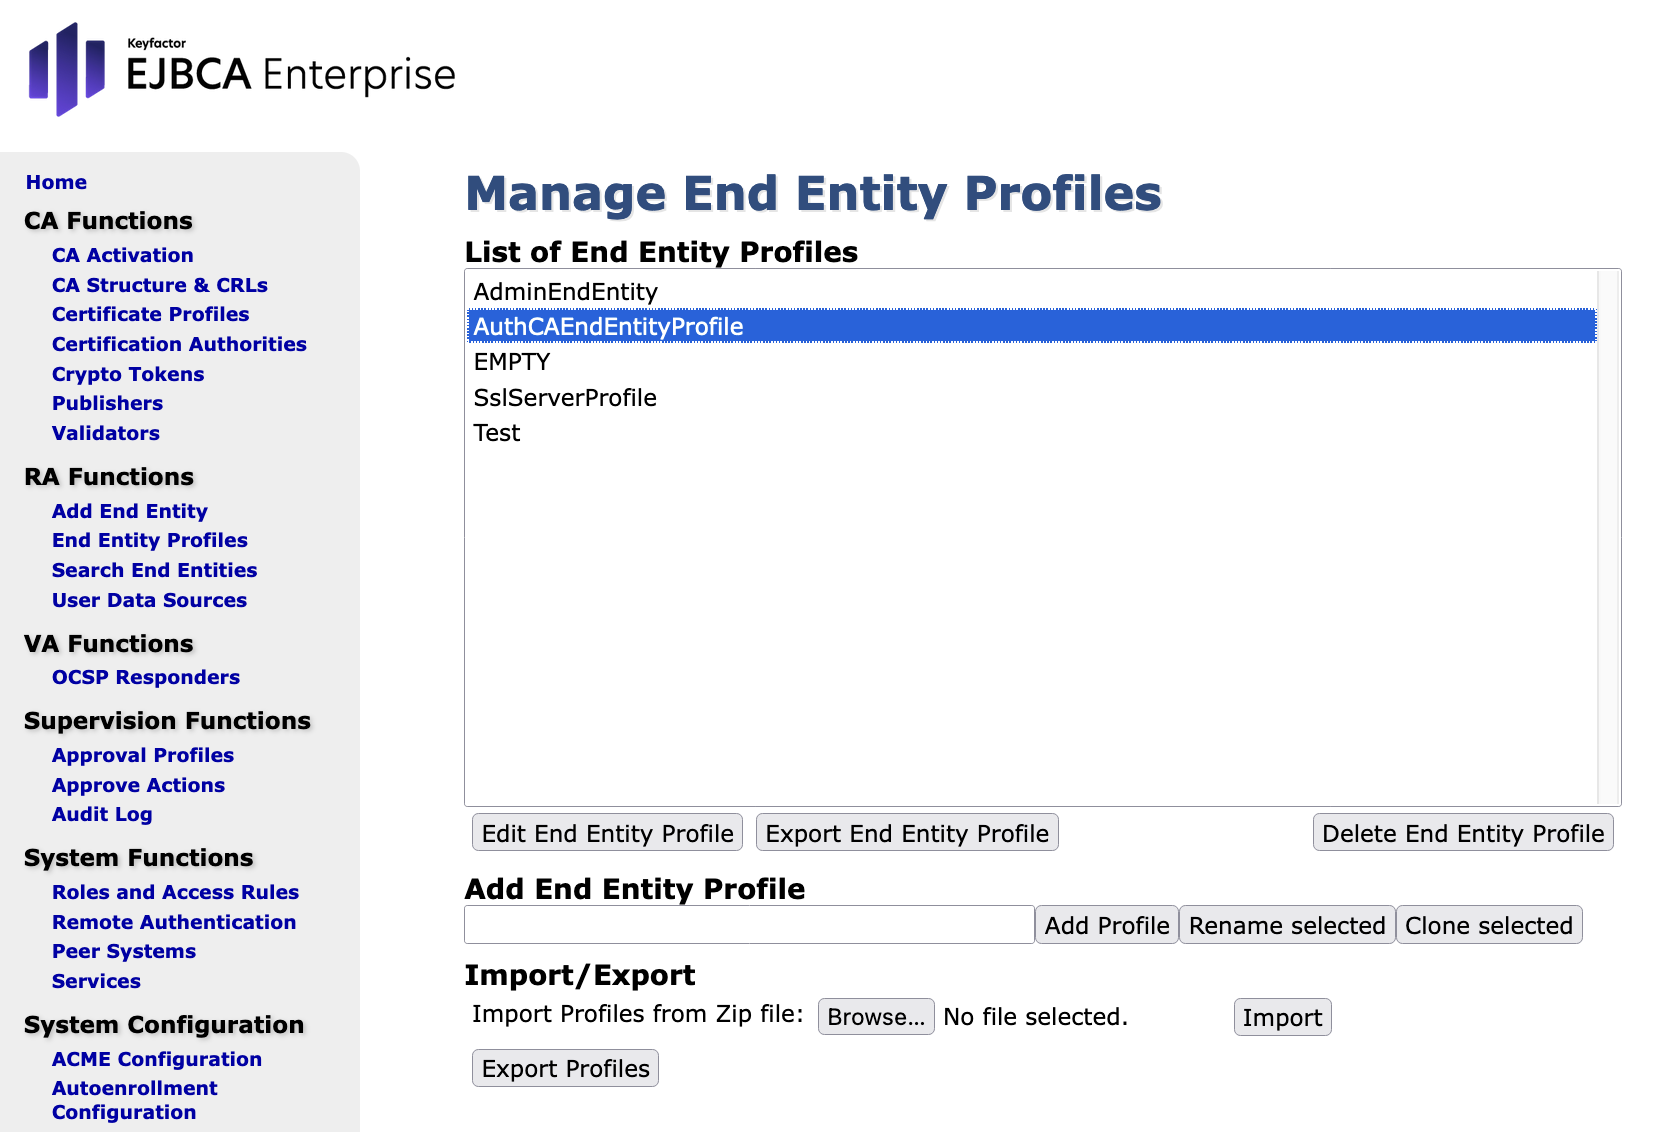
- Open RA Functions > End Entity Profiles.
- In the field Add End Entity Profile enter AuthCAEndEntityProfile .
- Click Add.
- In the list List of End Entity Profiles select AuthCAEndEntityProfile.
Click Edit End Entity Profile:
In the Edit form make the following entries:
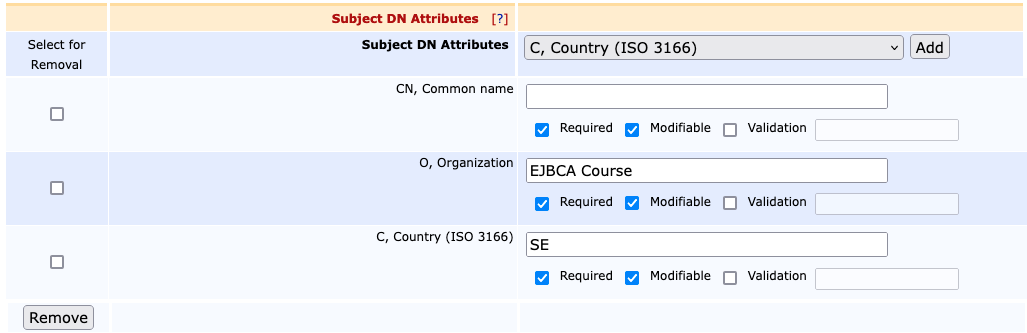
- Subject DN Attributes:
Enter the appropriate value. - CN, Common name: Enable Modifiable
- O, Organization: Enable Required and enter EJBCA Course
- C, Country (ISO 3166): Enable Required and enter SE
Section Main Certificate Data - Default Certificate Profile: Select AuthCAEndEntityCertificateProfile
- Available Certificate Profile: Select AuthCAEndEntityCertificateProfile
- Default CA: Select AuthCA
- Available CA: Select AuthCA
- Default Token: Select User generated
Available Tokens: Select User generated and P12 file
- Subject DN Attributes:
Confirm your entries with Save.
Create End Entity Profile for SignCA in Node A
This section involves the creation of the End Entity Profile for the End Entities that will use SignCA.
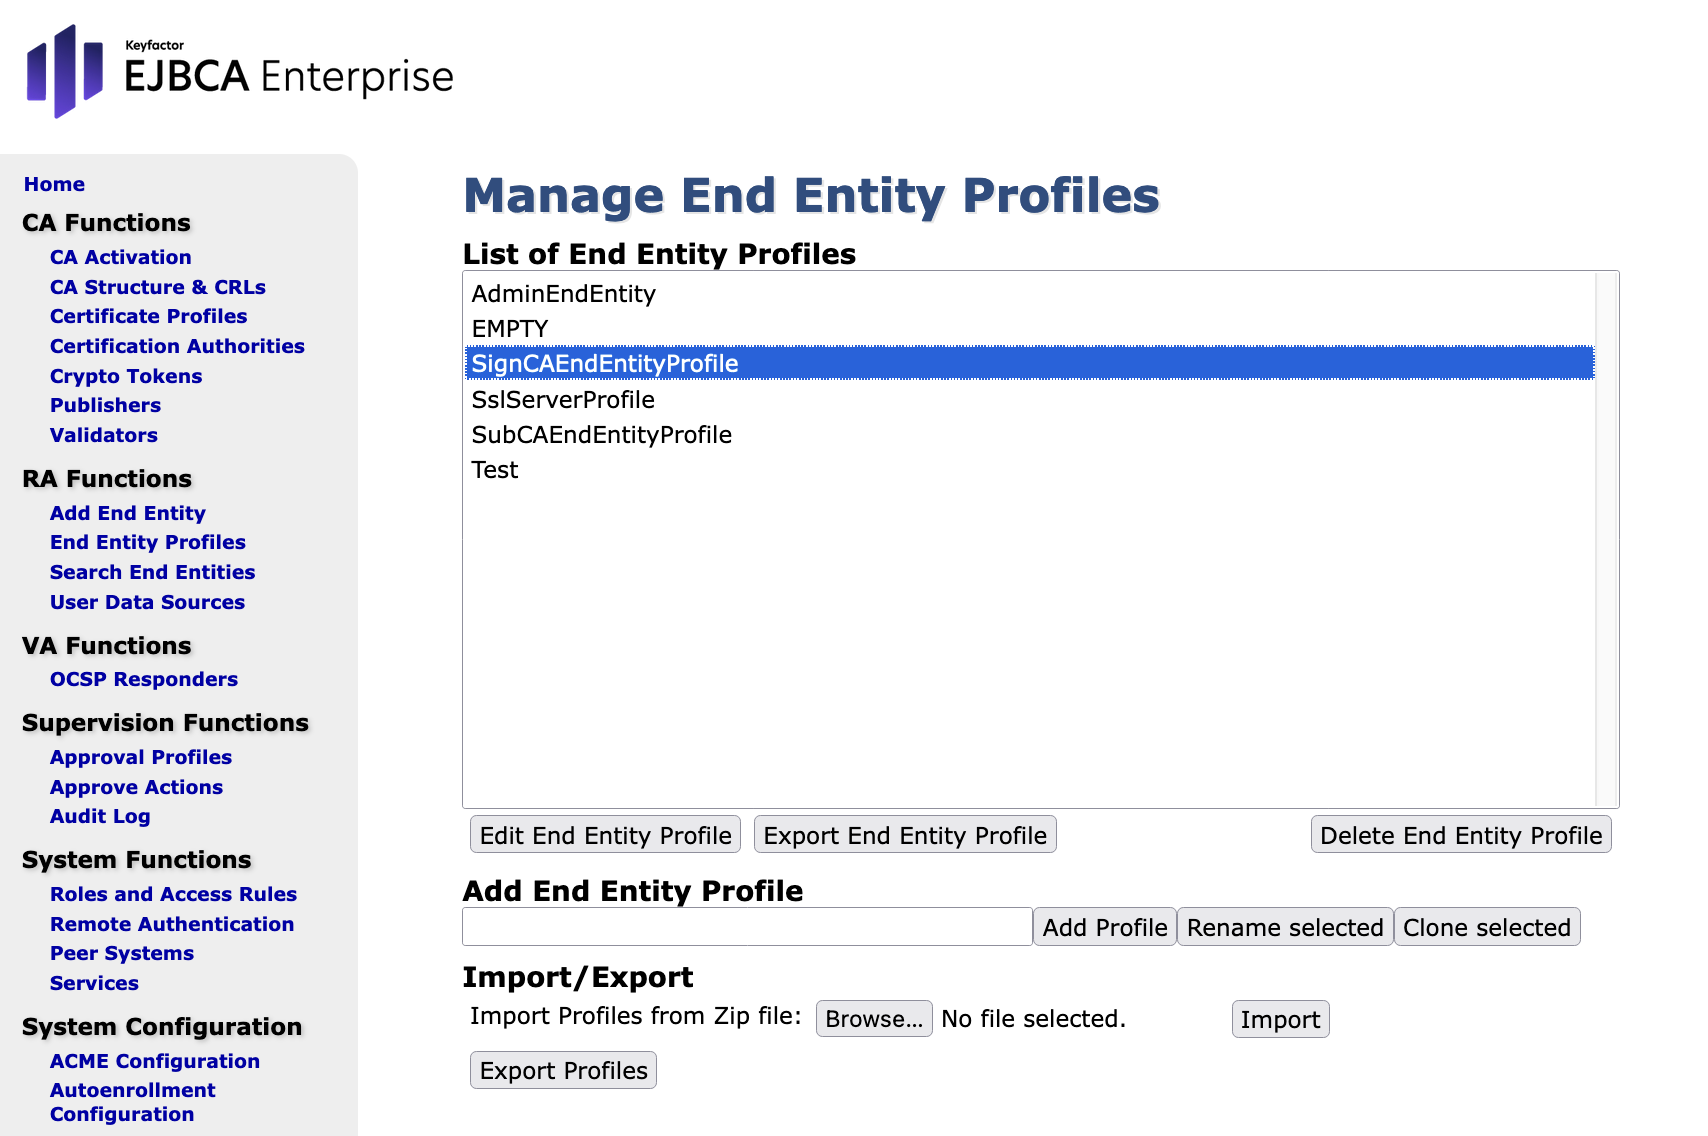
- Click on End Entity Profiles under RA Functions.
- Write SignCAEndEntityProfile in Add End Entity Profile text field.
- Click Add.
- Highlight SignCAEndEntityProfile from List of End Entity Profiles.
Click Edit End Entity Profile:
In the Edit form make the following entries:
- Subject DN Attributes:
Enter the appropriate value. - CN, Common name: Enable Modifiable
- O, Organization: Enable Required and enter EJBCA Course
- C, Country (ISO 3166): Enable Required and enter SE
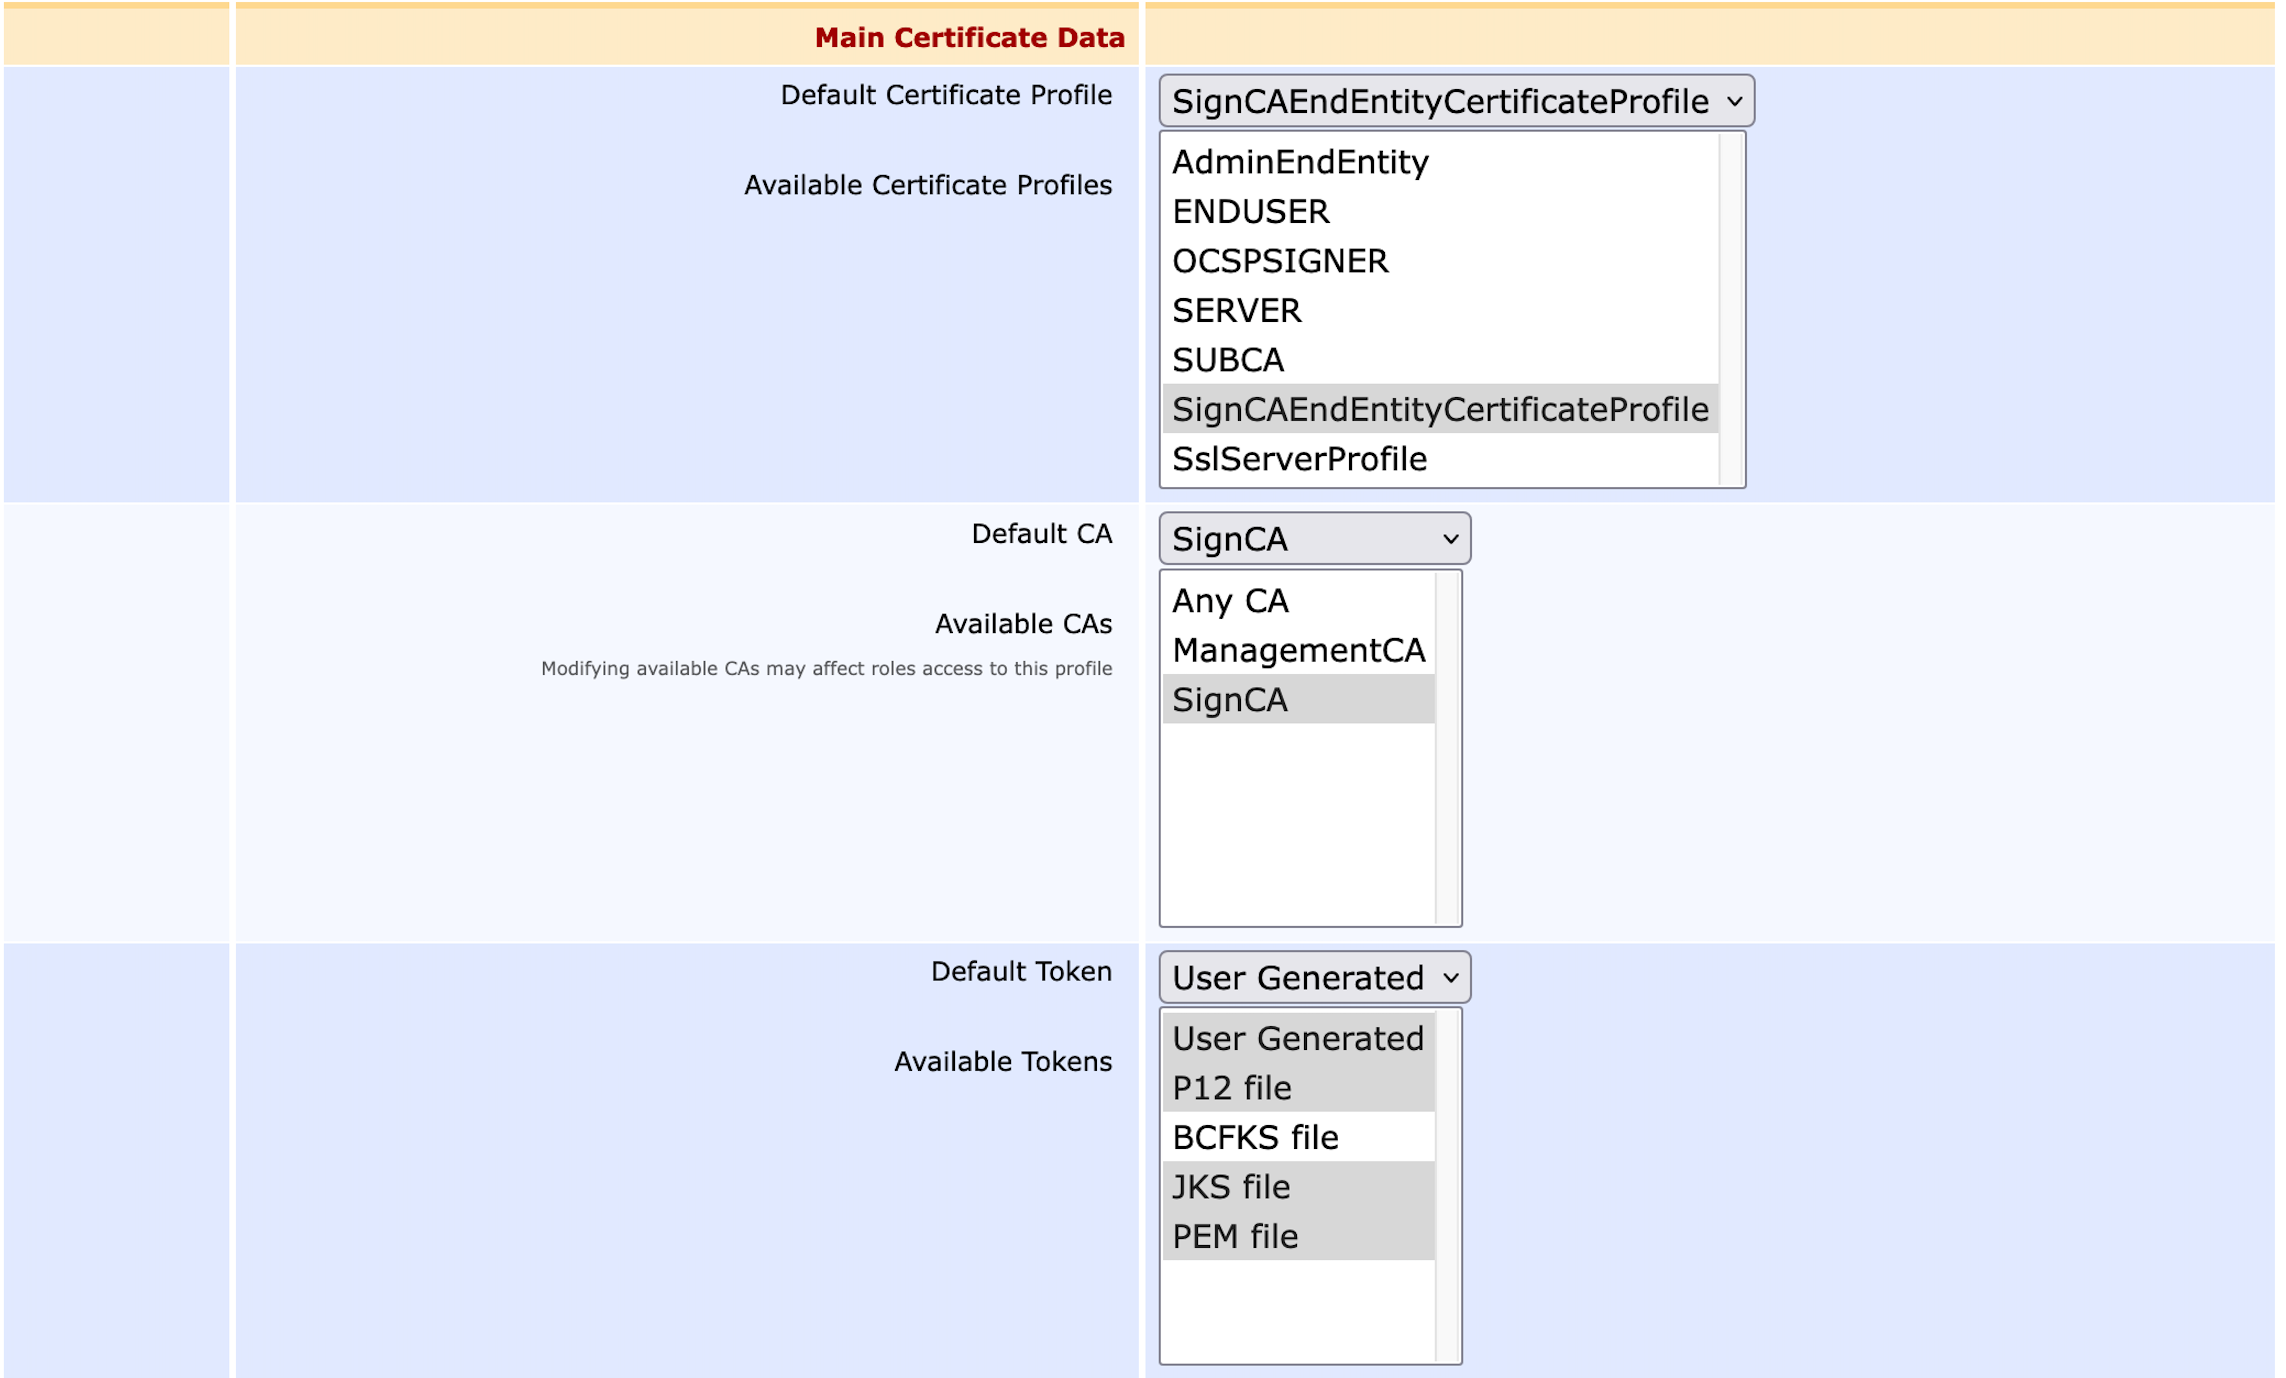
Section Main Certificate Data - Default Certificate Profile: Select SignCAEndEntityCertificateProfile
- Available Certificate Profile: Select SignCAEndEntityCertificateProfile
- Default CA: Select SignCA
- Available CA: Select SignCA
- Default Token: Select User generated
Available Tokens: Select User generated
Remember that we have used Non-repudiation in its certificate profile. That ensures that users only are responsible for the creation and storage of their public key in a smart card. Compare section Create Certificate Profile for End Entities that will use SignCA.
- Subject DN Attributes:
- Confirm your entries with Save.
Create End Entity Profile for SSLCA in Node A
This section describes the creation of the end entity profile for the end entities that will use SSLCA.
- Open RA Functions > End Entity Profiles.
In the Add End Entity Profile field enter SSLCAEndEntityProfile.
- Click Add.
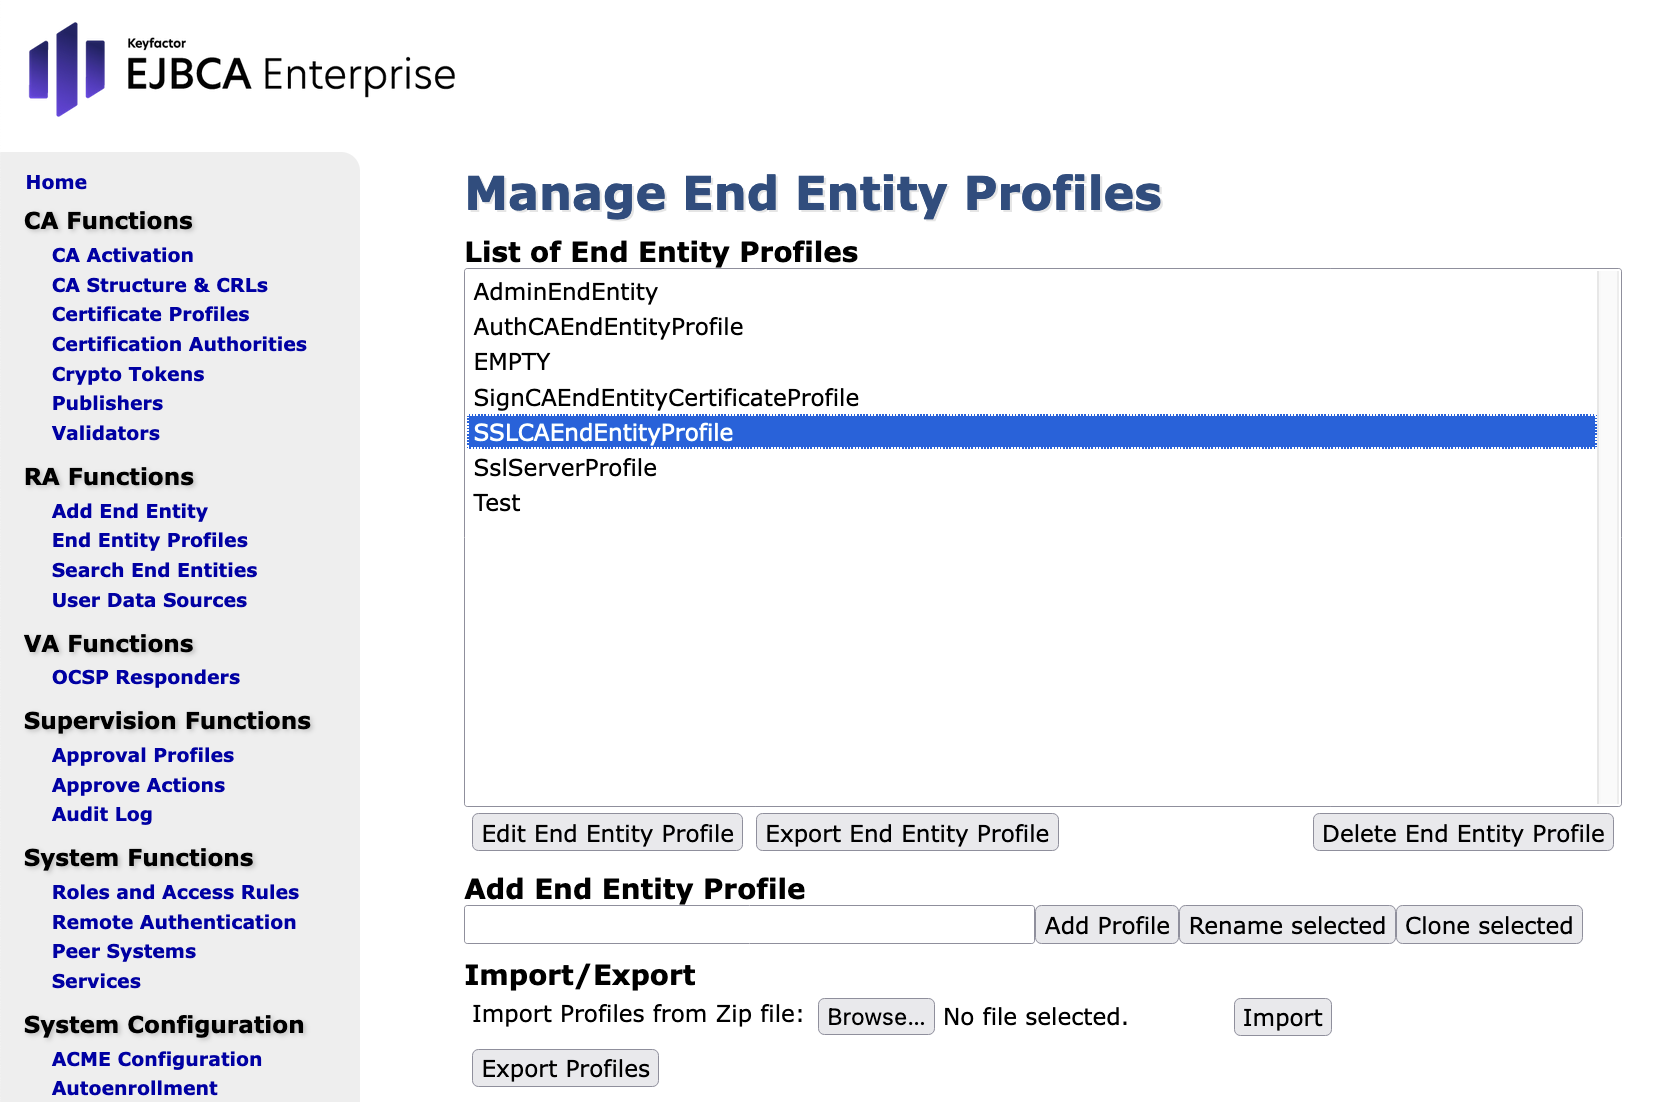
- Select SslServerProfile and click Use selected as template.
Select SSLCAEndEntityProfile from the list List of End Entity Profiles and click Edit End Entity Profile:
In the Edit form, make the following entries:
- Subject DN Attributes:
Enter the appropriate value. - CN, Common name: Enable Modifiable
- O, Organization: Enable Required and enter EJBCA Course
- C, Country (ISO 3166): Enable Required and enter SE
Section Main Certificate Data - Default Certificate Profile: Select SSLCAEndEntityCertificateProfile
- Available Certificate Profile: Select SSLCAEndEntityCertificateProfile
- Default CA: Select SSLCA
- Available CA: Select SSLCA
- Default Token: Select User generated
Available Tokens: Select P12 file, User Generated, JKS file, and PEM file
- Subject DN Attributes:
Confirm your entries with Save.