Integrating EJBCA with Azure AD Role Based Authentication (RBAC)
ENTERPRISE This is an EJBCA Enterprise feature.
This provides steps for integrating Azure role-based access control (Azure RBAC) and EJBCA.
By integrating EJBCA roles with Azure's roles, administrators can use Azure Active Directory Users and Groups to manage access to EJBCA. This allows administrators to allow access to EJBCA to individual users or to Azure AD groups, instead of managing access in EJBCA's administration screens.
Azure AD allows you to create roles for registered applications, then assign those roles to users or groups to control access to those applications. The following sections describe how to map from an Azure AD role to an EJBCA role.
Prerequisites
To integrate EJBCA and Azure AD's Role Based Access Control (RBAC), Azure AD must first be configured as a Trusted OAuth Provider.
For more information and instructions on configuring Azure AD as an OAuth provider, see OAuth Provider Management and Setting up OAuth Using Azure Active Directory.
Step 1 - Create an EJBCA-specific Application Role
In addition to the roles used by Microsoft Azure's services, registered applications can also have application-specific roles and assign those roles to Azure AD groups and users. The first step is to create such a role for the EJBCA application registered previously.
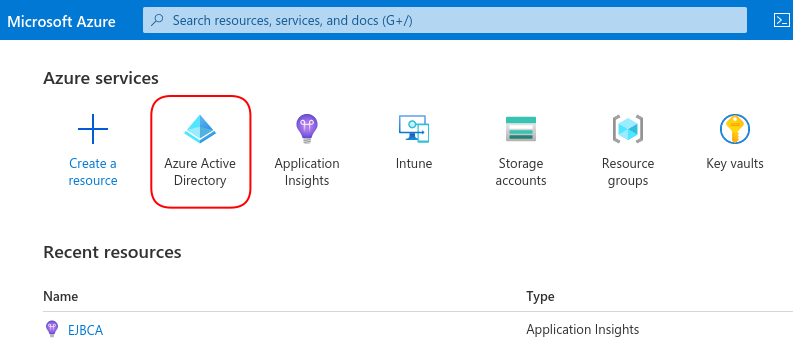
- Open the Azure portal and select Azure Active Directory.
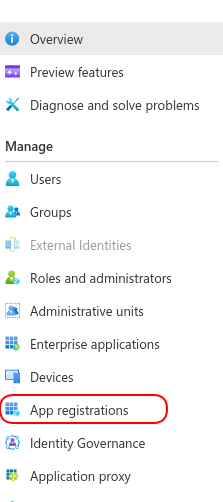
- In the left-hand menu, select App Registrations.
- Find the EJBCA registration you created previously.
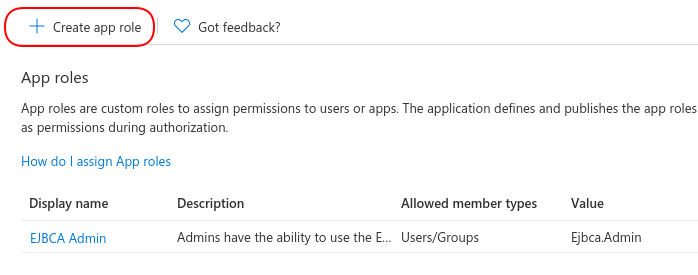
- In the left-hand menu, select App Roles and then select Create app role.
- Specify the following for the new app role:
- Display name: Give the role a meaningful name. For example, if you are creating a role that allows users to use the EJBCA Admin screens, you might choose "EJBCA Admin".
- Allowed member types: If this role is to be used with the EJBCA Web UIs, select Users/Groups as member types. If this role is to be used with the EJBCA APIs, select Applications.
- Value: Value is a string identifier that will be used later when matching this role in EJBCA. Specify a short, meaningful string, for example, "Ejbca.Admin". Note that the value cannot contain spaces.
- Description: Specify a description for the role.
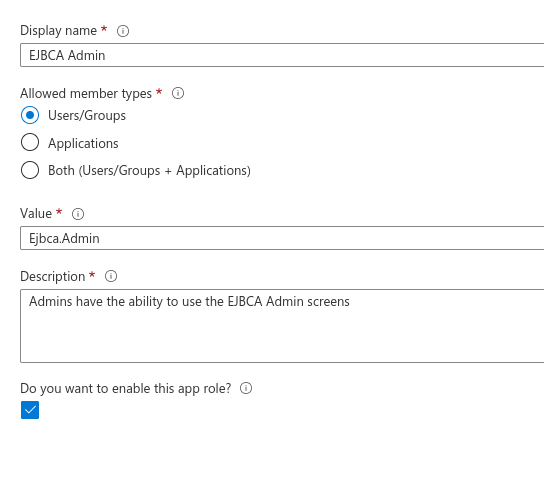
- Click Apply to create the role.
Now that the role is created, continue with configuring Azure AD to communicate the role information to EJBCA during login
Step 2 - Configure Azure AD to Include Role Information in Auth Tokens
Azure AD communicates authentication and authorization information to registered applications by sending auth tokens during the login process. To use the role created above, Azure AD needs to be configured to send the role information just created to EJBCA when an appropriate user logs in.
To configure Azure AD to include role information in tokens:
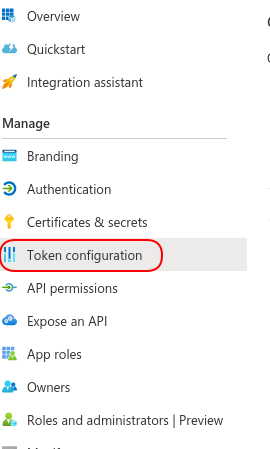
- When viewing the registered application, on the left-hand menu, select Token Configuration.
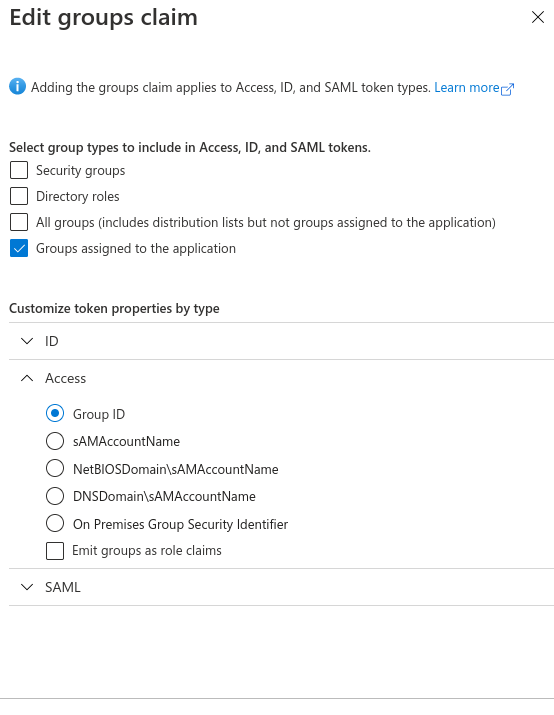
- Select Add groups claim and specify the following:
- Select Groups assigned to the application.
- In the Access token type, select Group ID.
Azure AD is now configured to communicate the role information to EJBCA during login.
Step 3 - Add the Role to Users or Groups
Now that the role has been created and Azure AD is configured to communicate role information to EJBCA during login, the role needs to be assigned to users.
To assign the role to users:
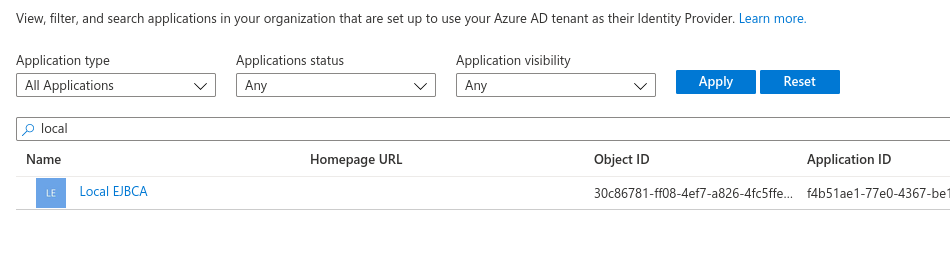
- In the Azure portal, select Azure Active Directory and select Enterprise applications.
- Under Application type, select All Applications. Then start typing the name of your registered EJBCA application in the search field and select the EJBCA application from the list.
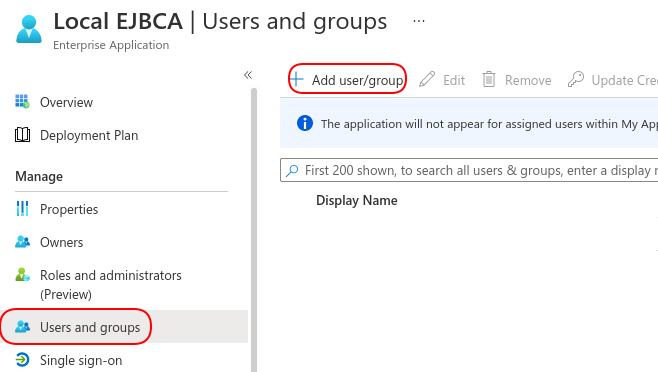
- On the left-hand menu, select Users and groups and then select Add user/group.
- Select the None Selected link to open a search menu and select the user or group to enable access to the role. Select the role created in Step 1 - Create an EJBCA-specific Application Role, in this example EJBCA Admin.
- Click Assign.
Repeat this process to manage access to EJBCA via Azure AD.
Step 4 - Configure EJBCA to Map from the Azure AD Role to EJBCA Roles
Azure AD is now configured to authenticate users and groups and send that information to EJBCA.
The final step is to configure EJBCA to map the Azure AD role to an EJBCA role. For more information on how to use EJBCA roles, see Roles and Access Rules.
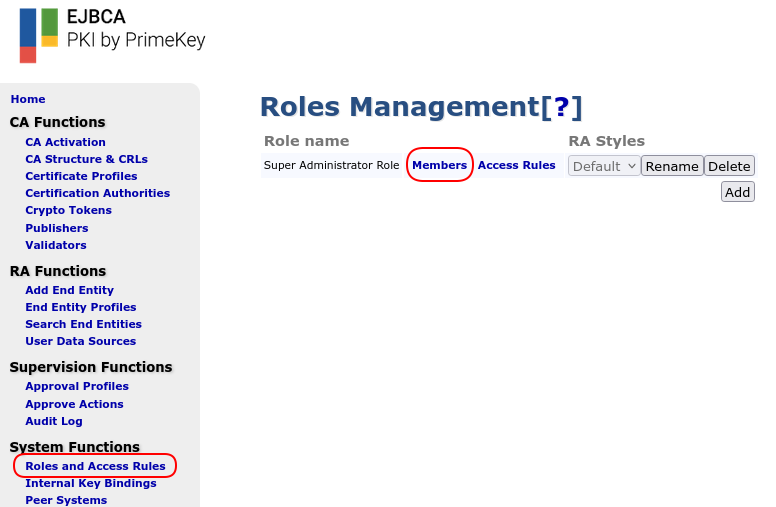
To map the Azure AD role to an EJBCA role, in this example the pre-defined Super Administrator Role, do the following:
- In EJBCA, click Roles and Access Rules. Select the Super Administrator Role and click Members.
- Specify the following:
- Match with: Add type OAuth 2 JWT: Role ("role") claim.
- OAuth Provider: Select the Azure AD configured previously.
- Match Value: Set to the Value selected for this role in Step 1 - Create an EJBCA-specific Application Role.

Now, when a user logs in via the Azure OAuth provider, Azure will inform EJBCA if that user has the role created above and EJBCA will consider that user to be a Super Administrator and allow the user to use the EJBCA administration pages.
Other EJCBA roles can be mapped to other Azure AD roles in the same manner, and Azure AD administrators can control access to EJBCA in the same way that access to other Azure Cloud applications is managed.
Related Content
-
Page:
-
Page:
-
Page:
-
Page: