Setting up a Validation Authority Peer Publisher
ENTERPRISE This is an EJBCA Enterprise feature.
The following covers how to set up a Validation Authority (VA) Peer Publisher. A VA Peer Publisher publishes revocation information from the CA to a VA using the Peers protocol.
For more information about the Validation Authority (VA) Peer Publisher, see Validation Authority Peer Publisher and for general information on publishers, see Publishers Overview.
Prerequisites
The following instructions assume that the following is already in place:
- Two instances of EJBCA, assumed to be CA and VA respectively.
- On the CA instance, an Issuing CA.
- On the CA instance, an Outgoing Peer Connection to the VA instance.
- On the CA instance, a Remote Authenticator for the Outgoing Peer Connection to use.
Step 1 - Create the Publisher
To add a publisher:
- On the CA instance, click Publishers under CA Functions to open the Manage Publishers page.
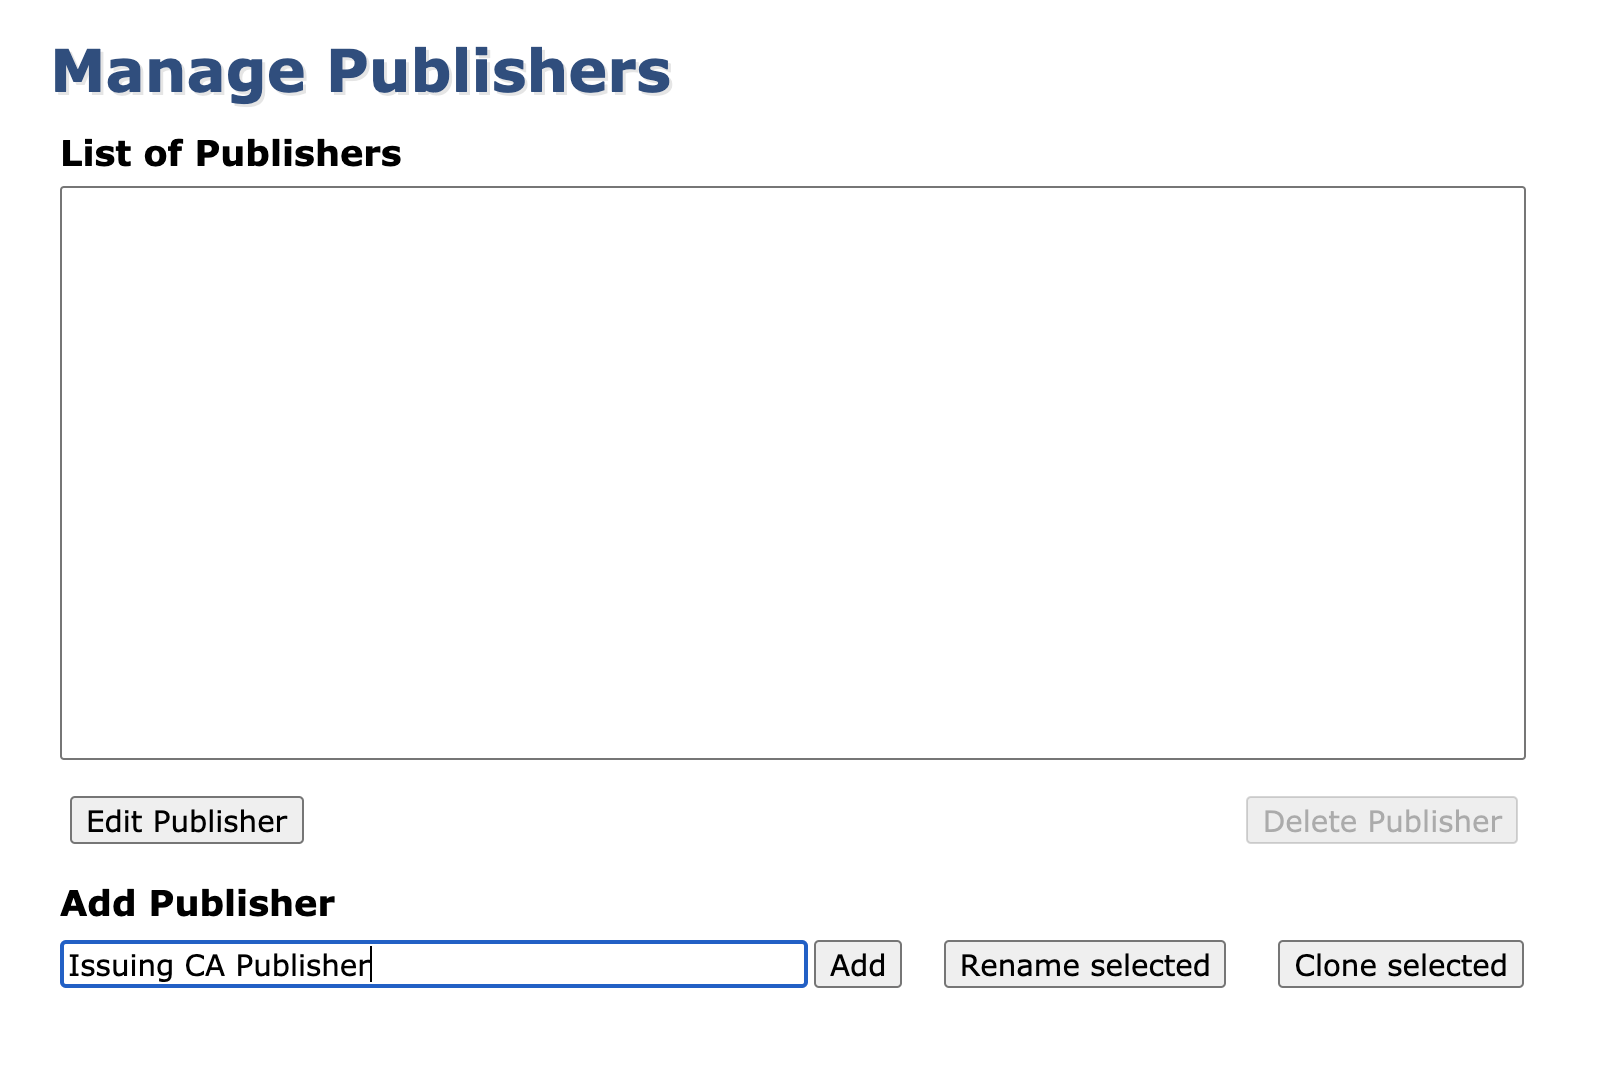
- In the Add Publisher field, enter a publisher name, and click Add.
This will create a new publisher, defaulting to an LDAP Publisher.
Step 2 - Configure the Publisher
To configure the publisher:
- From the List of Publishers, select the newly created publisher and click Edit Publisher.
- On the Edit Publisher page Publisher Type field, select Validation Authority Peer Publisher.
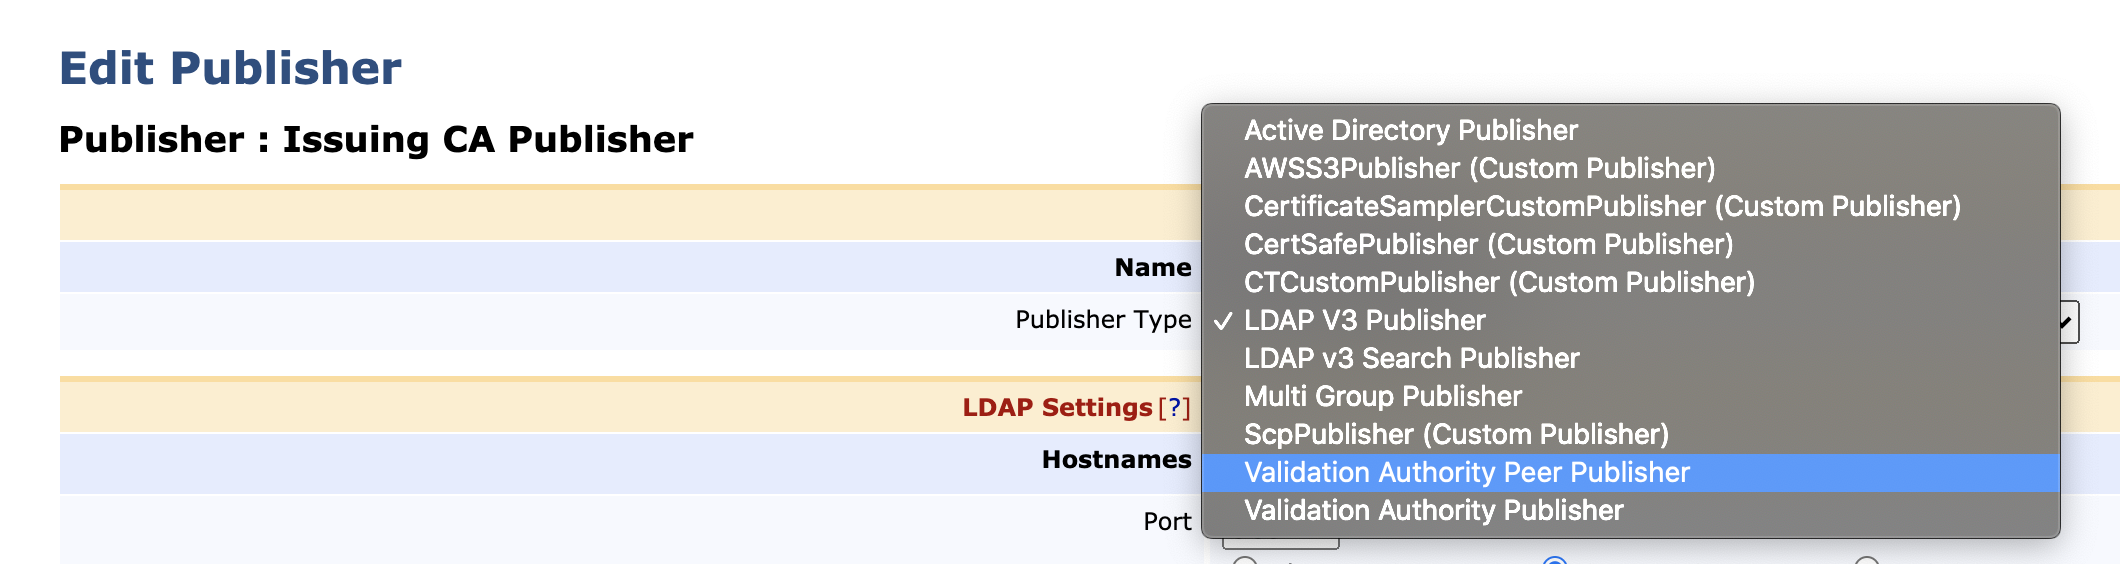
- For general publishing operations, you can use the default values. However, ensure that the correct Outgoing Peer Connection has been selected as Peer System.

- Click Save and Test Connection to perform input validation.
Step 3 - Configure the Issuing CA
Once the publisher is saved and tested, update the configuration of the issuing CA:
- Click Certification Authorities under CA Functions.
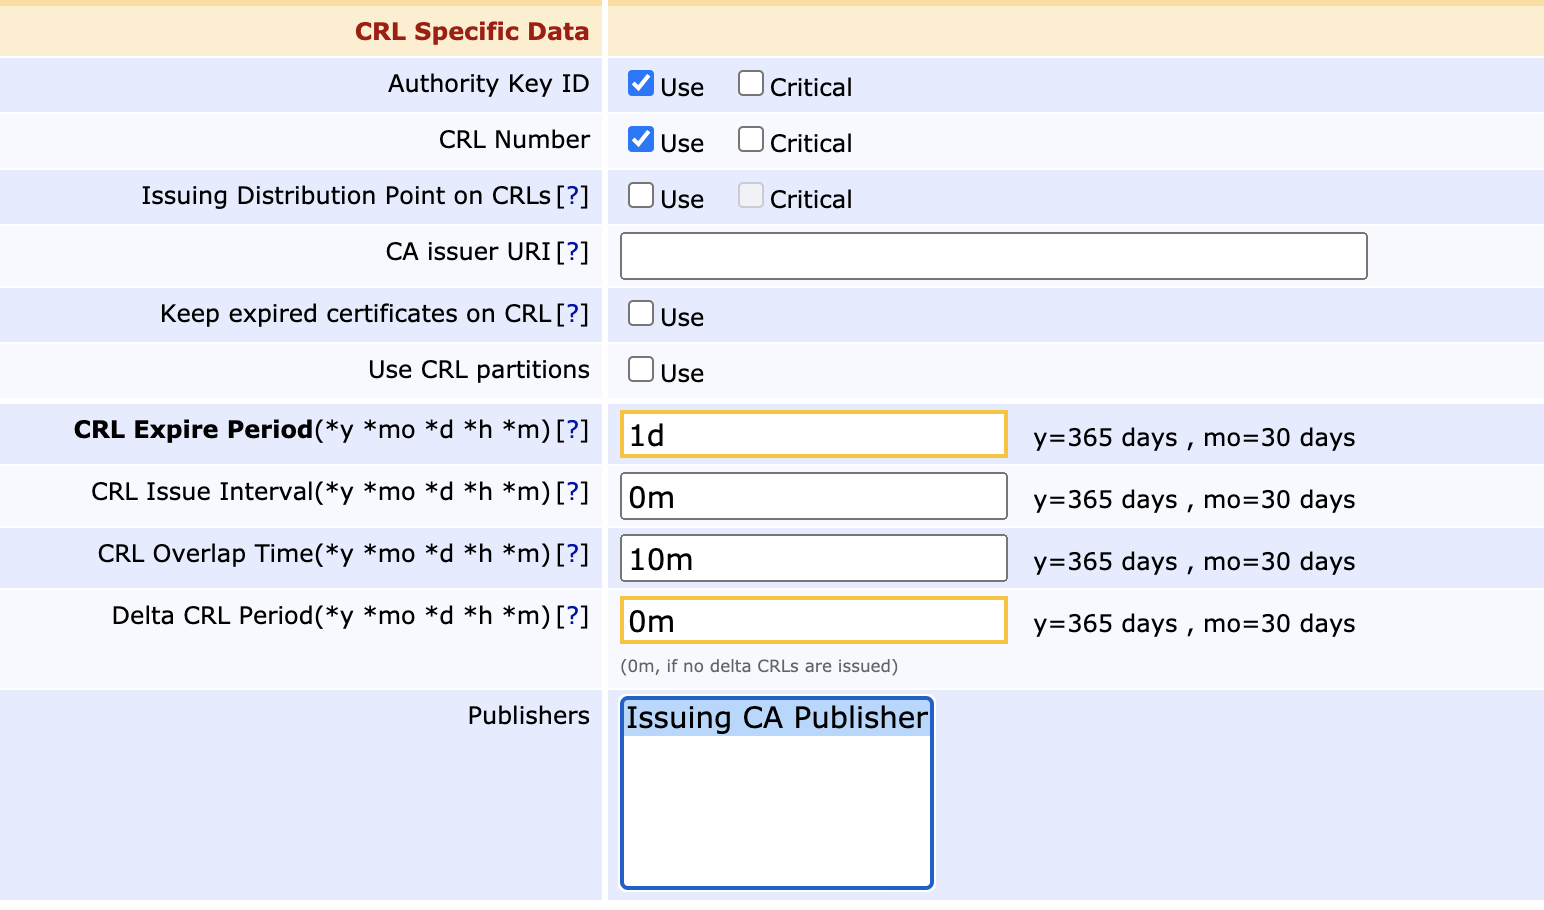
- Click Edit on any CAs that you wish to publish from.
- Under CRL Specific Data, in the Publishers field, select the created publisher.
Step 4 - Configure the VA to accept Publishing
On the VA side, it needs to be configured to accept the connection from the CA and allow it to write certificates and CRLs to its database.
Enable Incoming Connections on the VA node
On the VA node, click Peer Systems under System Functions and click Allow Incoming Connections.

Contact the VA node from the CA
- On the CA node, click Peer Systems under System Functions and you should see the outgoing peer enabled and active as configured above.
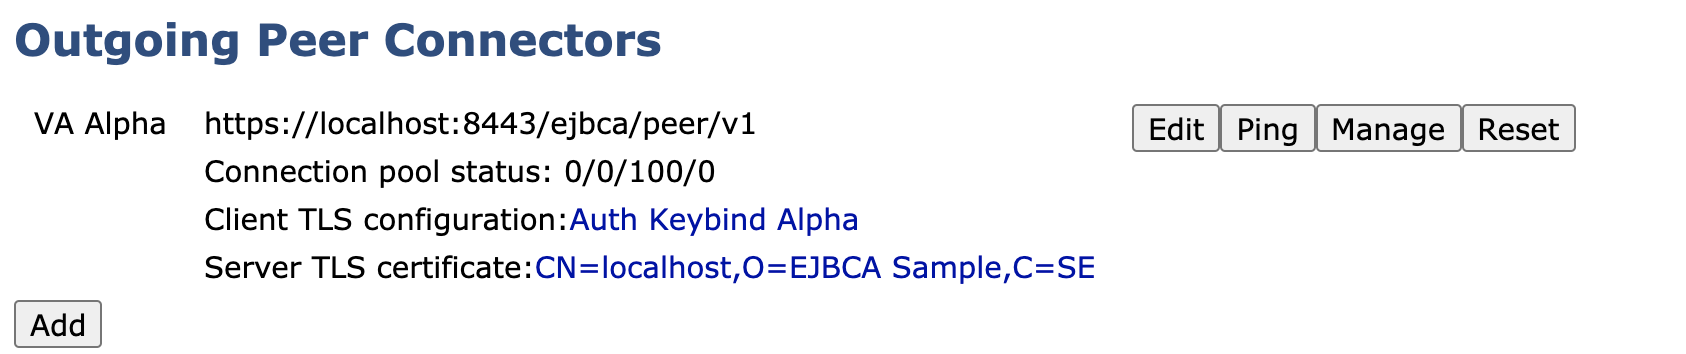
- Next, to contact the VA to let it know that there's an incoming connection request, click Ping for the outgoing Peer.
- This will result in the following expected error message, which means that the CA can contact the VA and is authenticated through the Authentication Key Binding, but is not authorized to perform any operations.

Authorize the Incoming Connection on the VA
Going back to the Peer Systems page on the VA (System Functions>Peer Systems), there is now an incoming connection request waiting:

Since EJBCA requires authentication for even internal processes between nodes (in order to strengthen domain security and allow multi tenancy), there needs to be a Role created that matches the certificate defined in the CA's Authentication Key Binding. To create a role:
- Click Create Role on the incoming connection.
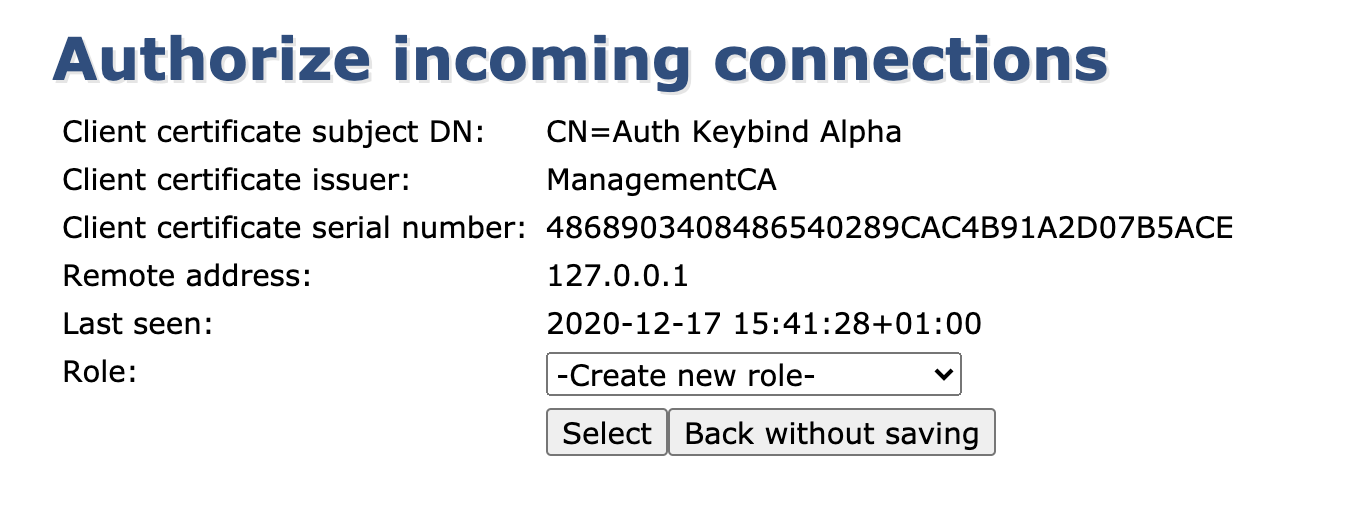
- Next, either select an existing role or create a new one:
- If you already have a role prepared with the required authorizations then feel free to pick it, and the TLS certificate in the Authentication Key Binding will be added to that role. I
- To create a new role, pick Create new role and click Select.
- Name the role and ensure that it's allowed to publish and renew its certificate.
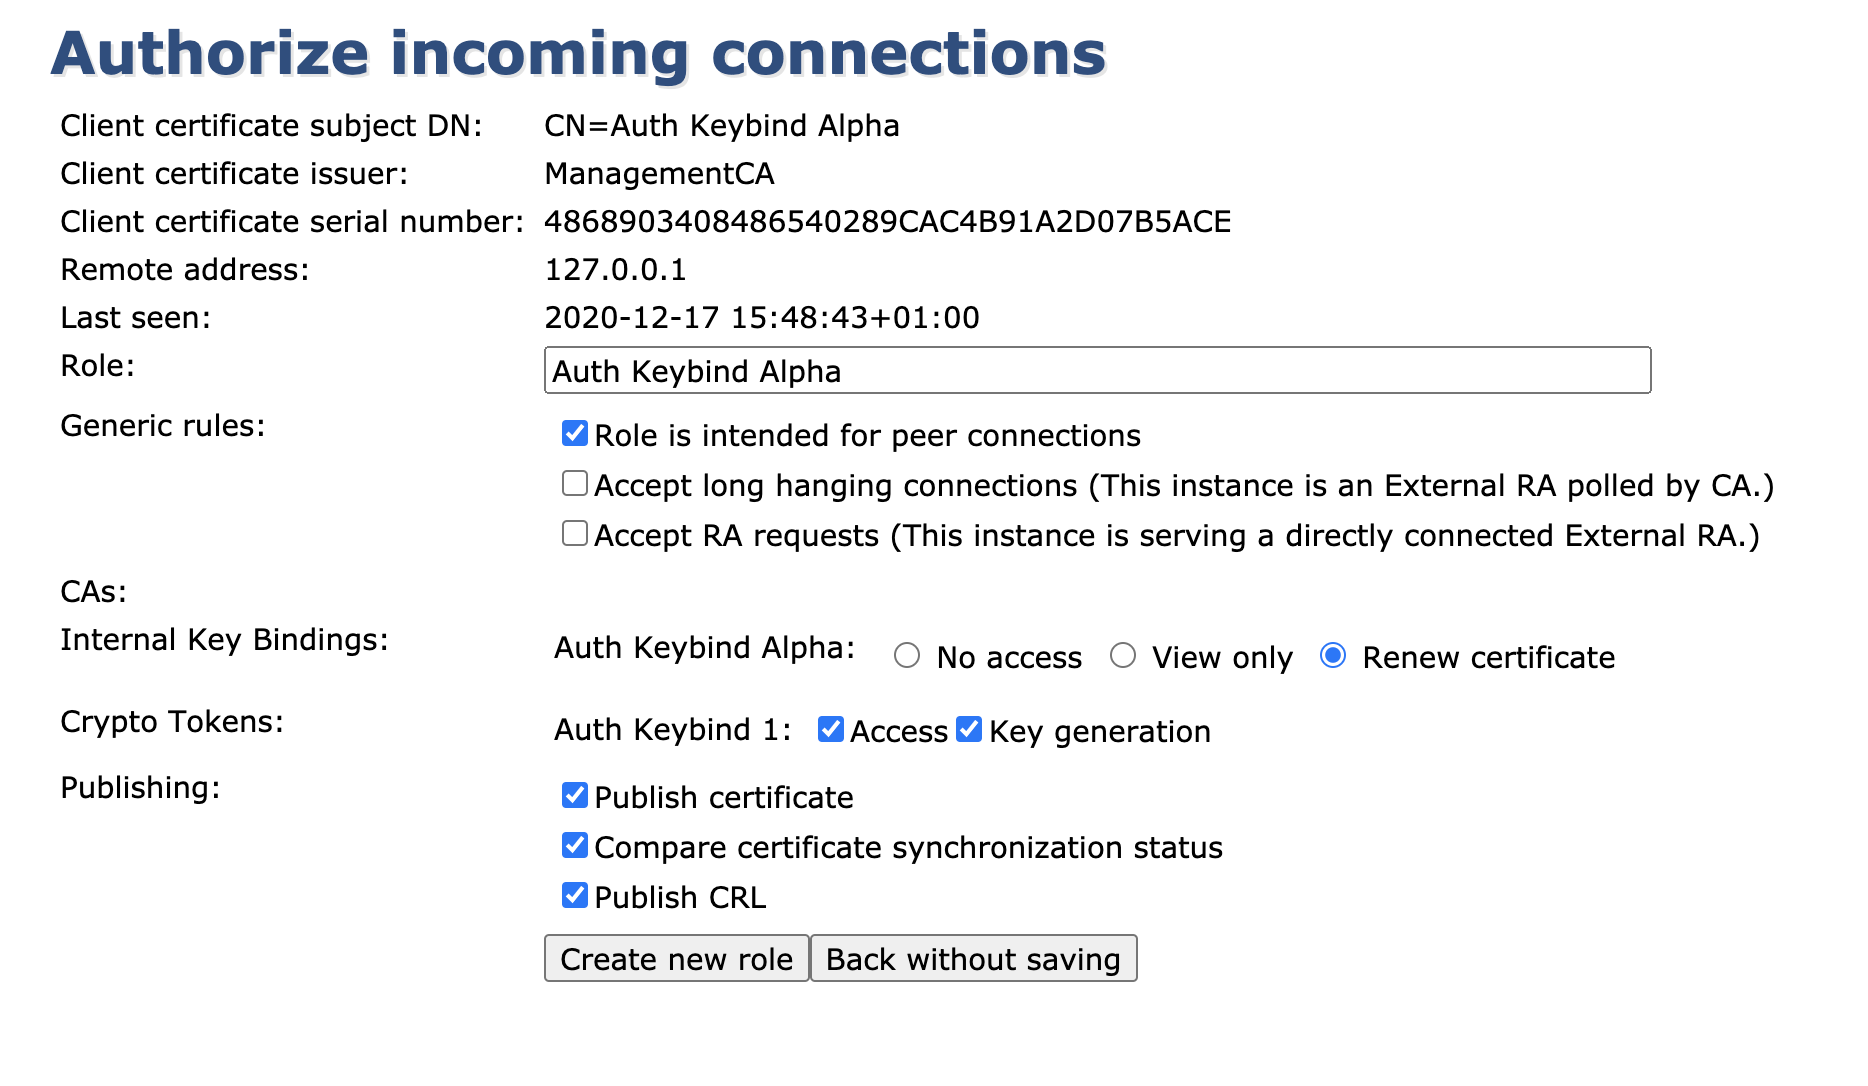
- Click Create new role and your role will be automatically generated with the required access rules enabled.
- Returning to the Peer Systems overview page, you can now see that the incoming connection is fully authorized and online.

The VA Peer Publisher set up is now complete and any CRLs, revocations (and certificates if configured) will automatically be written to the VA after being issued on the CA.
Releated Content
-
Page:
-
Page: