SignServer Operations
SignServer is a server-side digital signature engine that gives maximum control and security and provides built-in modules, SignServer workers, for flexible and scalable implementations. The use cases include document signing, code signing, time-stamping and ePassport. For more information, refer to the SignServer Documentation.
The SignServer Administration Web (AdminWeb) allows managing SignServer on the EJBCA Hardware Appliance and supports configuring workers and associated key management.
The following provides example instructions on how to manage SignServer workers using the Administration Web.
Example: Setting up a PDF Signer
The following example describes setting up a worker for signing PDF documents but the process is similar for other types of SignServer workers.
The SignServer PDF Signer signs PDF documents and supports adding visible or invisible signatures. Applying a visible signature adds a signature image to the document, allowing you to display signature properties using Adobe Acrobat Reader. For more information on the PDF signer, refer to the SignServer Documentation PDF Signer.
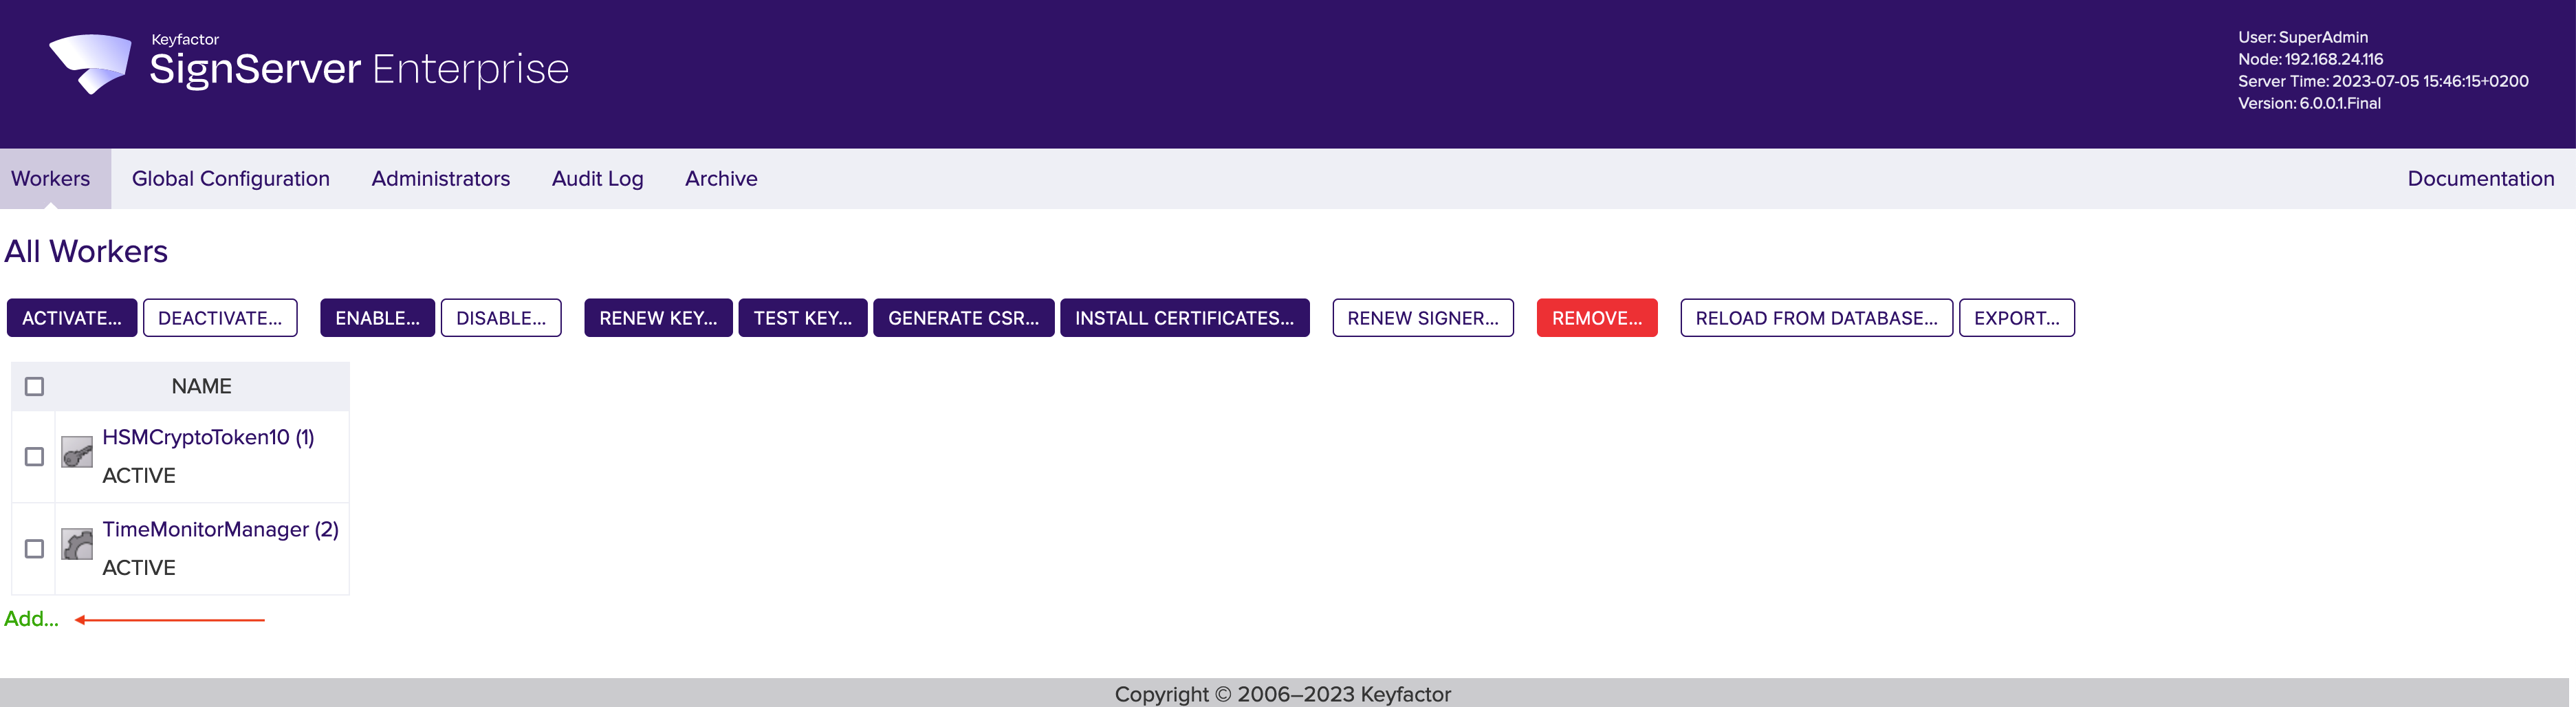
Add PDF Signer
The following describes adding a worker configuration by loading a template.
To create a PDF Signer, do the following:
Go to the SignServer Administration Web Workers page and click Add.
- Click From Template to add a worker.
- In Load from Template, select pdfsigner.properties from the drop down menu and click Next.

The Configuration displays the sample properties for the worker that can be edited if needed. Click Apply.
- The PDFSigner is added to the workers list.
Generate Keys for the Signer
If the crypto token of the HSM is not already activated, activate it by selecting the HSMCryptoToken10 from the list of workers, click Activate and provide the authentication code.
To generate keys for the added PDF signer, do the following:
Select the offline PDFSigner in the Workers list and click Renew key.
Under Renew Keys, specify the following:
- Key Algorithm: RSA
- Key Specification: 2048
Click Generate.
Generate CSR for the Signer
To generate the CSR for the PDFSigner, do the following:
- Select the PDFSigner in the Workers list, click Generate CSR and then specify the following:
- Key: Next key.
- Signature algorithm: SHA256WithRSA.
- DN: CN=My PDF Signer 1.
- Click Generate and then Download to save the file as
pdfSigner_req.p10. - Click Cancel to leave the page.
Next, you need to bring the request to the CA, in this case using EJBCA, to obtain the certificate issued for it. From the CA, you get the signer certificate file as well as the CA certificates (either in two separate PEM files or in one PEM file including all certificates).
Configure EJBCA for CSR Signing
To configure EJBCA for CSR signing from SignServer workers, do the following.
Create Certificate Profile
- Go to the EJBCA Admin Web.
- Click Certificate Profiles under CA Functions.
- Click Clone for the ENDUSER profile to copy the profile to use as template.
- Specify SignerCertificateProfile as the name for the new certificate profile, and then click Create from template.
- The newly created SignerCertificateProfile is listed on the Manage Certificate Profiles page.
Click Edit for the SignerCertificateProfile, and specify the following:
- CRL Distribution Points: Enable.
- CRL Distribution Point: Specify URL.
- CRL Issuer: Clear.
- Click Save.
Create End Entity Profile
- Click End Entity Profiles under RA Functions.
- Specify the Add profile name SignerEndEntityProfile and click Add.
- Select the SignerEndEntityProfile and click Edit End Entity Profile.
- Specify the following:
- Default Certificate Profile: SignerEndEntityProfile.
- Available Certificate Profiles: SignerEndEntityProfile.
- Click Save to save the SignerEndEntityProfile.
Create End Entity
- Click Add End Entity under RA Functions.
- Specify the following:
- End Entity Profile: SignerEndEntityProfile.
- Username: pdfsigner.
Password (or Enrollment Code): foo123.
Confirm Password: foo123.
CN, Common name: PDF Signer.
- Click Add to create the user.
Generate Certificate
To generate a certificate from the CSR, do the following.
- Go to the EJBCA Public Web, select Enroll >Create Certificate from CSR.
- Enter the username and Enrollment Code previously entered into the End Entity, in this example:
- Username: pdfSigner
- Password: foo123
- Click Browse and upload the pdfSigner_req.csr file.
- Select the Result type=PEM - full certificate chain to allow downloading the full certificate chain, and then click OK.
- On the Certificate Created confimation screen, click Download PEM and save the PDFSigner.pem file.
Install Certificates in SignServer
To install the signer certificates issued using EJBCA, do the following:
- Go to the SignServer AdminWeb, select the PDFSigner in the workers list, and click Install Certificates.
- Browse for the PDFSigner.pem certificate and click Add.
 If the CA certificates would not have been included in the first PEM file, you would need to repeat this step for each issuing CA certificate. Since you downloaded the full certificate chain in the PEM when generating the certificate using EJBCA, you do not have to repeat this step.
 - Click Install.
- To activate the new signer, select the link to the new signer in the workers list, and click Activate.
The PDF signer is now set up for signing PDF documents and the next example shows how to sign and verify a PDF document.
Example: Signing and Verifying PDF
The following example of signing and verifying a PDF document requires that a PDF signer has been added with the name PDFSigner. For instructions, see Add PDF Signer.
Sign PDF using the PDF Signer
To submit and sign a PDF file using the Demo Web, do the following:
- Go to SignServer on https://<Application_IP>/signserver/ and click Client Web (previously Signing and Validation Demo).
- Click Browse, select the PDF and click Submit.
- A prompt will be given to save the signed PDF file.
- Open the signed PDF in Adobe Acrobat Reader to display the signature.
Verify Signed PDF
If certificates from your own CA are used and not from a CA already trusted by Adobe Acrobat Reader, your CA certificates have to be imported in the application.
Generally, it is recommended to use certificates issued by a CA already trusted by the application or have a strategy for how to distribute your CA certificate within your organization.
Download CA Certificates in EJBCA
To obtain the Management CA certificate, do the following:
- Browse to EJBCA Public Web and select Fetch CA Certificates.
- Click Download as PEM to download the CA certificate as ManagementCA.pem.
As Adobe Acrobat Reader does not support the .pem file extension, rename the file ManagementCA.cer.
Import and Trust Certificate
To import and trust the certificate in Adobe Acrobat Reader, do the following:
- In Adobe Acrobat Reader, open Preferences>Signatures and click More next to Identities & Trusted Certificates.
- Select Trusted Certificates and click Import.
- Browse for the ManagementCA.cer file and click Import.
- Select the Management CA certificate in the list and click Edit Trust.
- Select Use the certificate as a trusted root and Certified documents and click OK.
Validate Signature
To validate the signature using Adobe Acrobat Reader, do the following:
- Open the signed document and select Validate All Signatures.
- Click OK when prompted to verify the signatures.
- A prompt is given that Completed validating all signatures. Click OK.
- Click Certificate Details to open the Certificate Viewer, and then click Revocation to view information about the CRL.
Example: Rekeying Signer
When a signer certificate expires, a new certificate is needed for it to continue working.
To view the current validity of a signer, open SignServer Administration Web Worker page and click the Status Properties tab. The Validity not after field shows the date after which the signer cannot be used due to that the certificate has expired or its private key usage period is ended. For reference information on the Worker page and its menu options, refer to the SignServer documentation Worker Page.
Generate New Key
To generate a new key, do the following:
- Go to the Workers page, select the worker and click Renew key.
- On the Renew Keys page, specify the following:
- Key algorithm: RSA
- Key specification: 2048 SignServer suggests the new key name in the format current name with its numeric suffix increased by one.
- Click Generate.
A new key is available in the HSM slot but the signer is still using the old key as pointed out with its DEFAULTKEY property. A new property called NEXTCERTSIGNKEY has been created with the name of the new key so that the GUI will remember it.
For reference information, refer to the SignServer documentation Workers Key Generation Page.
Generate CSR
To generate a certificate signing request (CSR) for the new key, do the following:
- Go to the Workers page, select the worker and click Generate CSR.
- Specify the following:
- Key: Next key.
- Specify a Signature Algorithm, for example SHA256withRSA.
- Specify DN, for example CN=My Signer 1,O=My Organization,C=SE.
- Click Generate, and then click Download and save the file as mysigner_req.csr.
For reference information, refer to the SignServer documentation Workers CSR Page.
Next, bring the request to the CA to obtain the signer certificate and any CA certificates, see Generate Certificate.
Install Certificates
To install the certificates, do the following.
- Go to the Workers page, select the worker and click Install Certificates.
- Browse for the PDFSigner.pem certificate and click Add.If the PEM certificate contains both the signer certificate followed by the CA certificate(s), browse for the PEM file and click Add. However, if you have one signer certificate file and the CA certificate(s) separately, first browse and add the signer certificate, and then each of the issuing CA certificates in sequence.
- Click Install to install all of the added certificates. The DEFAULTKEY property will now point to the new key and the NEXTCERTSIGNKEY property will be removed. The worker status should now switch to ACTIVE.
- The worker status should now be Active. If not, activate the new signer by selecting the link to the new signer in the workers list, and click Activate.
For reference information, refer to the SignServer documentation Workers Install Certificates Page.