The following describes how to launch SignServer Enterprise Cloud from Azure Marketplace.
The Azure Portal is a web interface that allows you to configure the SignServer Enterprise Cloud instance details from a web browser before you launch it. Follow the instructions below to launch an SignServer Cloud Azure instance.
The following describes how to locate the SignServer Cloud instance and create the app in Azure.
- Browse to the Azure Marketplace and search for "primekey" to display the SignServer Cloud.
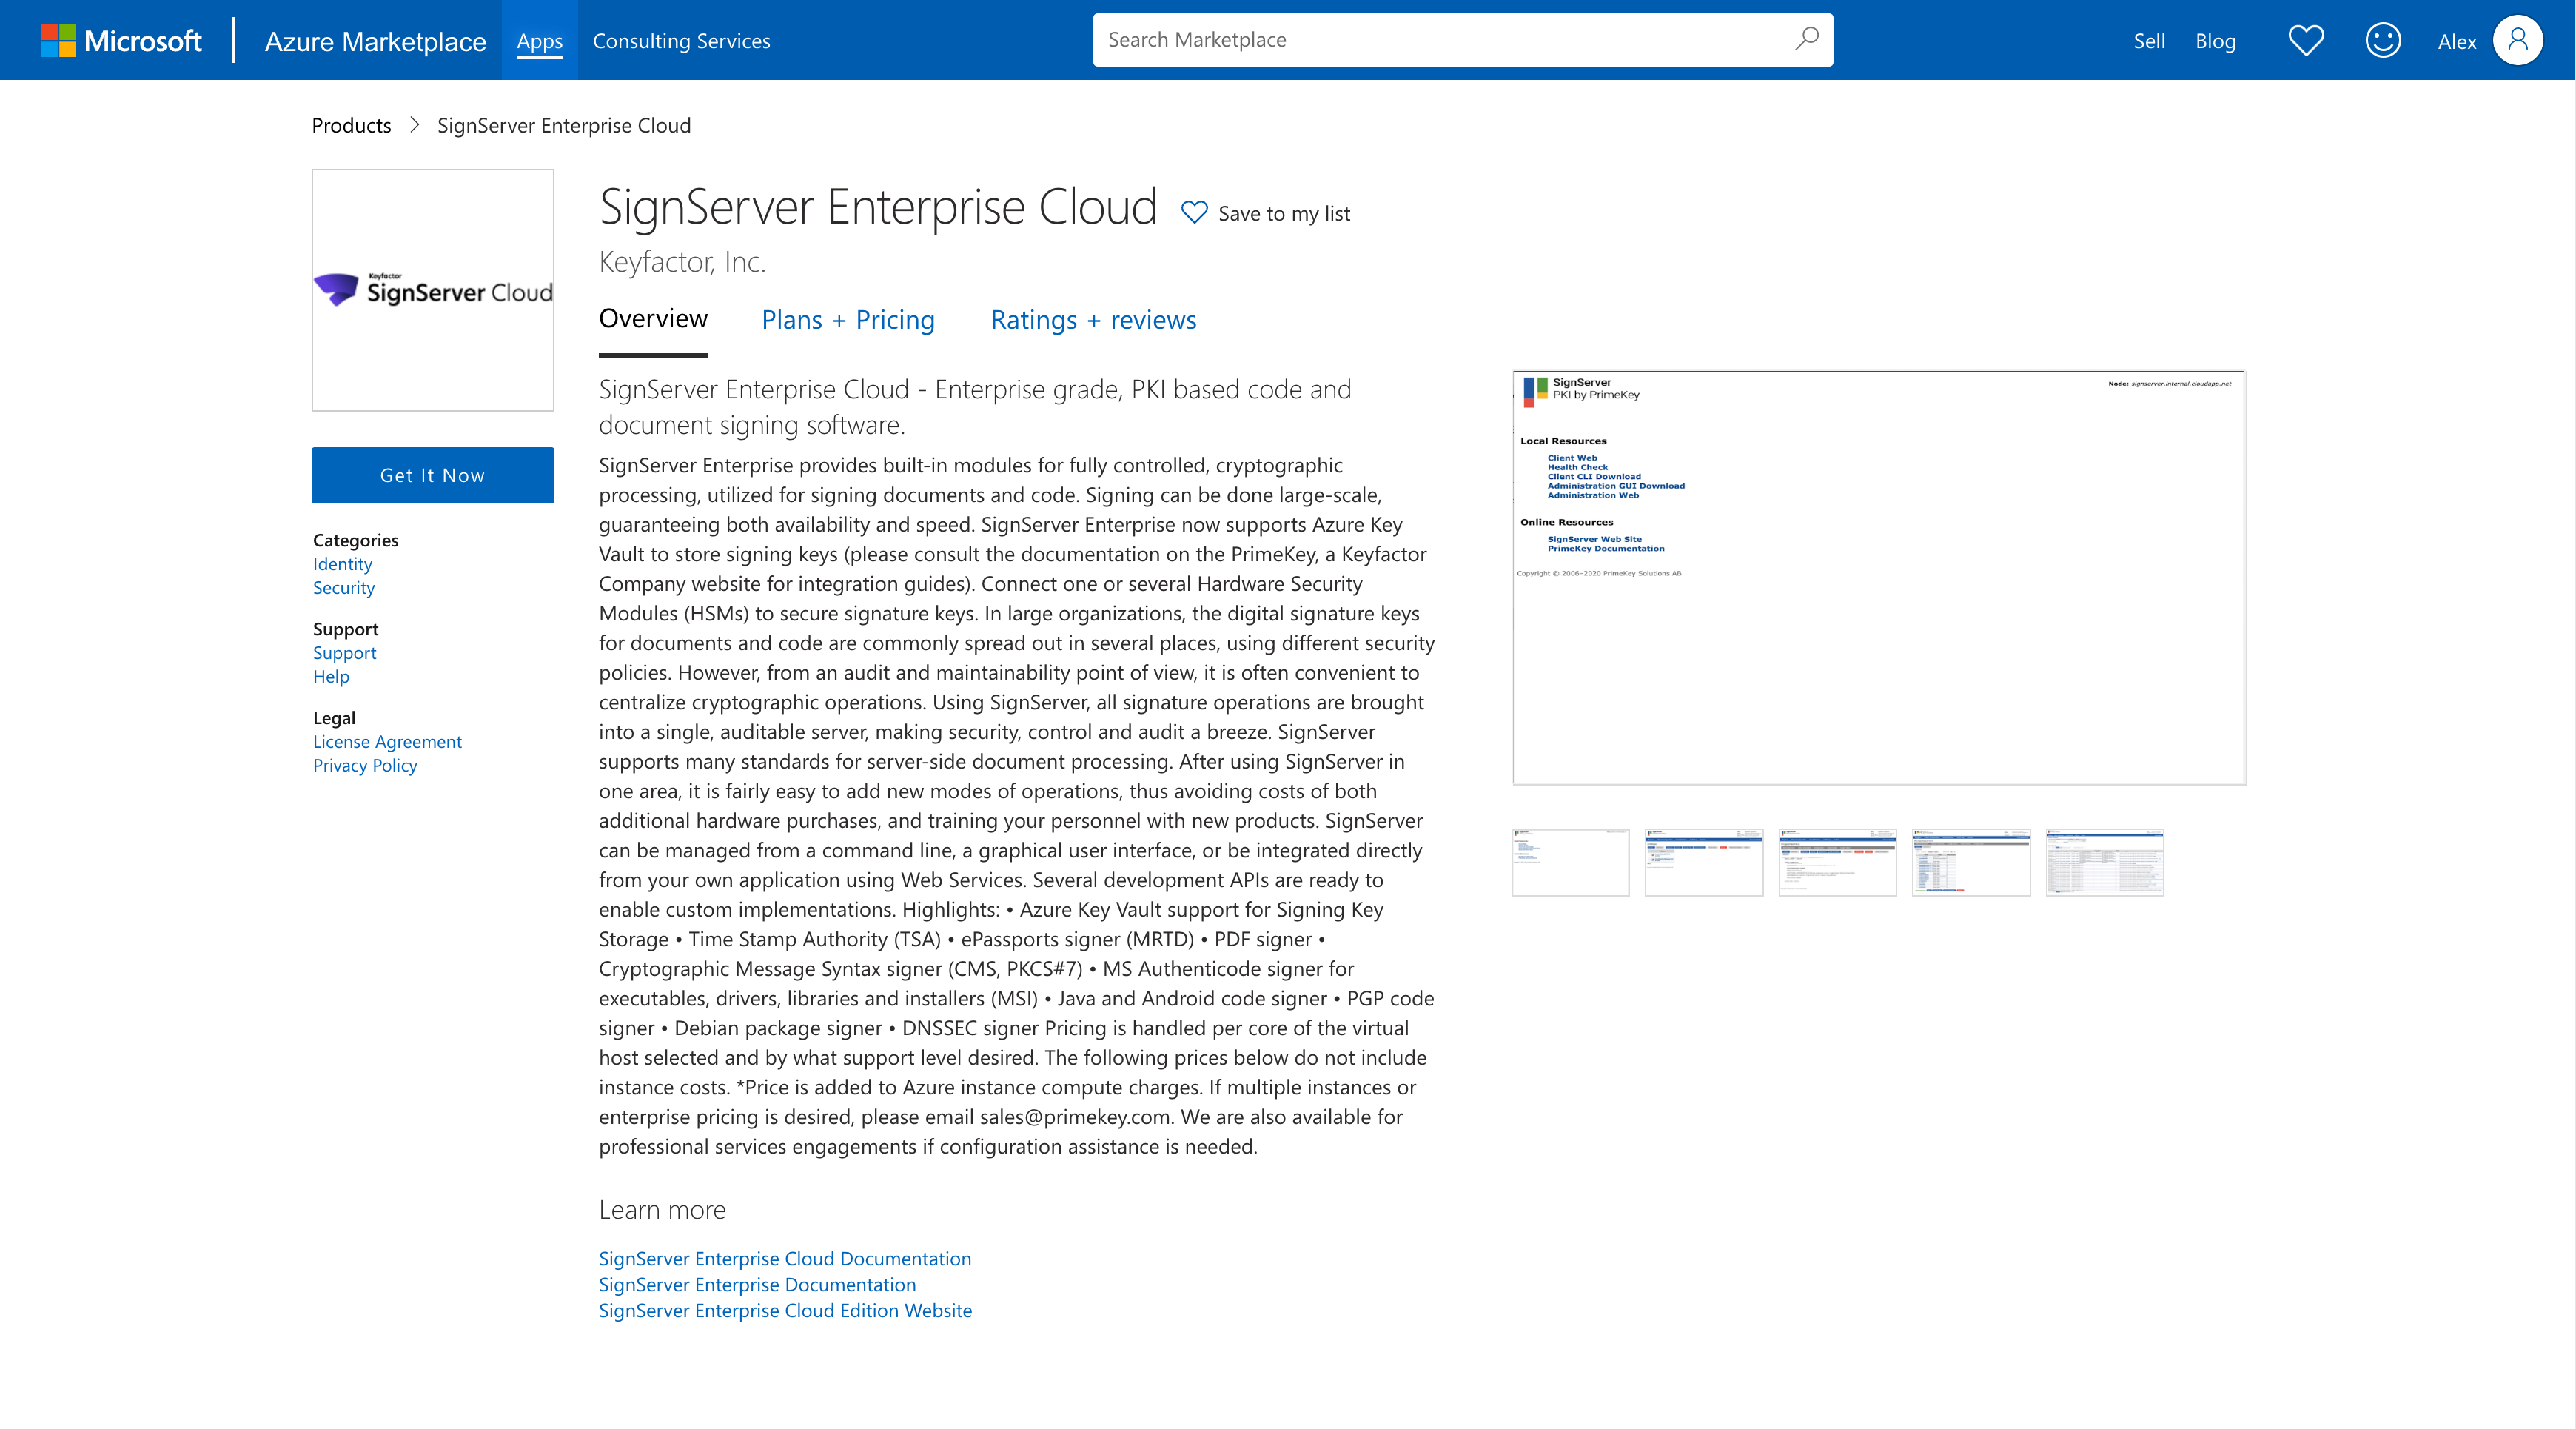
- Review the plans as desired under the Plans tab to see the different pricing options.
- Select the instance type to use and click GET IT NOW in the sidebar.
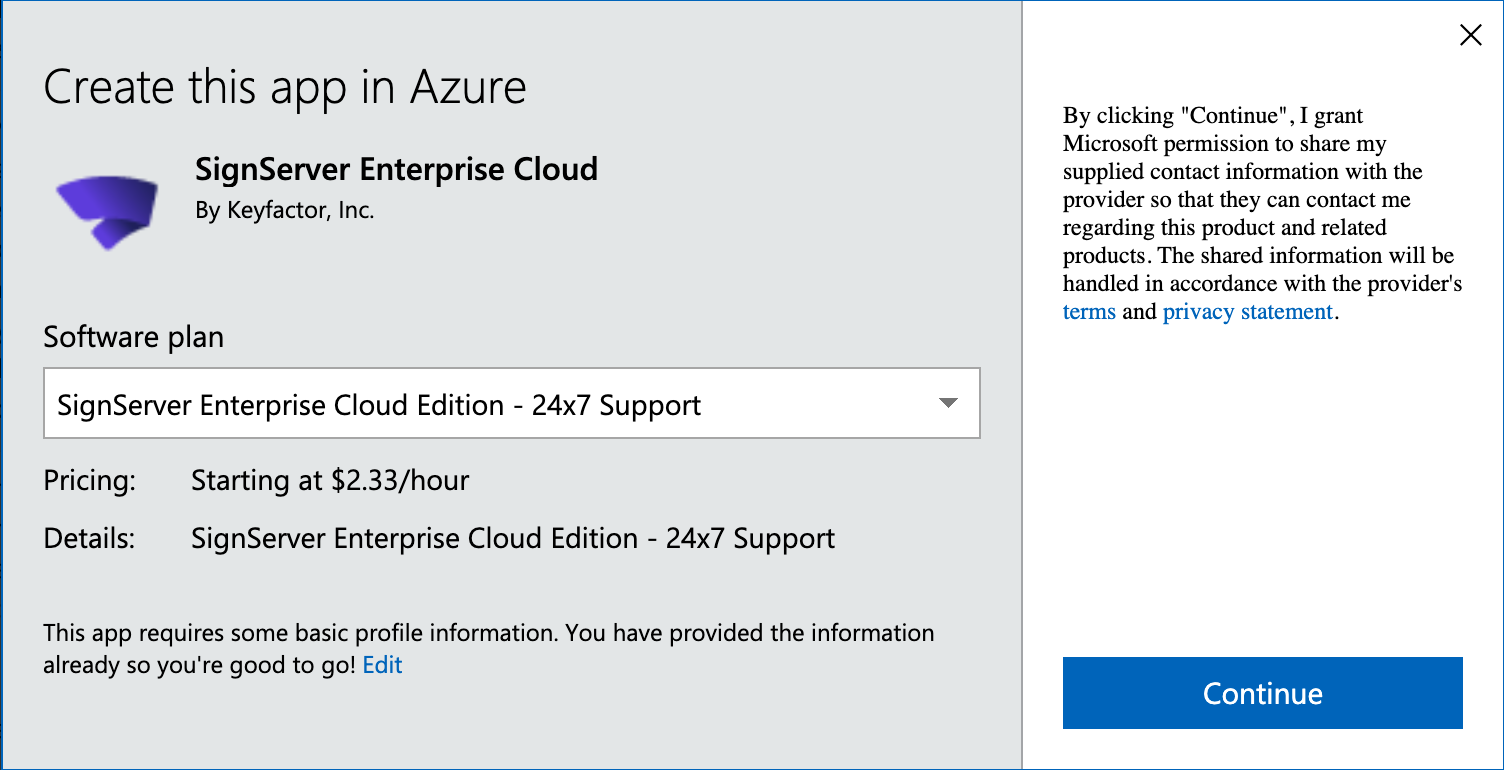
- Select the desired support level, 8x5 or 24x7 and specify the contact information as required my Microsoft.
Launch the Instance
The following describes the steps to launch the instance in Azure using the Launch Wizard.
Step 1: Log In and Create
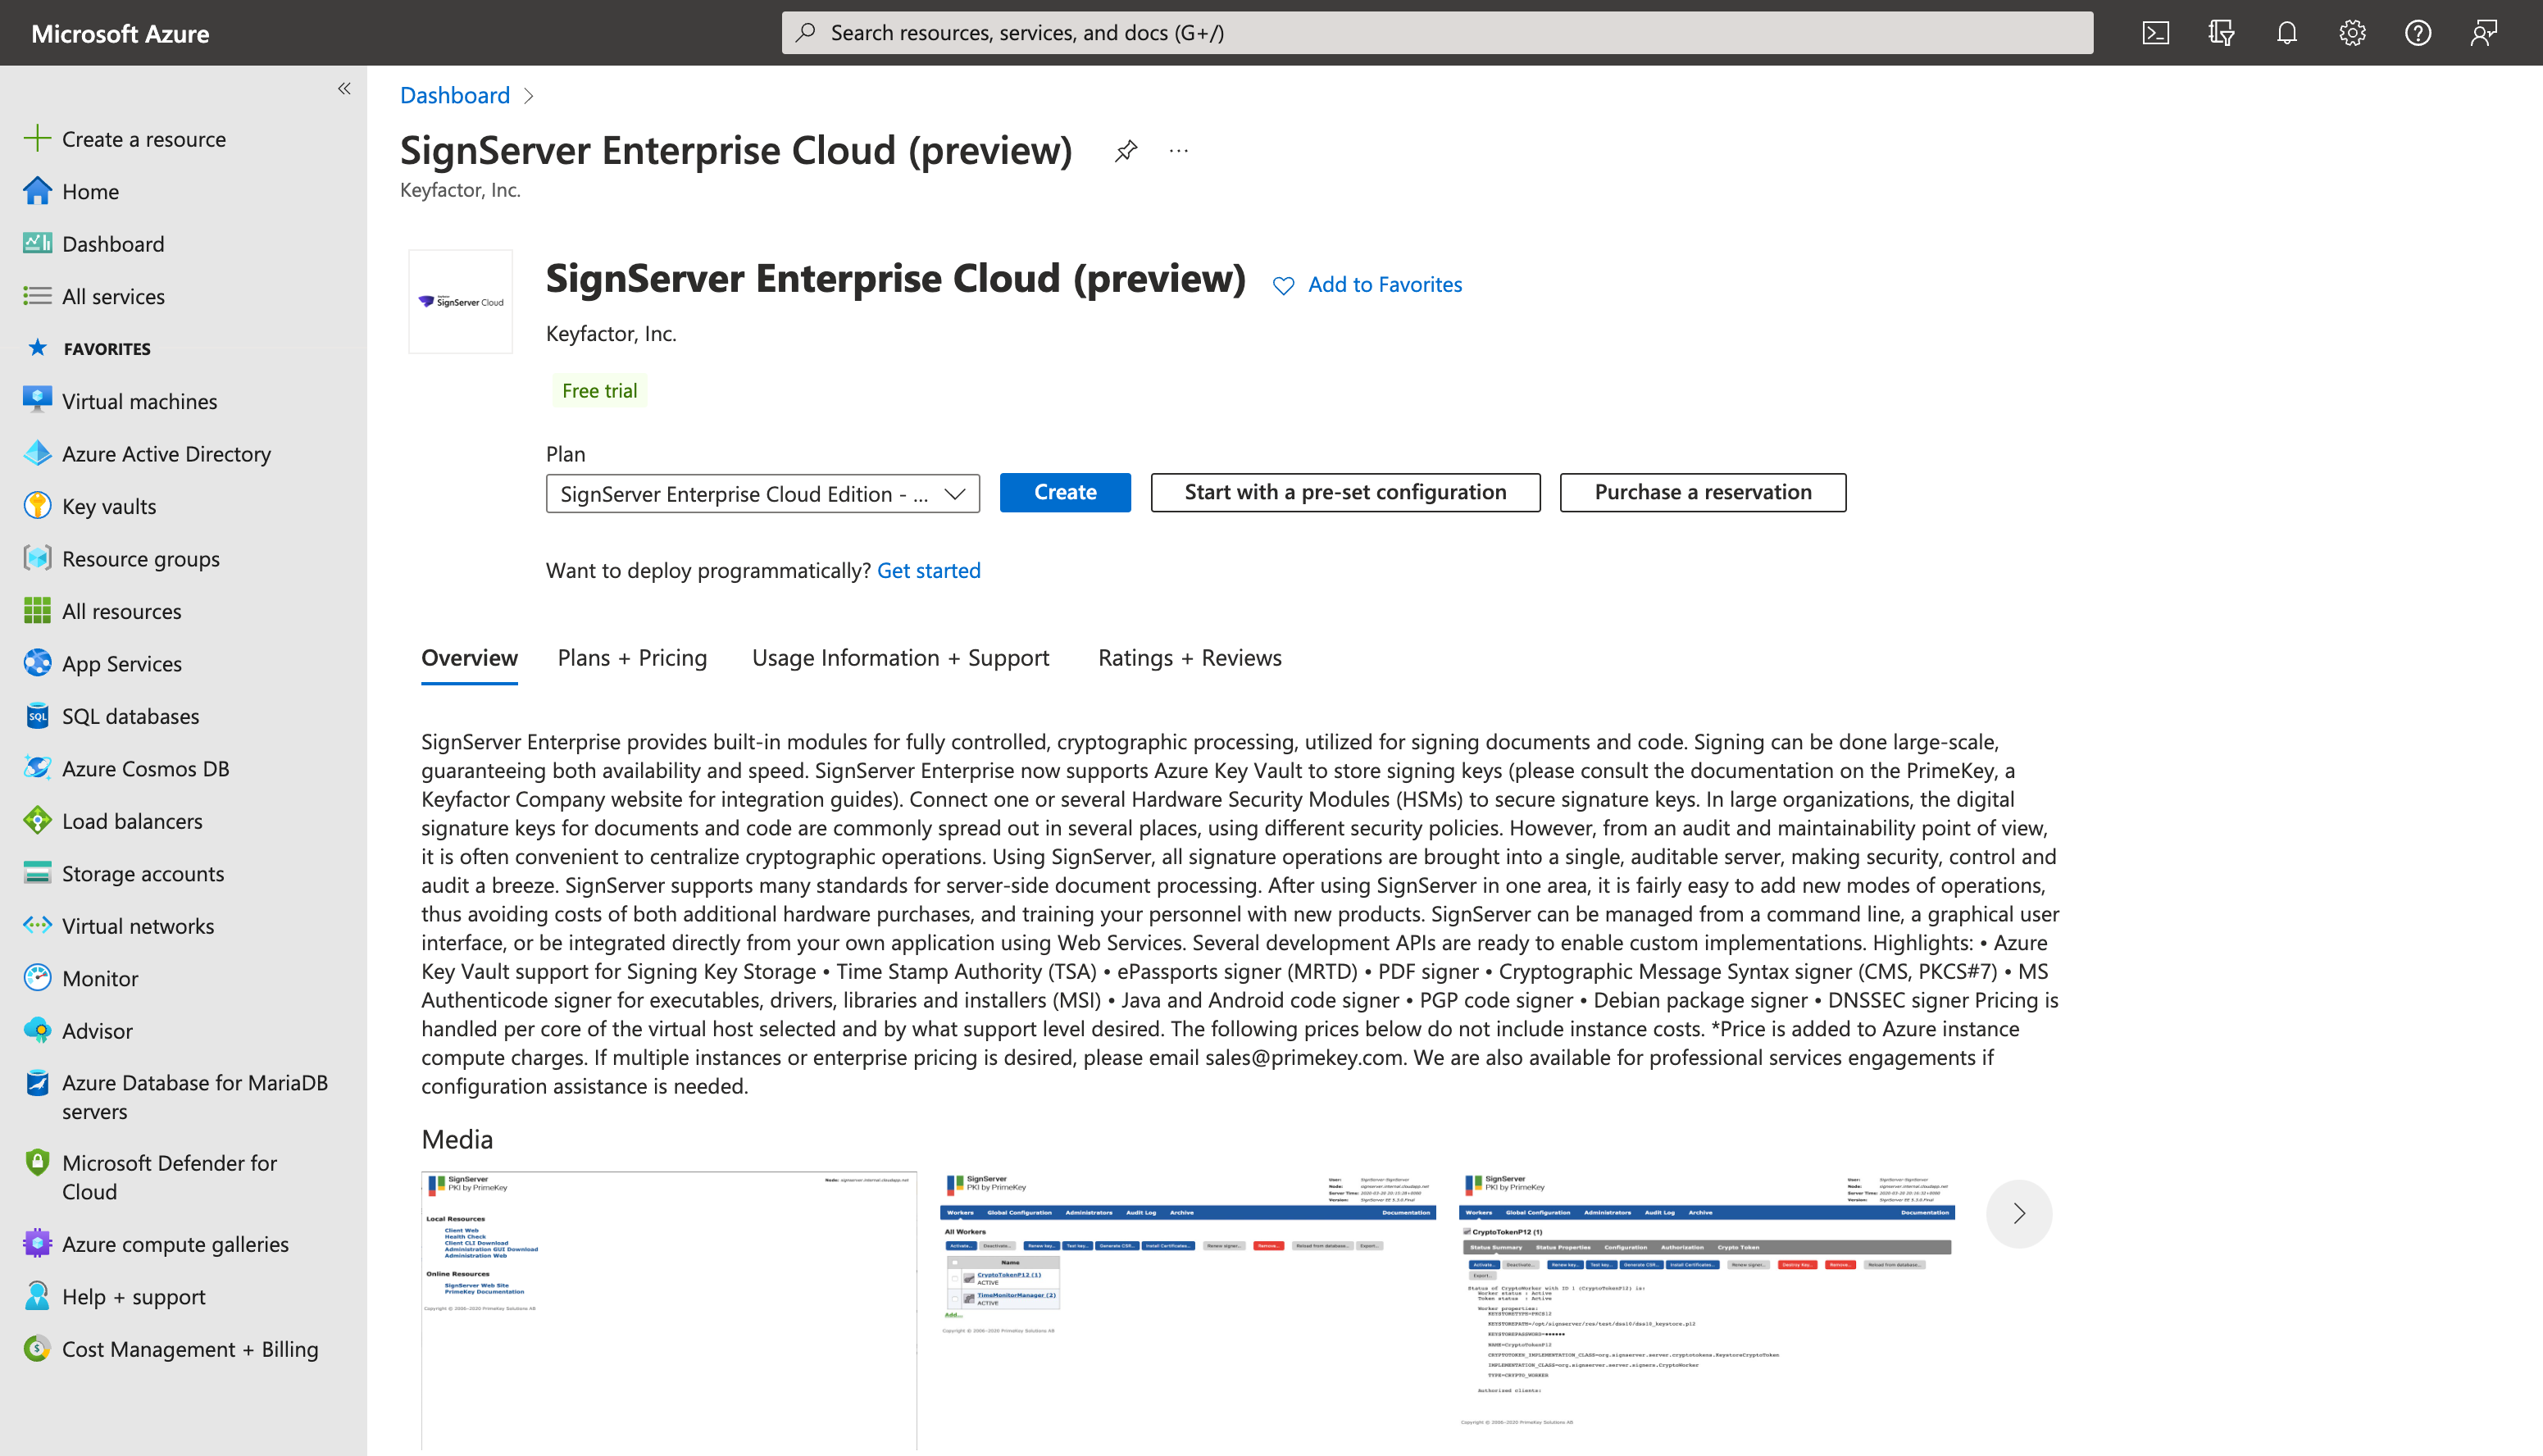
This action will redirect you to the Azure portal.
- Login to the Azure portal if not already done, confirm that the proper support plan is selected, and then click Create.
Step 2: Basics
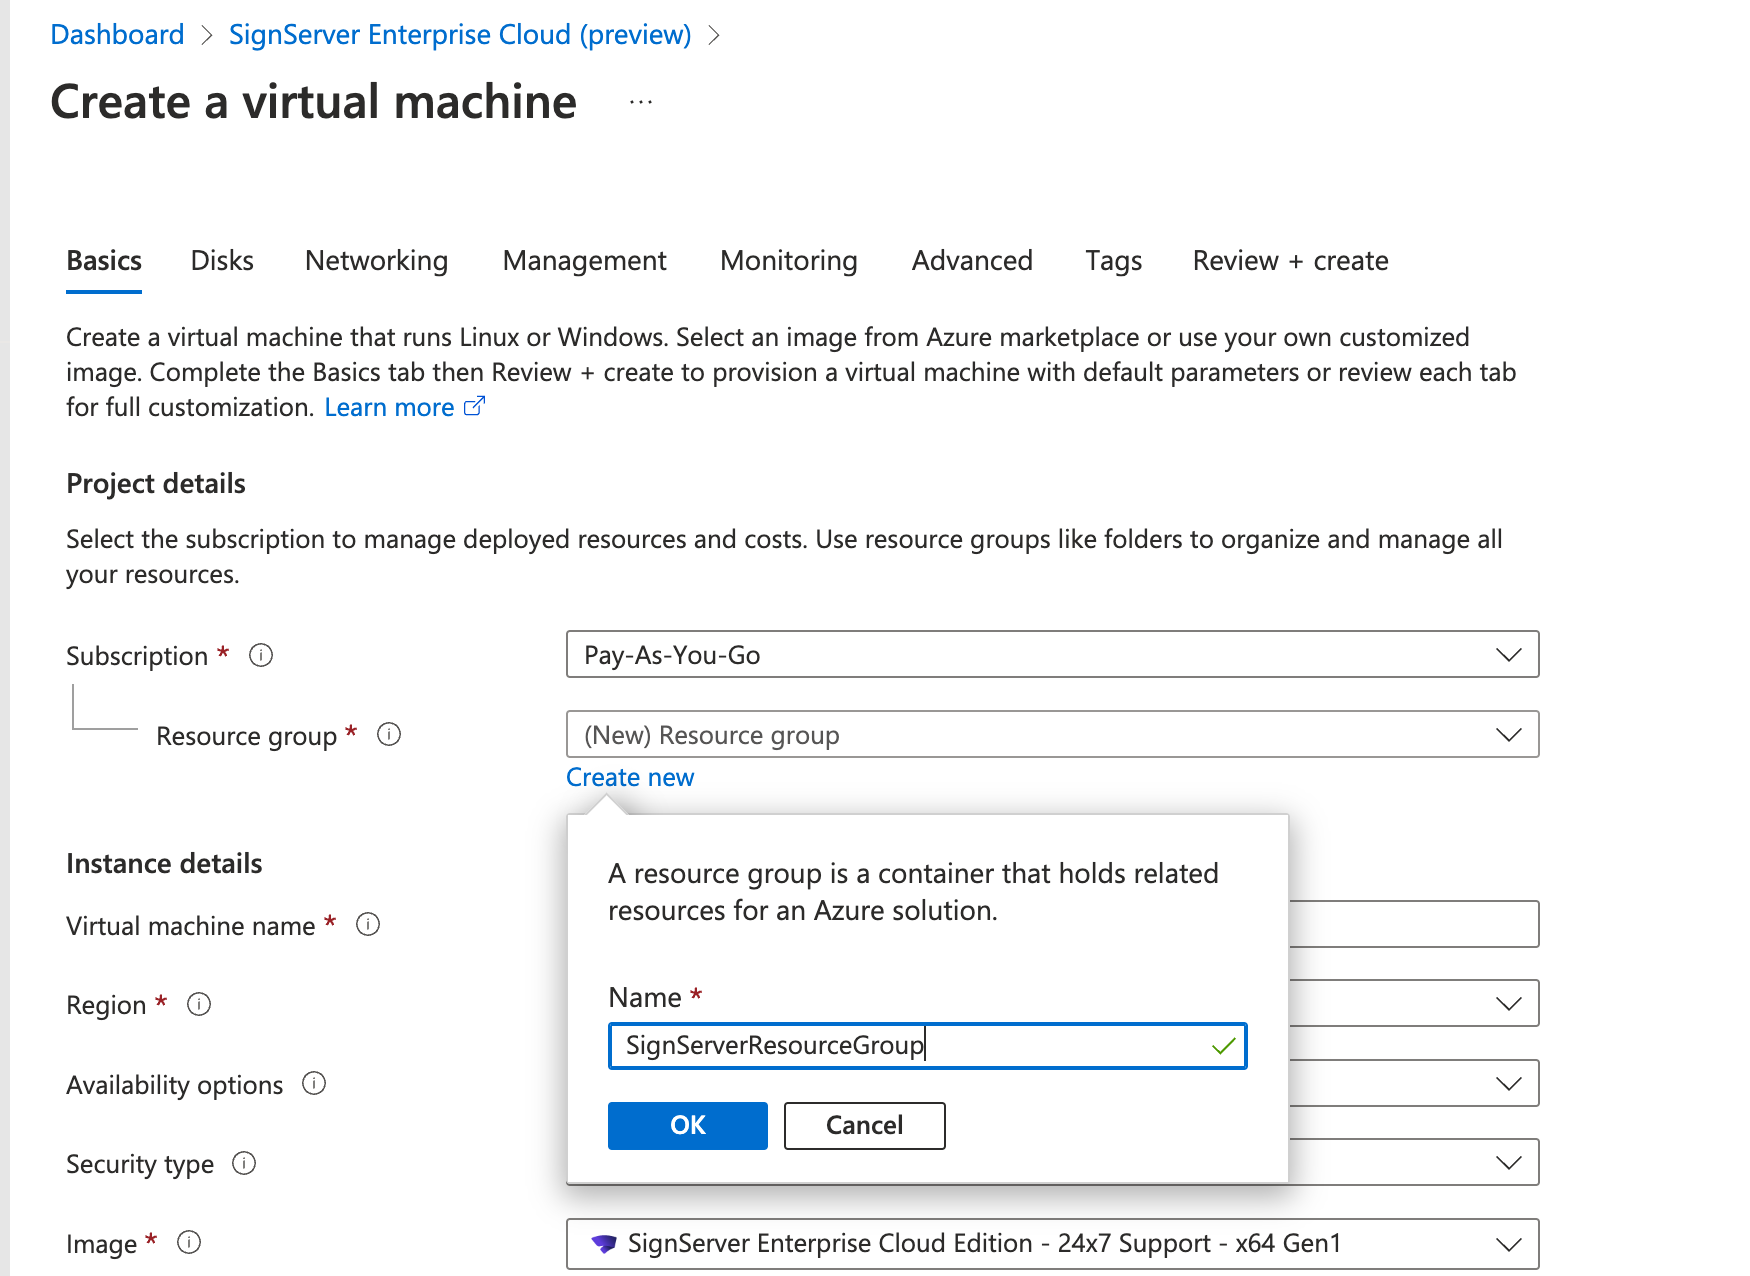
This brings you to the SignServer Cloud Launch Wizard for Azure.
- Select the desired subscription, click Create new and enter the name of a Resource Group that will hold all of the SignServer Cloud resources, and then click OK.
- Enter a Virtual machine name for the SignServer VM. This will be used to create the FQDN along with the DNS of the region its in.
- Pick the desired region to run the SignServer VM.
- Ensure that No infrastructure redundancy required is selected under Availability options.
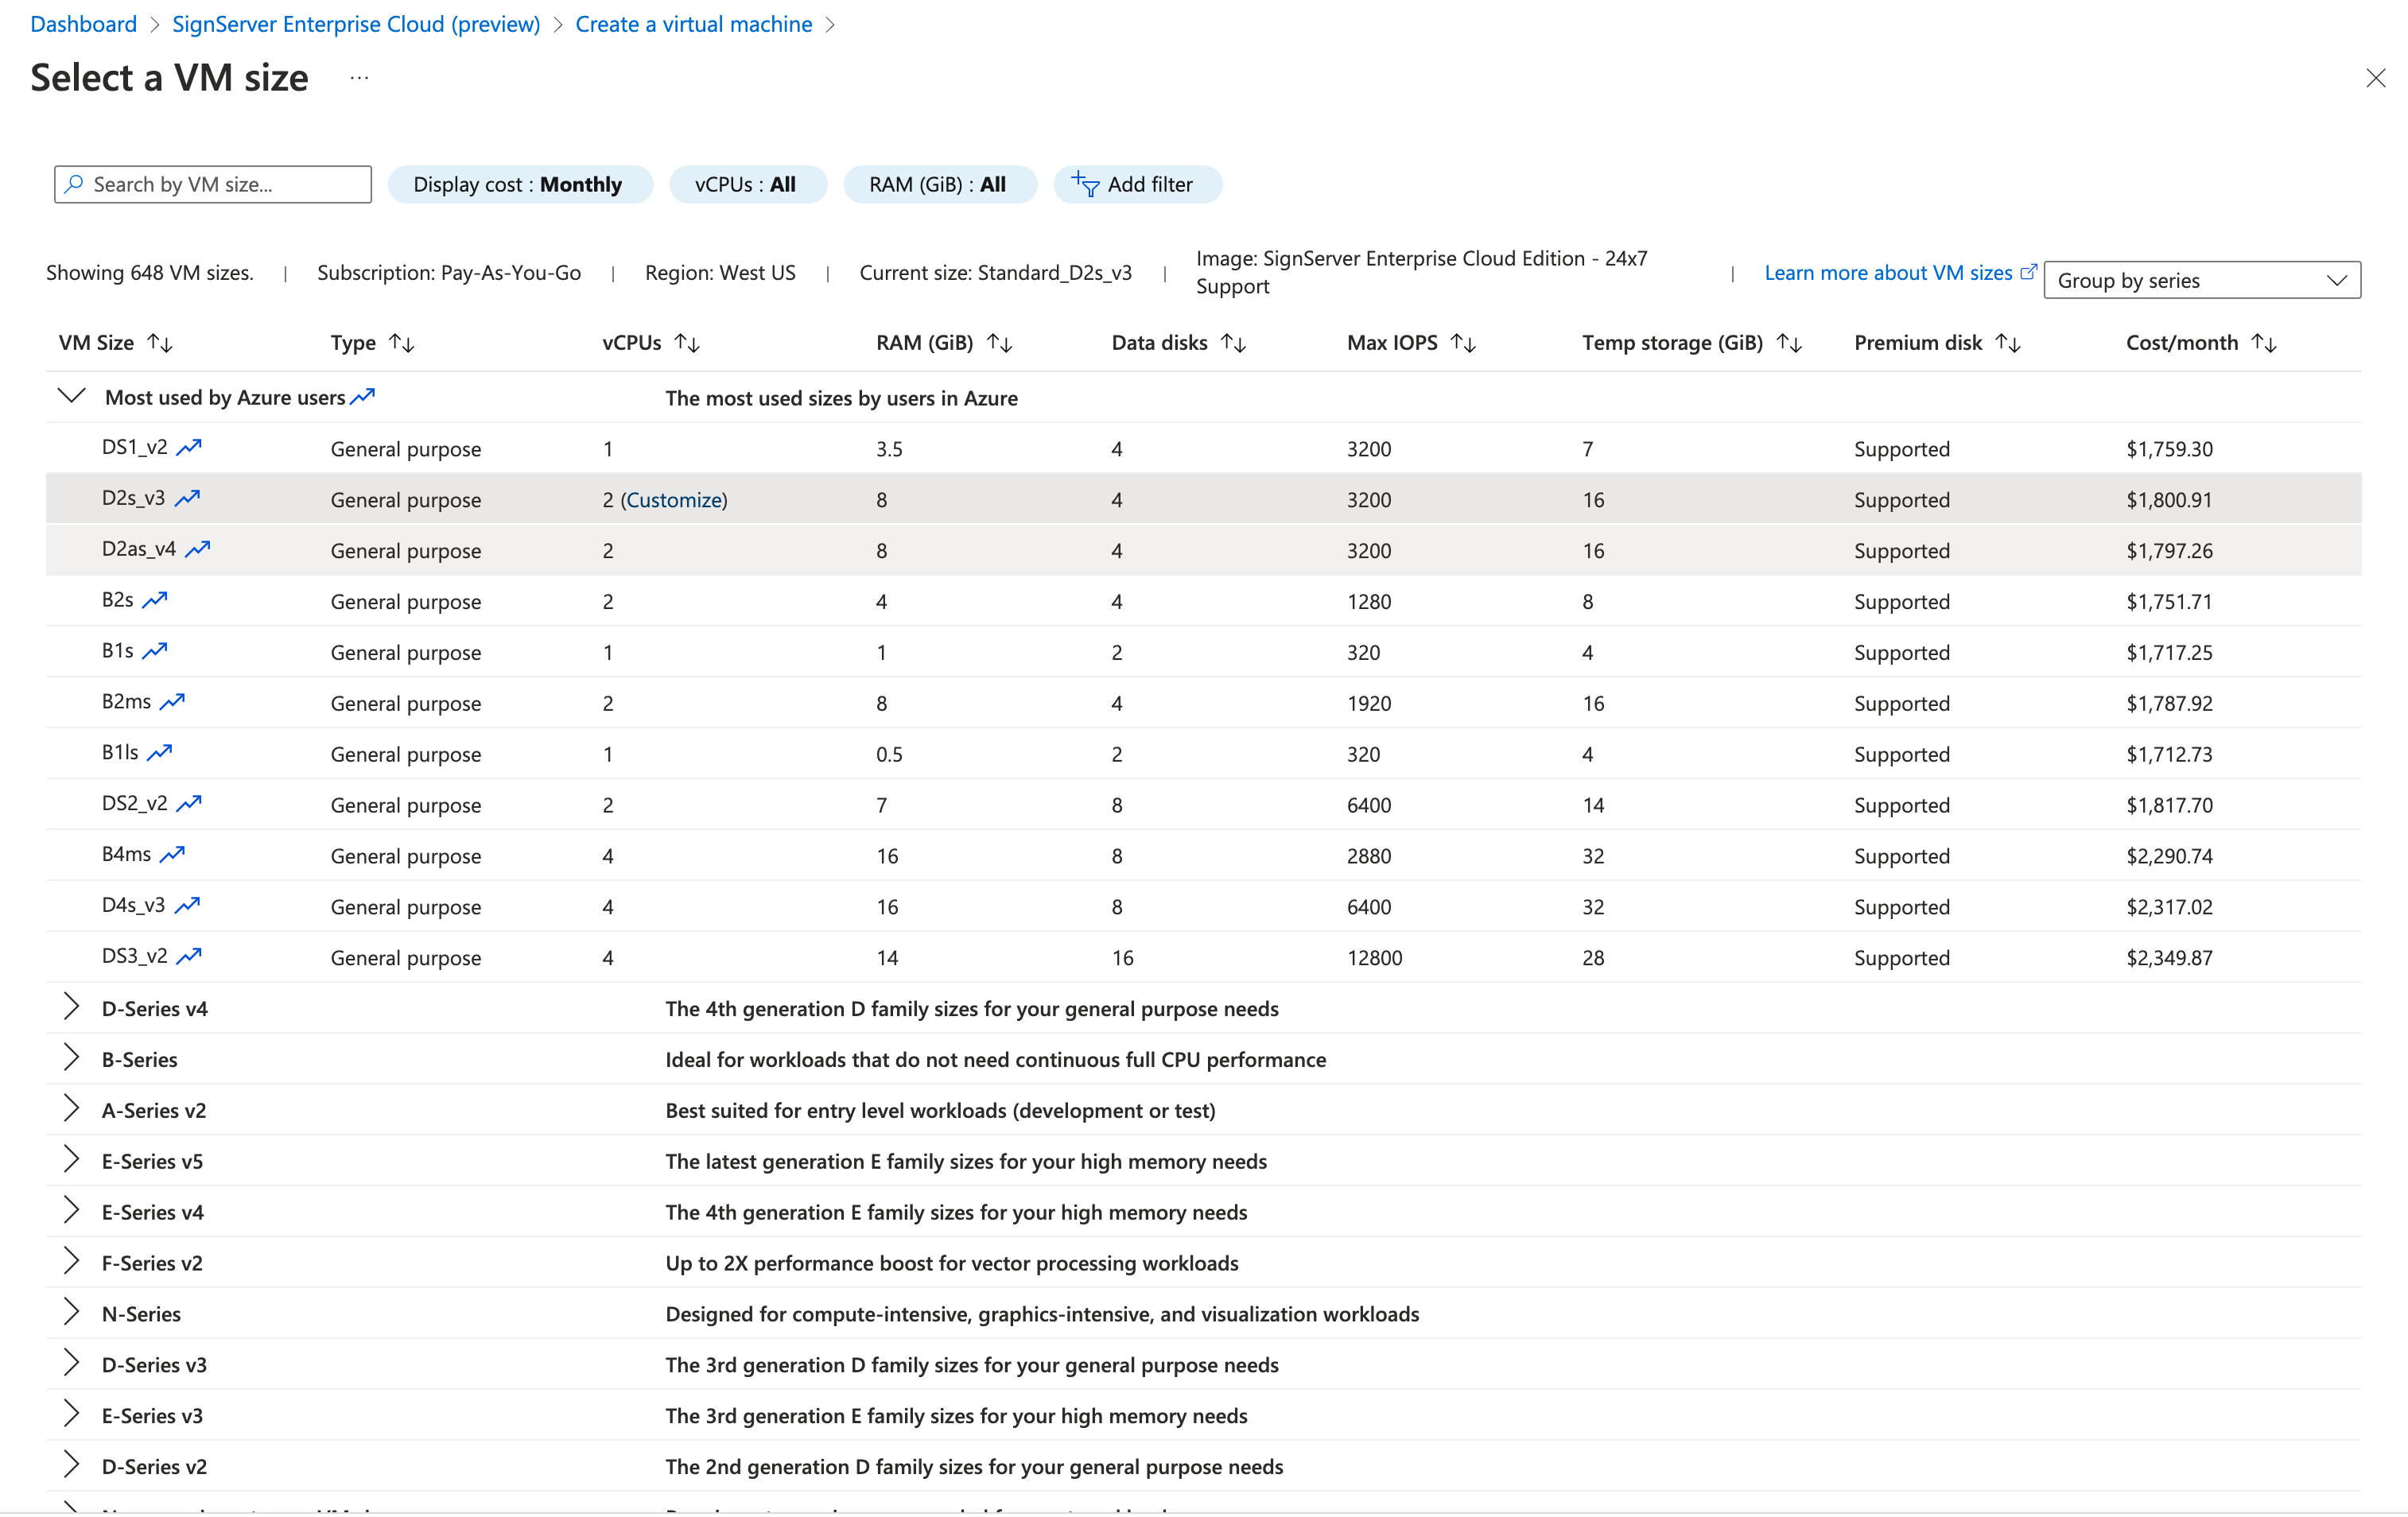
- For the VM Size, select one from the instance sizes shown. Please do not select a instance size of less than 2 Cores. SignServer is a multi threaded app and requires at least 2 Cores. It will calculate the available memory on the host and automatically configure SignServer to have a portion of it. Select see all sizes to check all available instance types.
- Select SSH key or username and password authentication.
- At this step you can either click Review + create, or continue on to the sub tabs that are optional, by may be critical to your organization.
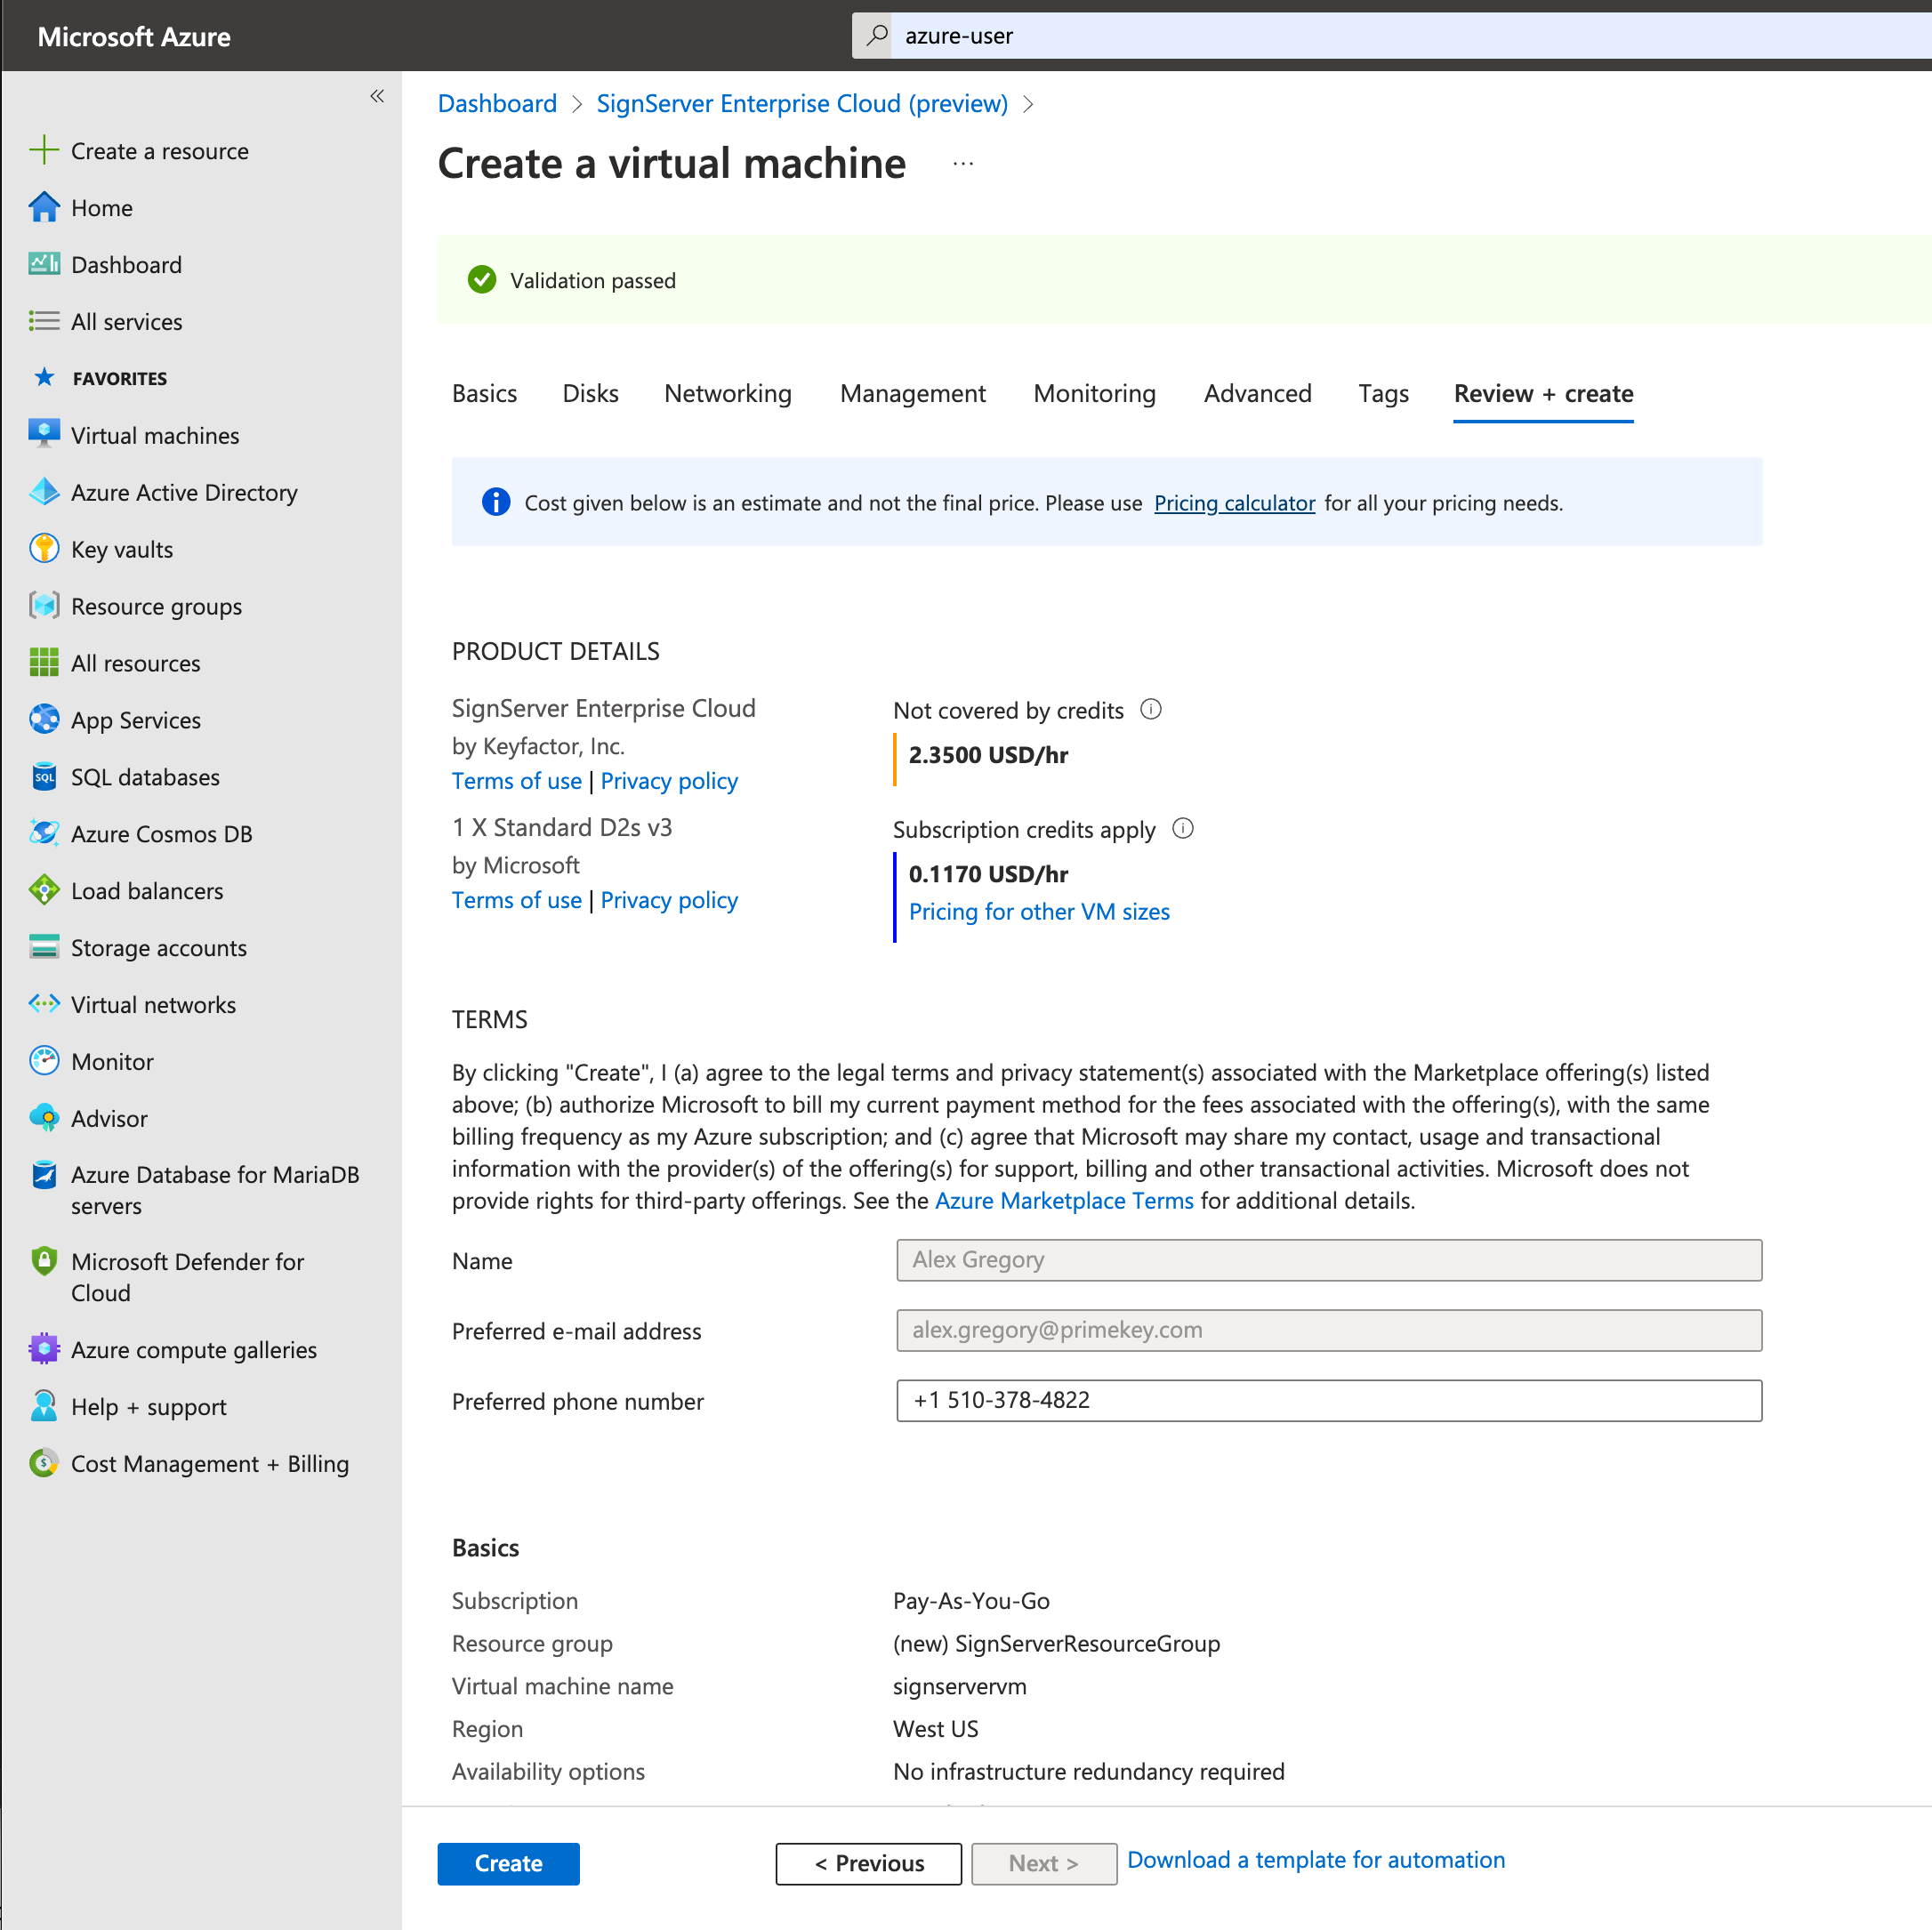
- Click Create.
Step 3: Network Filter (Optiona)
The following describes specifying Network Settings.
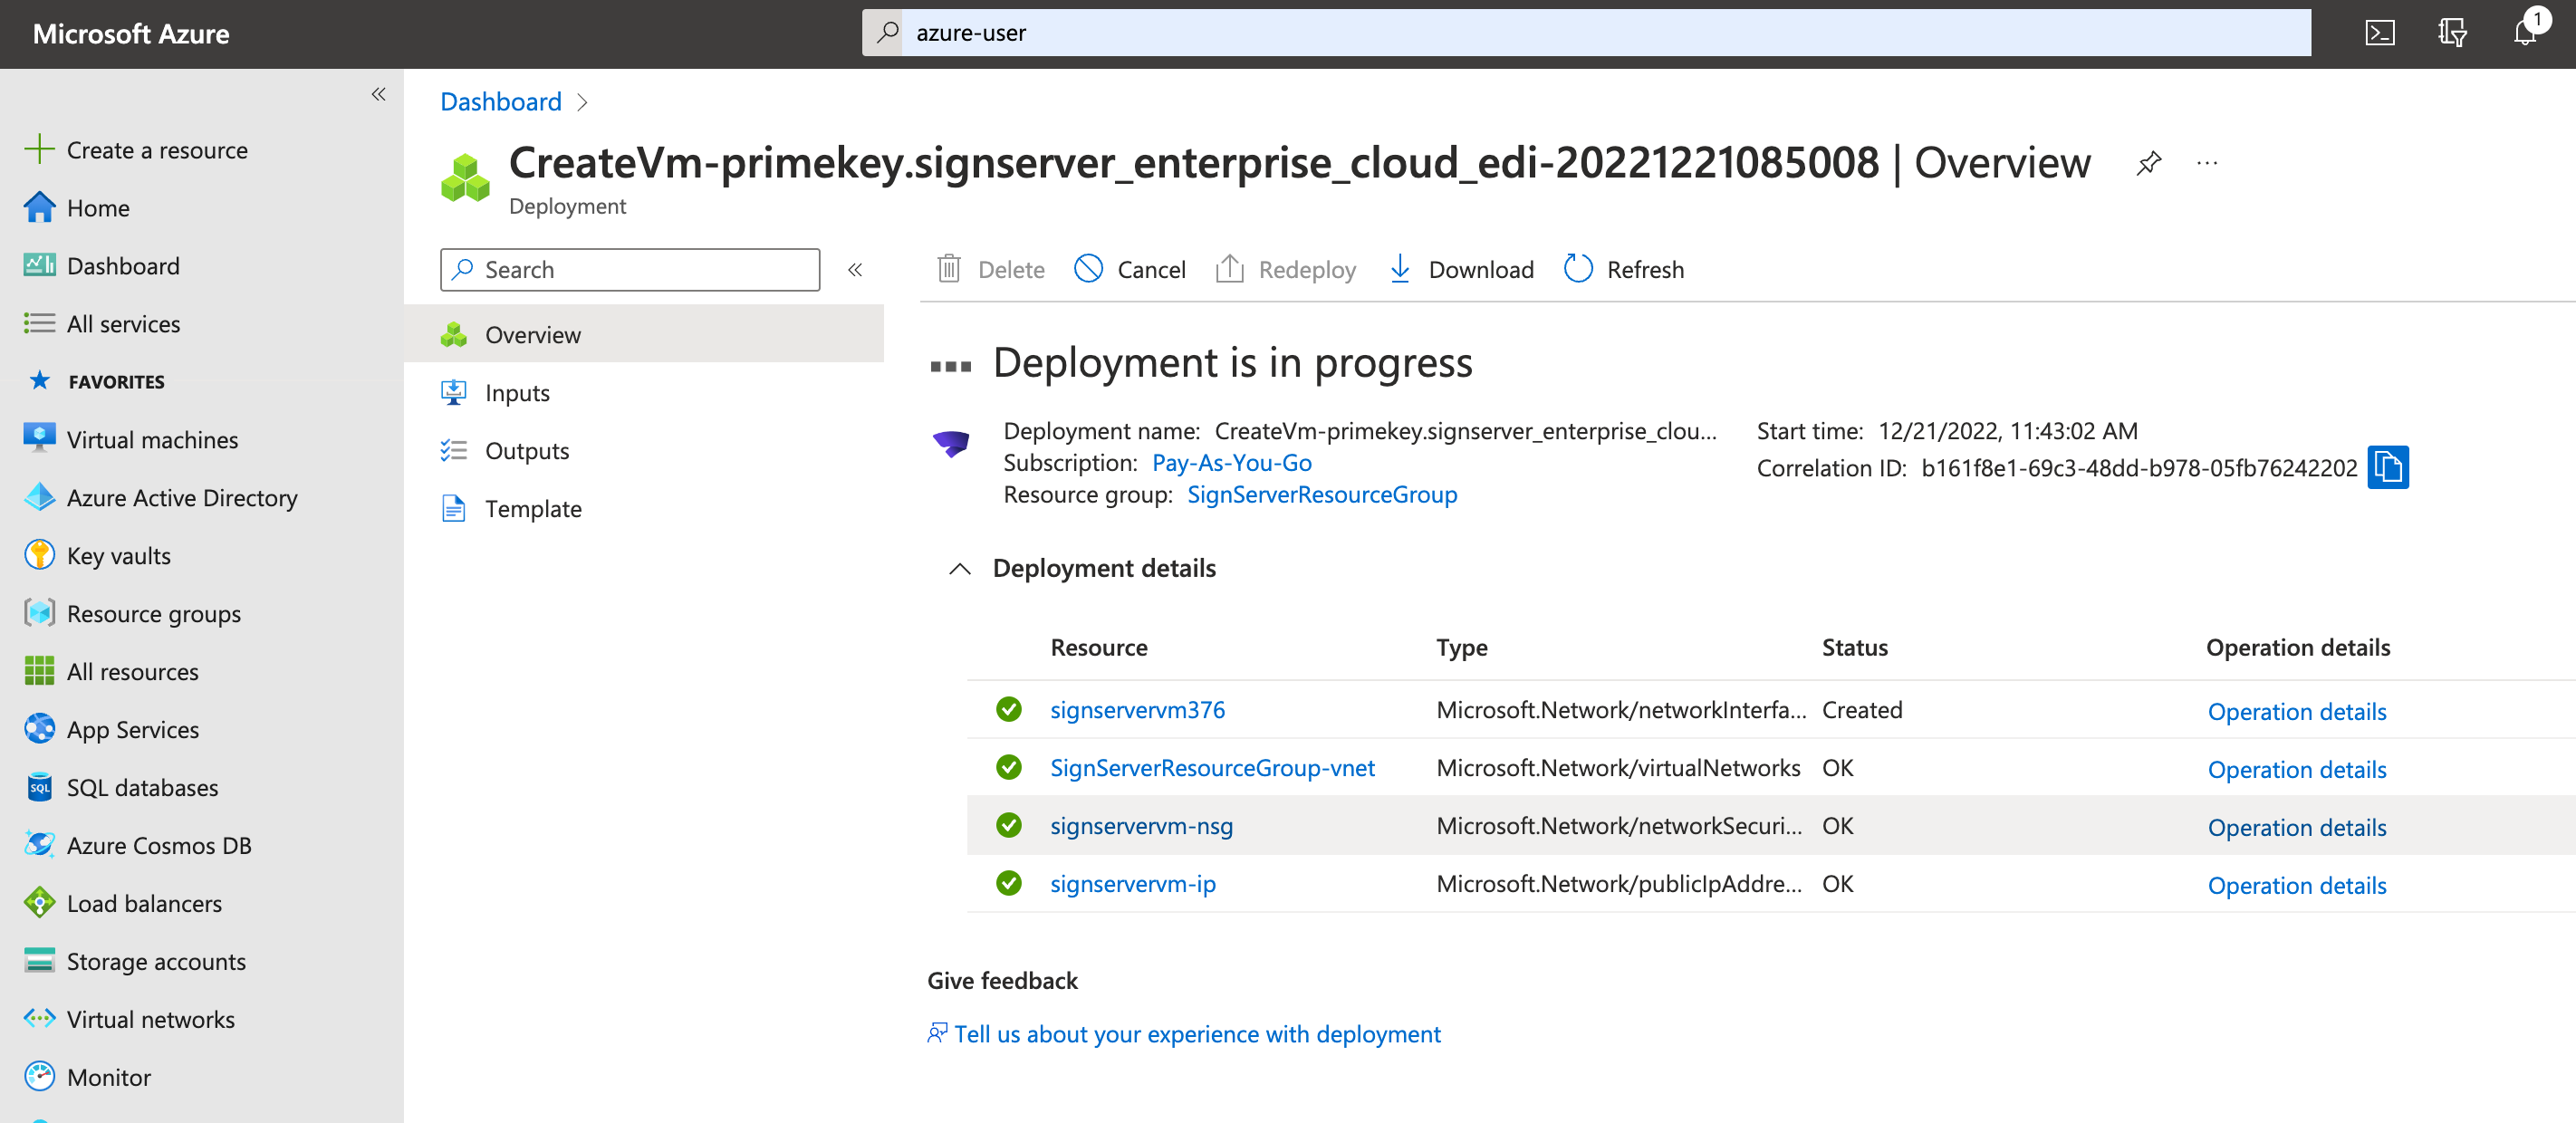
Click the refresh button on the deployment itself until the “nsg” object becomes a link.
- There will be three Network Security Rules that can be edited if you would like to not have your SignServer instance be on the internet, Public_Web_Traffic, SSL-TLS Traffic and SSH.
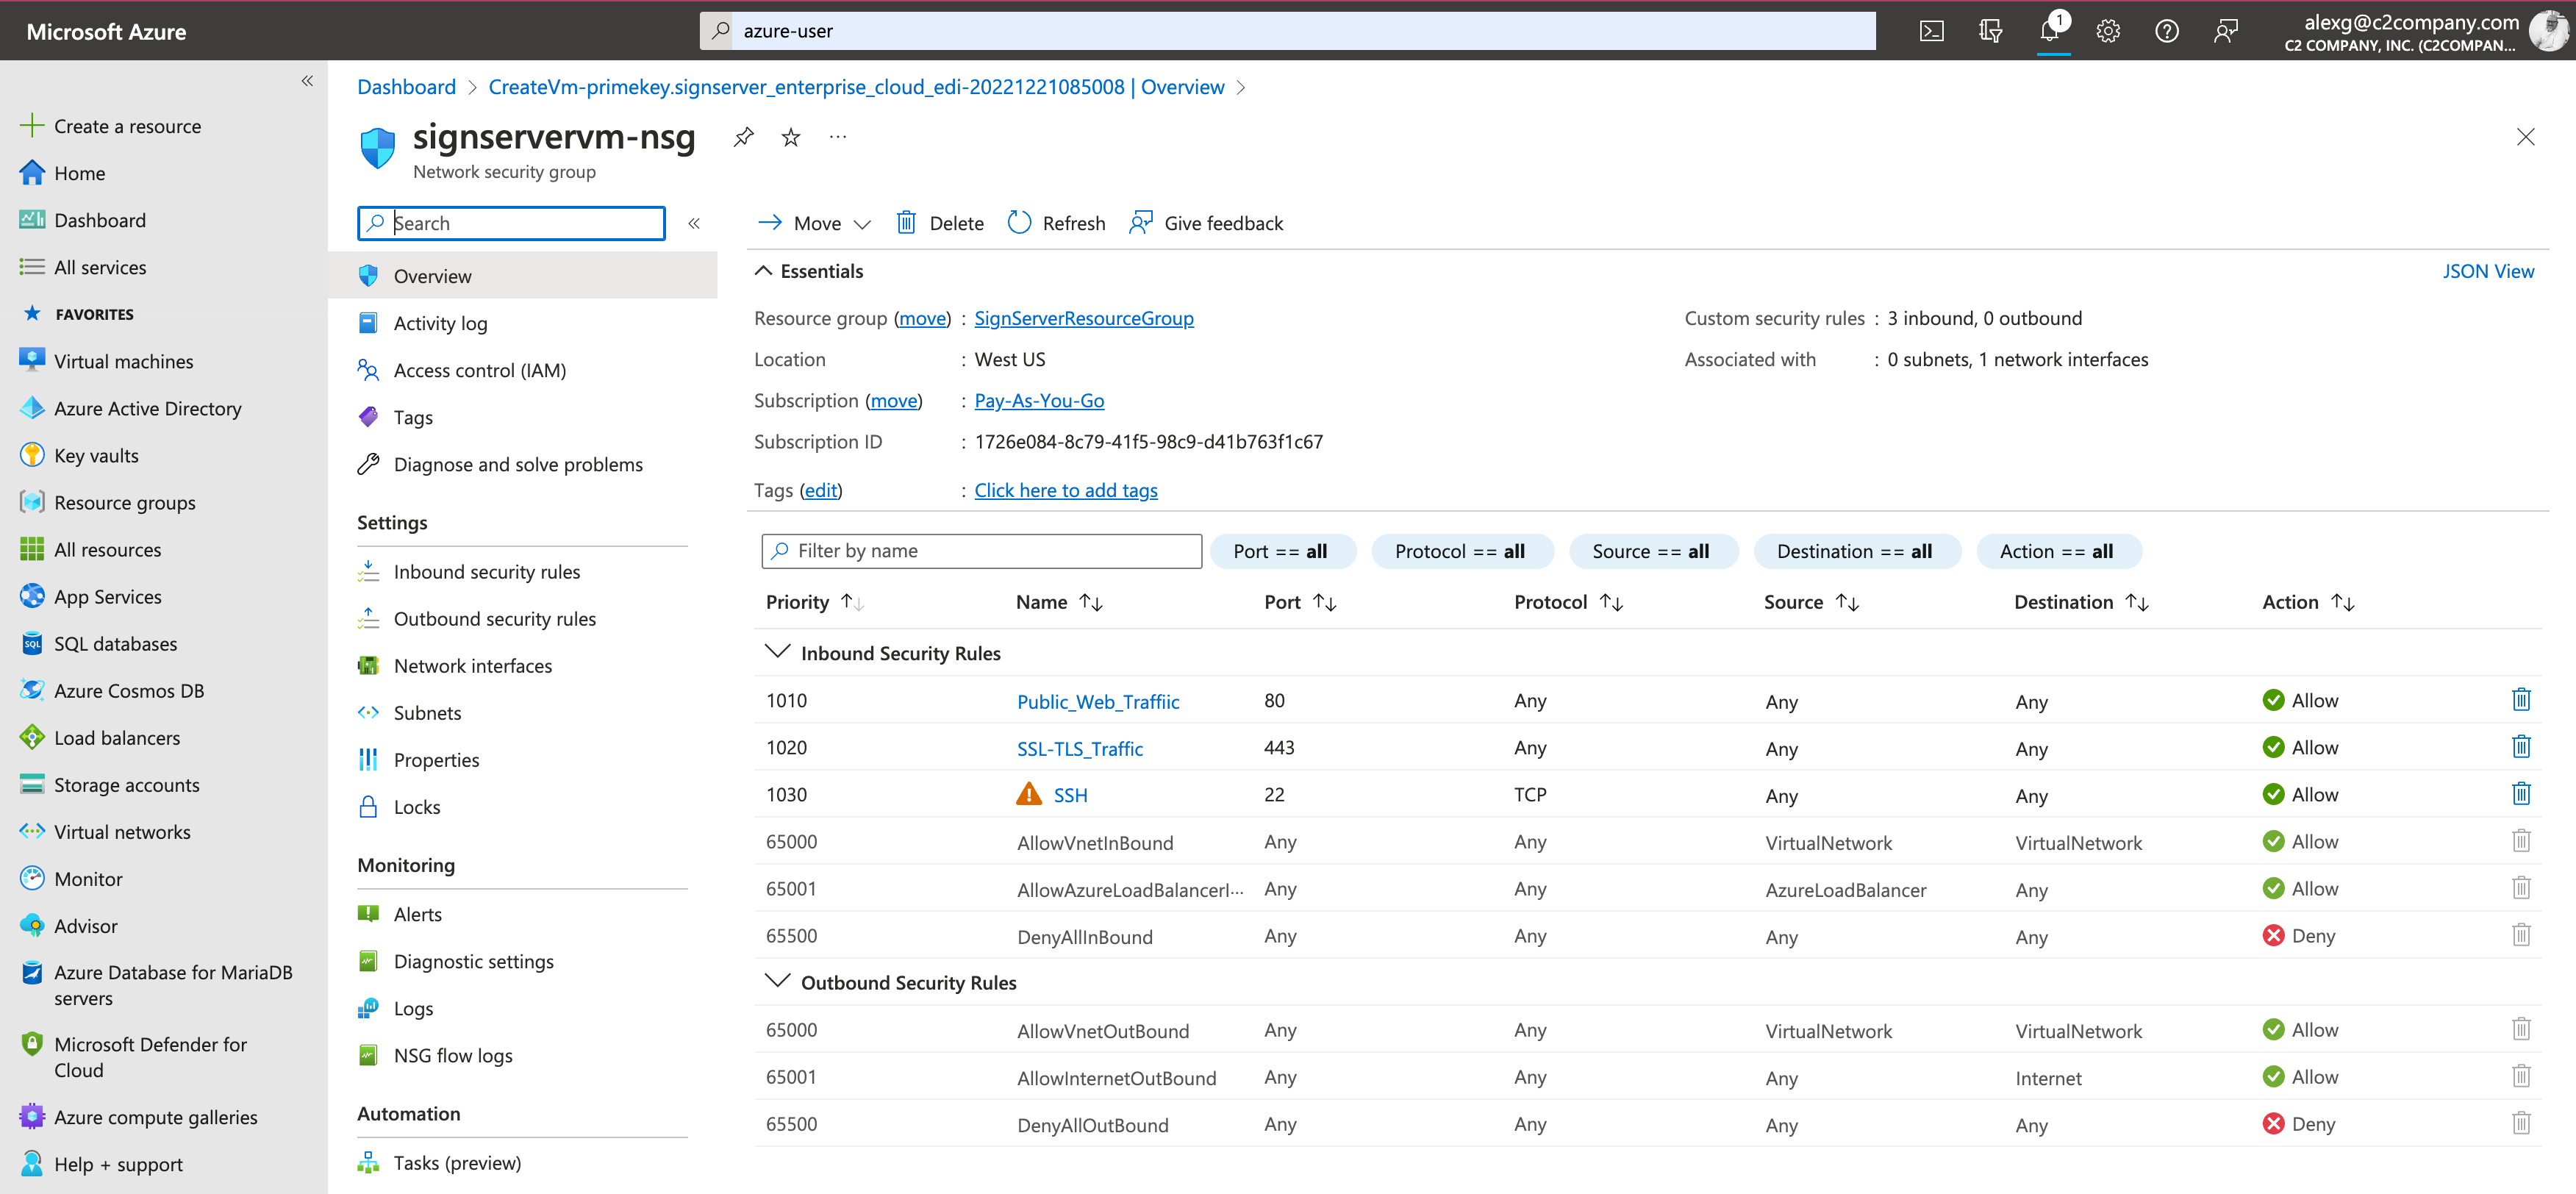
- Select each one of these rules and change the Source drop down to IP Addresses. Add the IP address you are coming from to the Source IP addresses/CIDR ranges field.
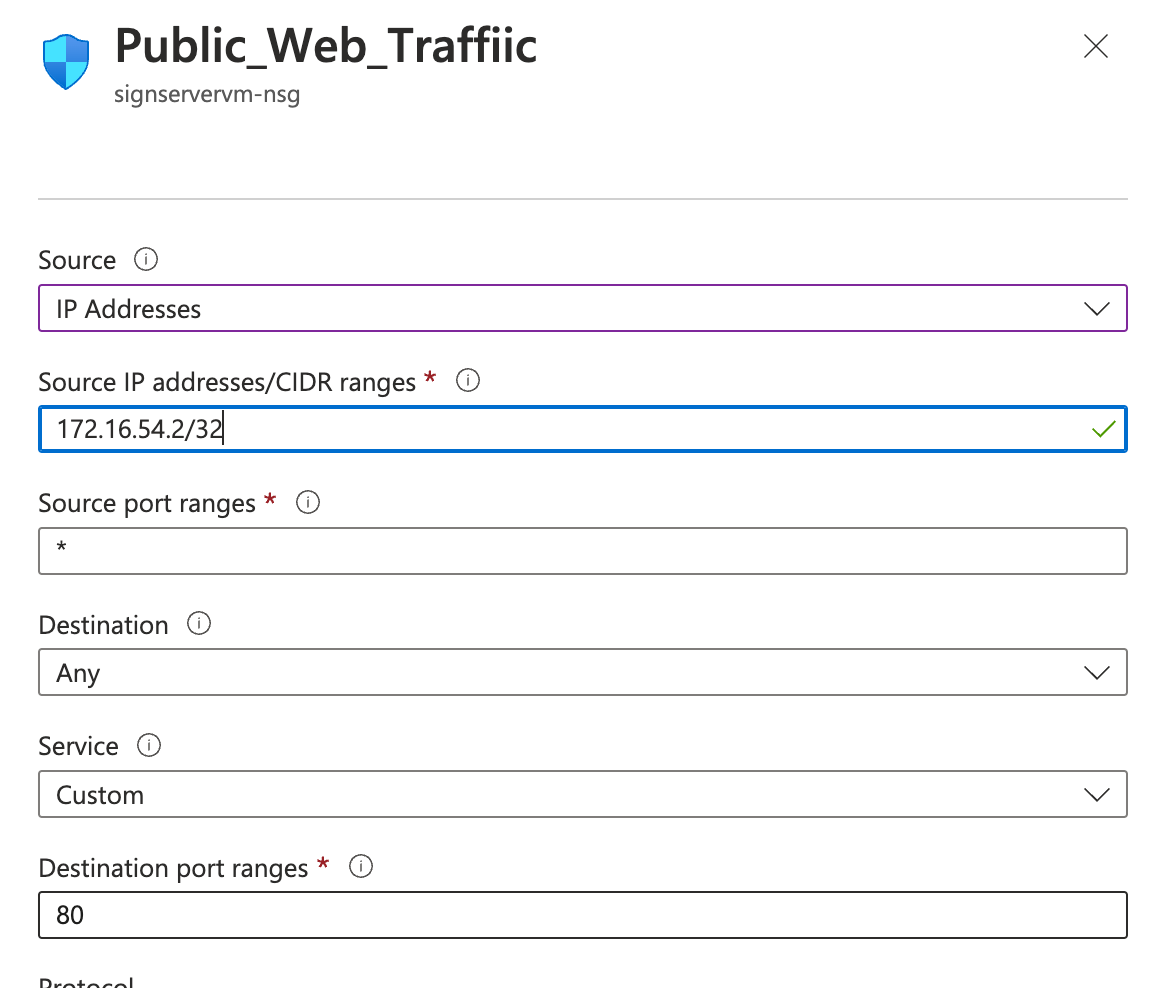
- Click OK.