The following shows how to create the Azure Key Vault.
- Search for Key Vault in the Azure portal and then select Key vaults in the results.
- Click + Create.

- In the Create key vault section, enter the name for the Key Vault. In this example, create the key vault for the Root CA and use the name EJBCARootKeyVault. Note the name down since it will be required in EJBCA when creating a Crypto Token in the next step Creating an Azure Key Vault Crypto Token in EJBCA. Then specify the same Resource Group that the EJBCA Instance uses.
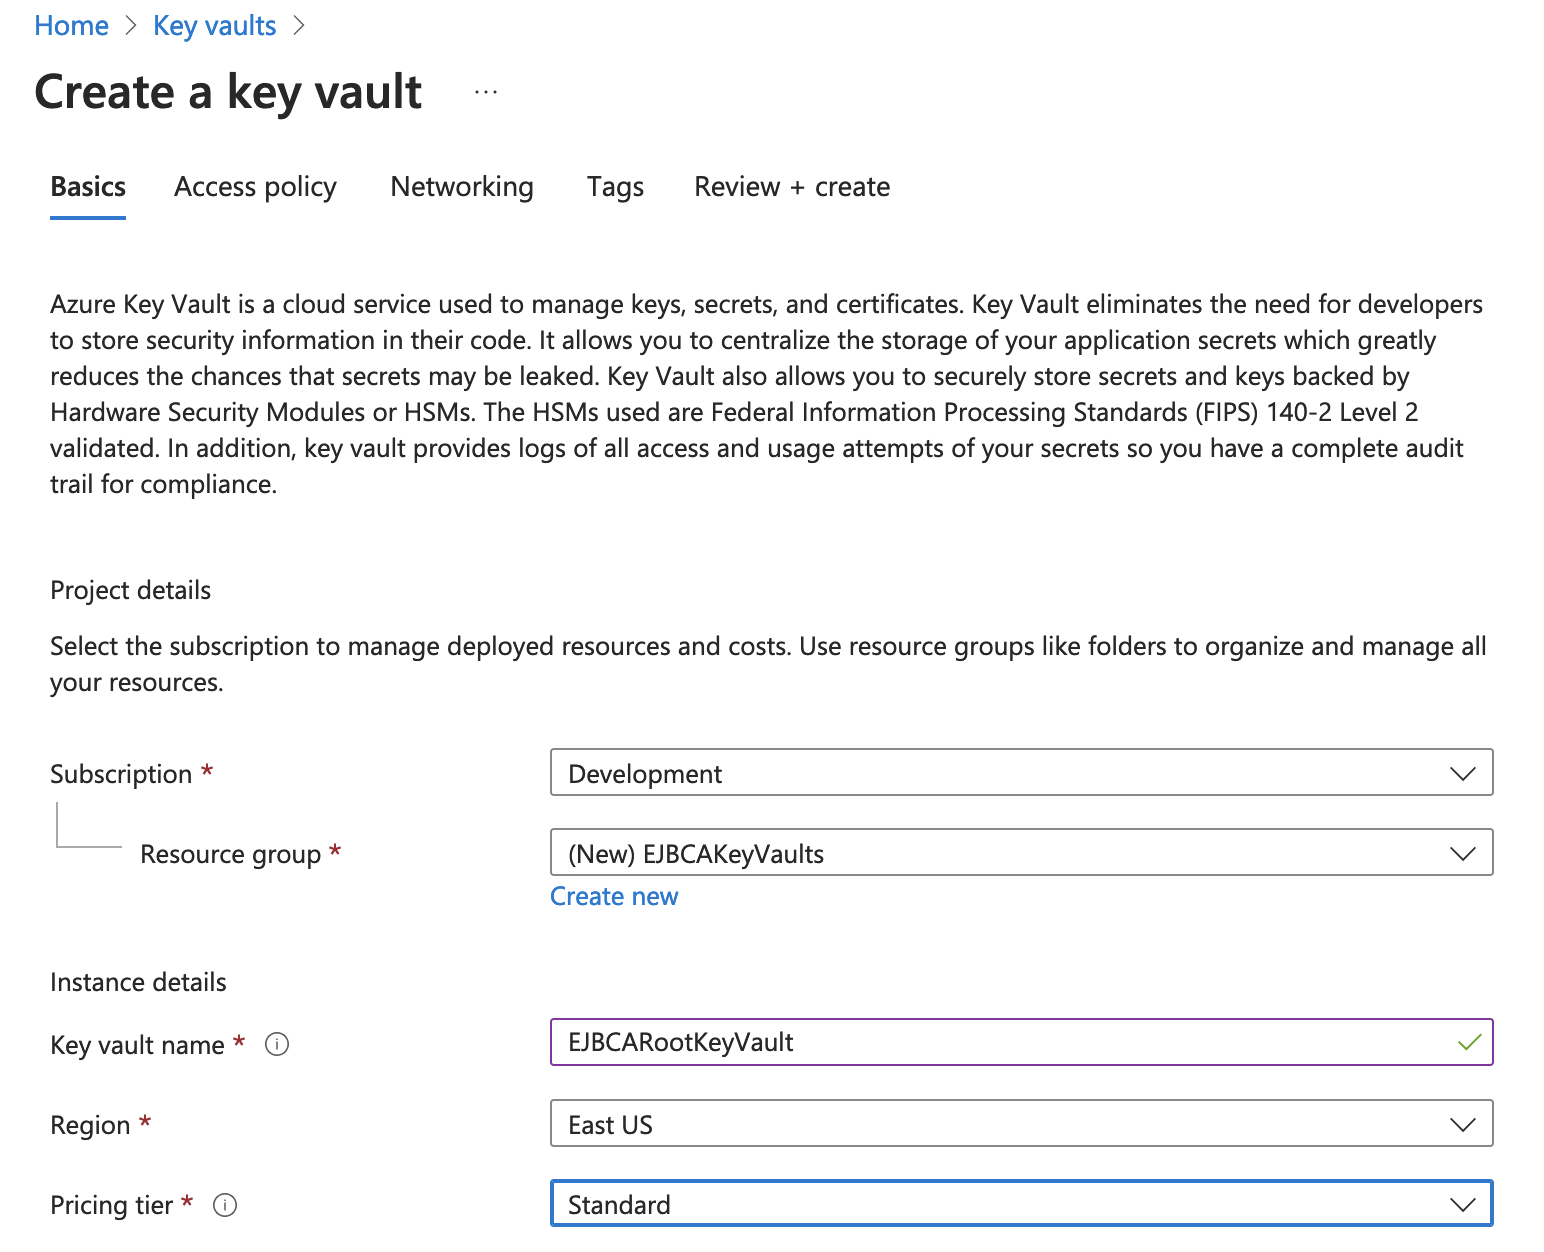
- Under Pricing tier, there are two options, Standard and Premium. It is recommended to choose Premium and then click Select.

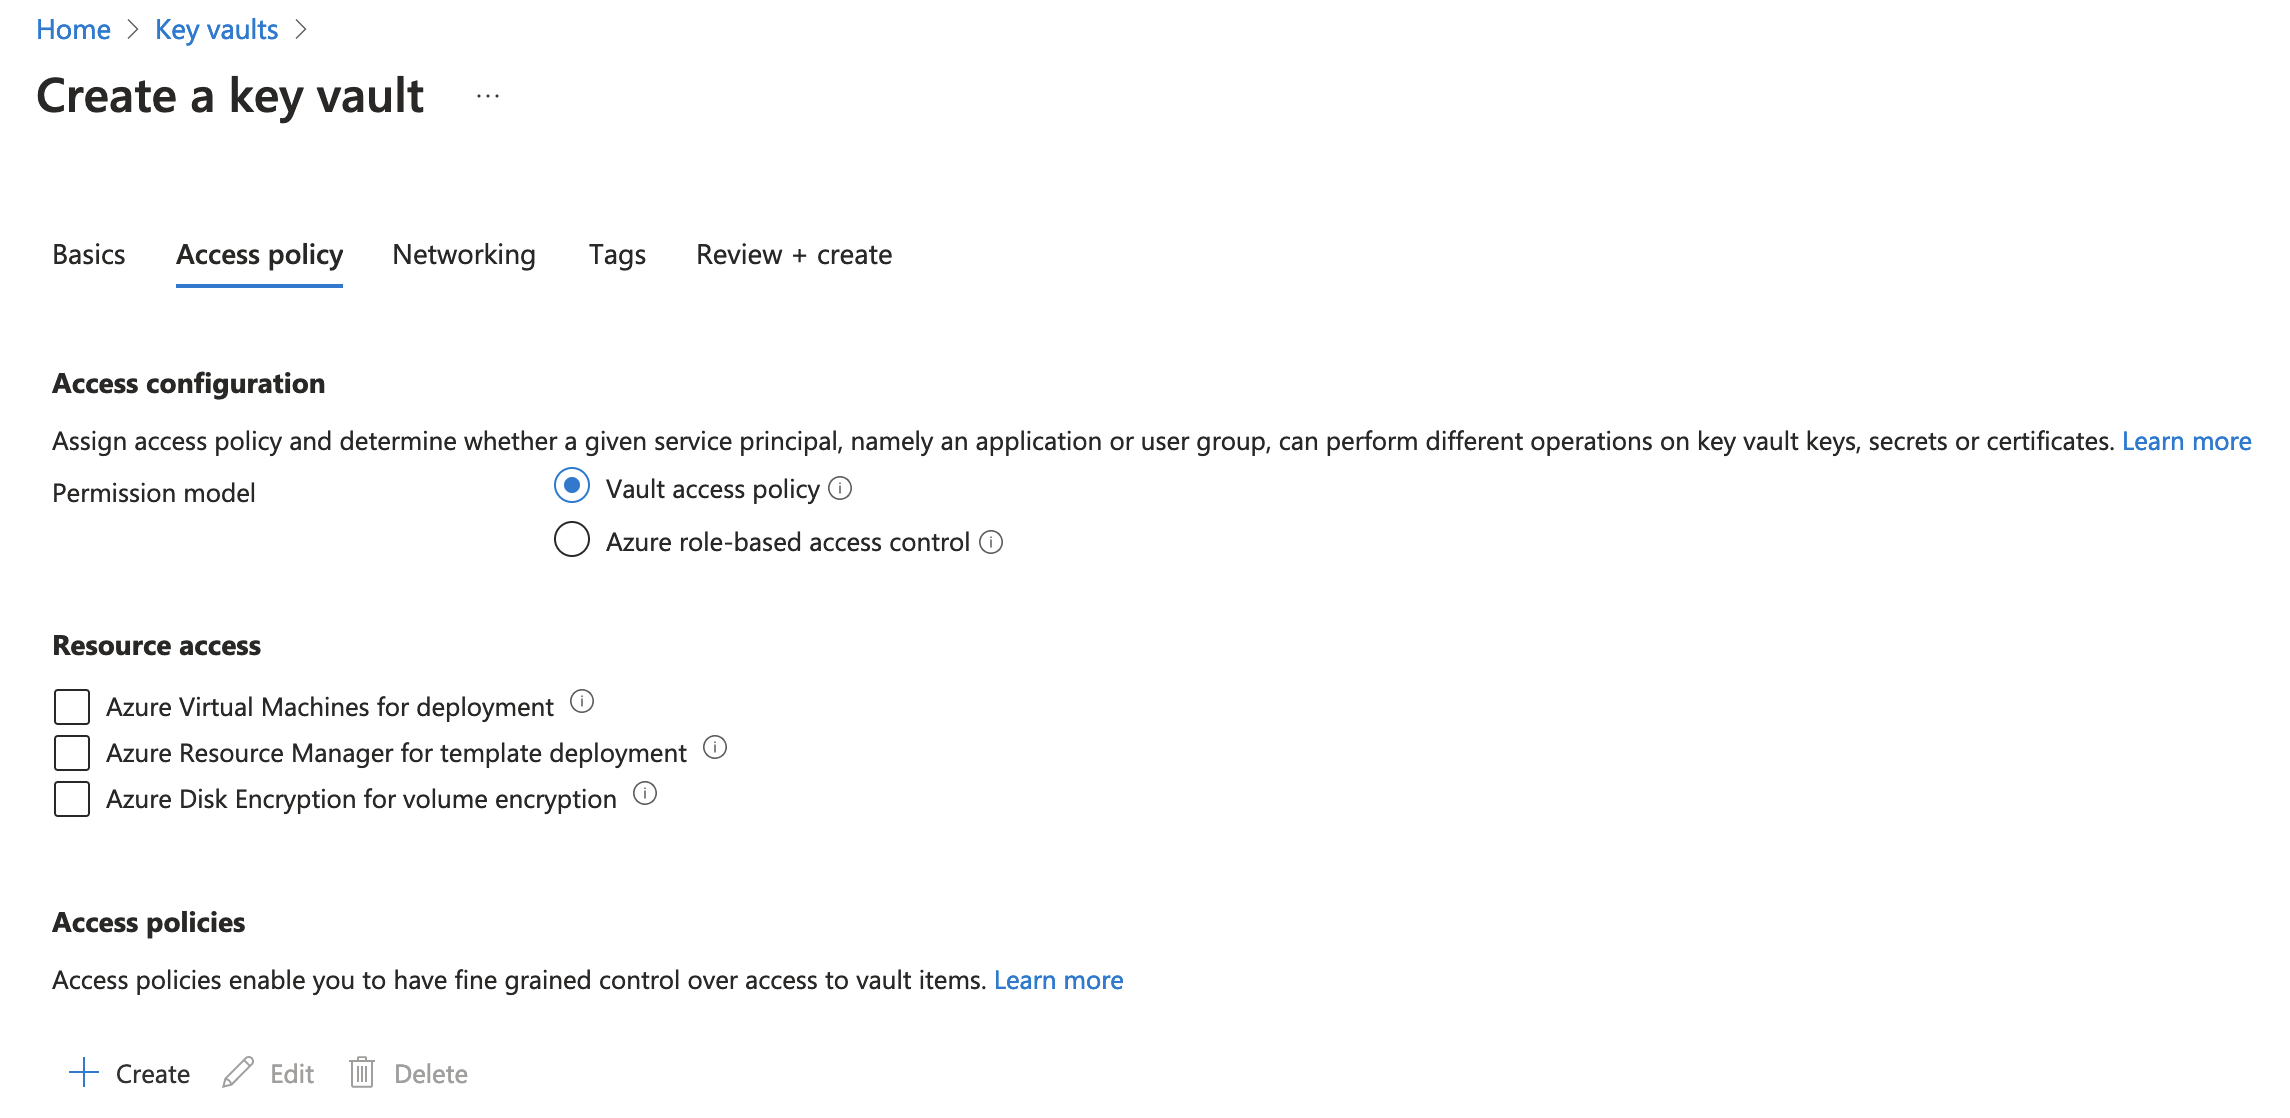
- Click Access Policies from the Create Key Vault dialog, and then click + Create.
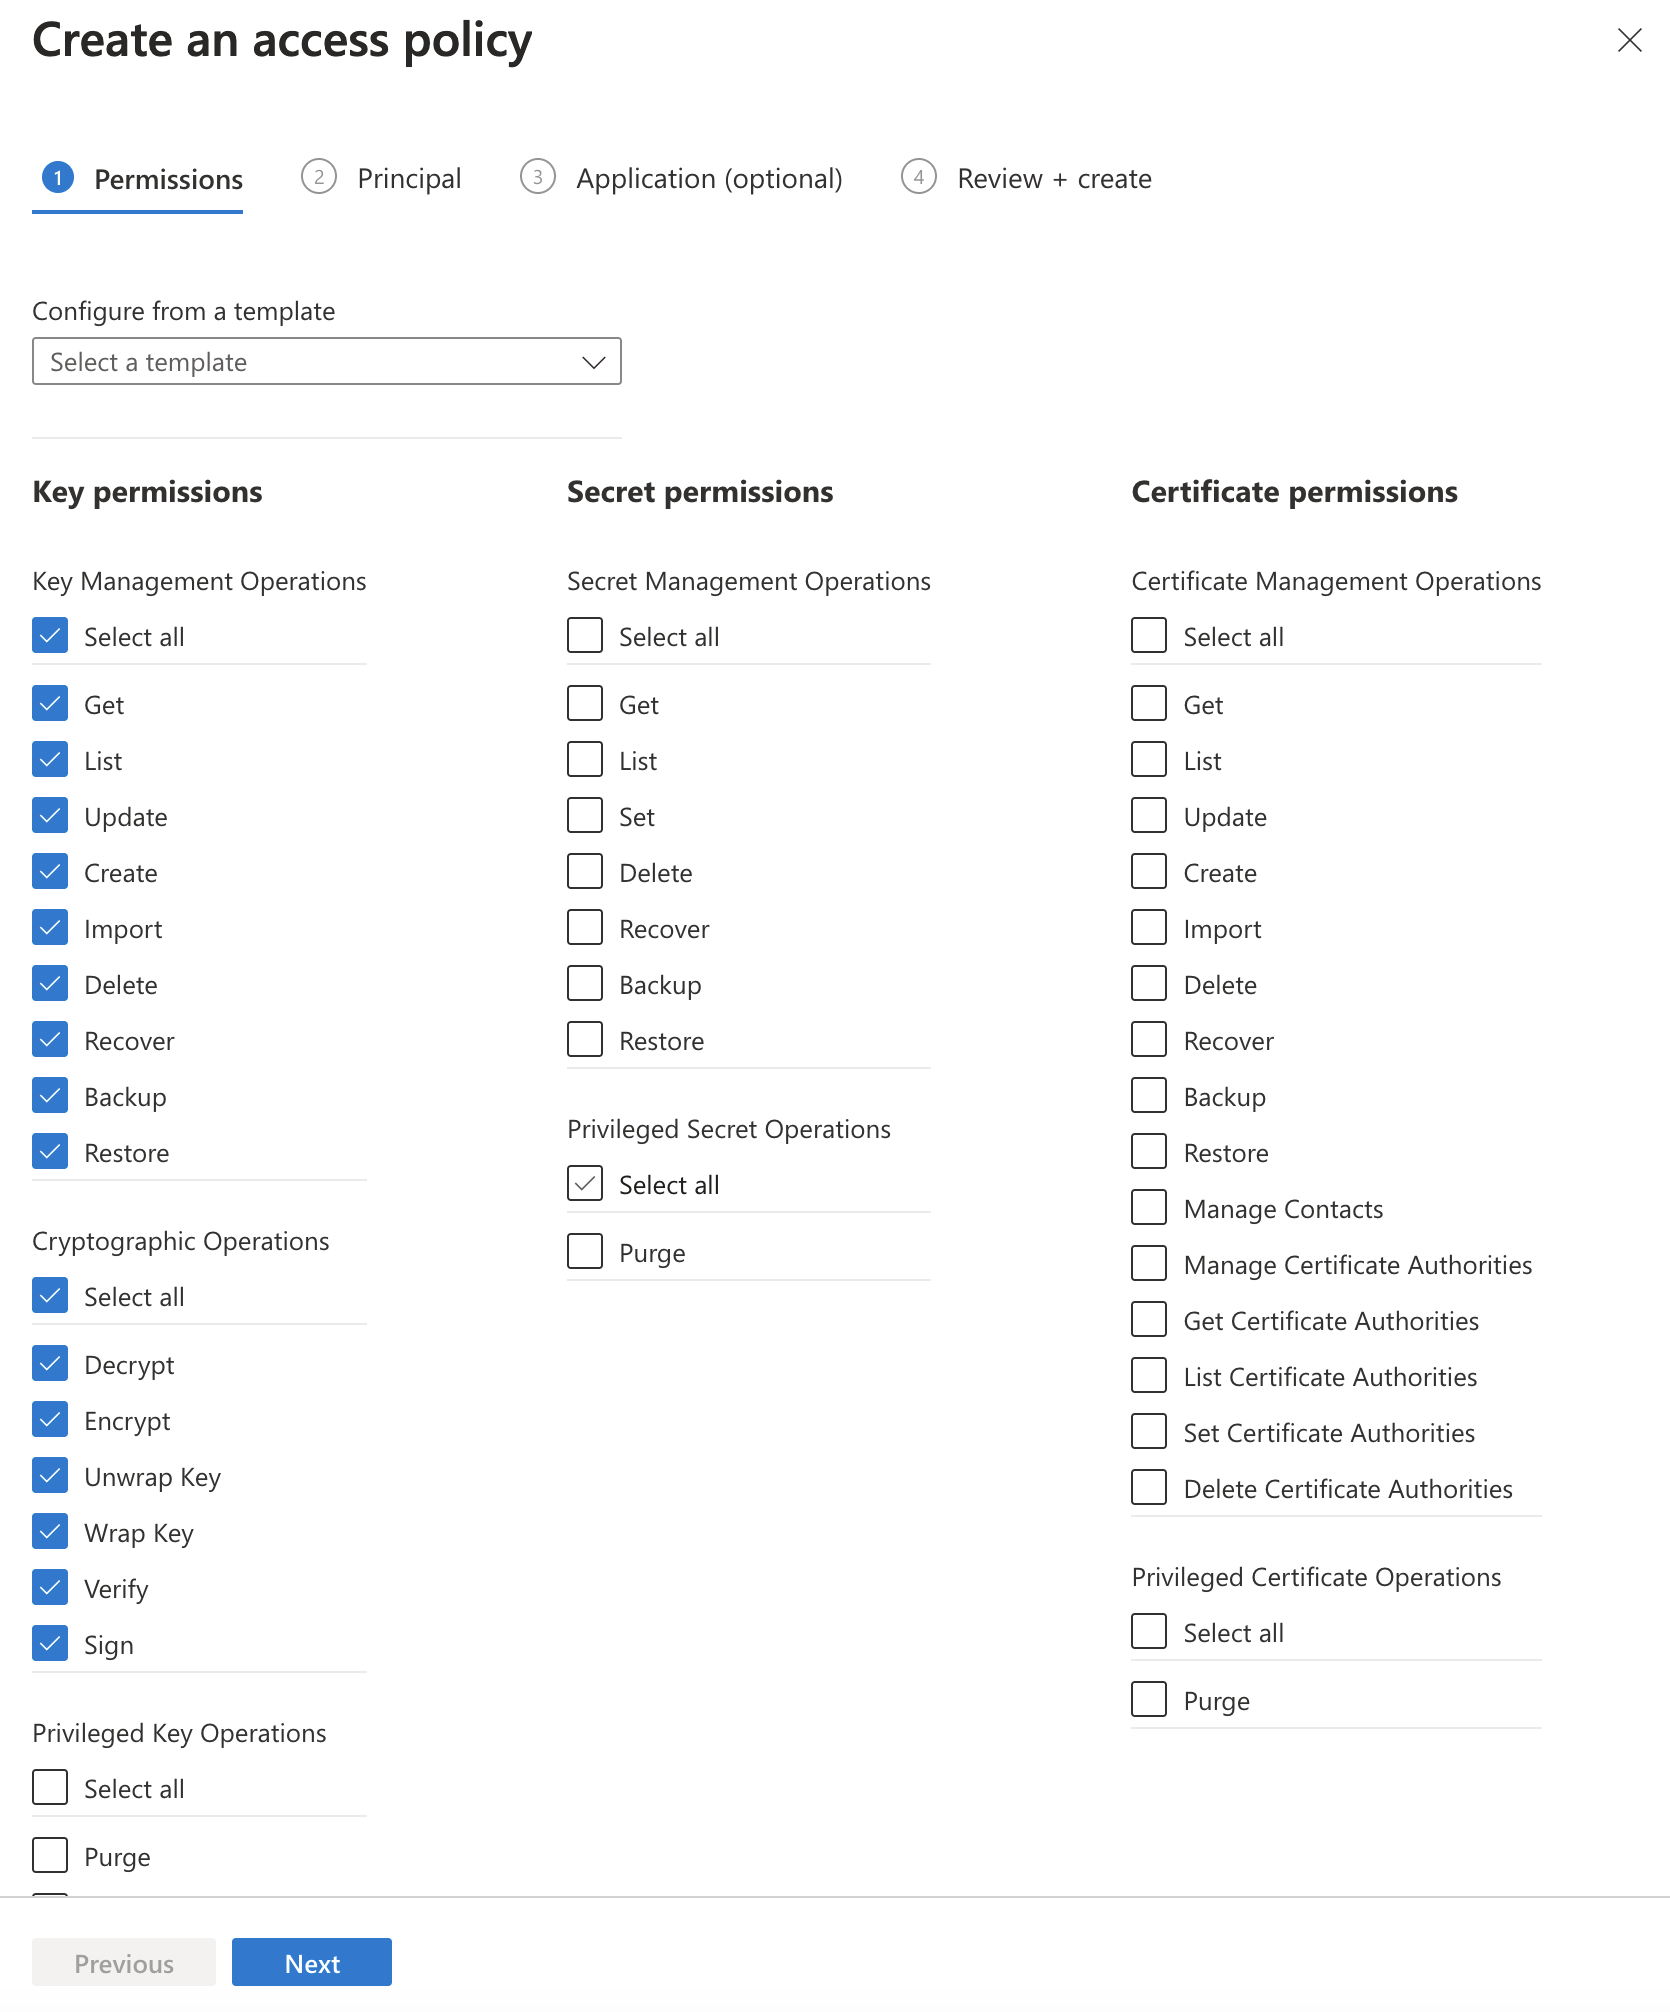
- On the Create an access policy screen, under Key Permissions, choose select all for the Key Management Operations and Cryptographic Operations. If you do not want EJBCA to perform certain actions, like delete key, clear that permission. Click next.
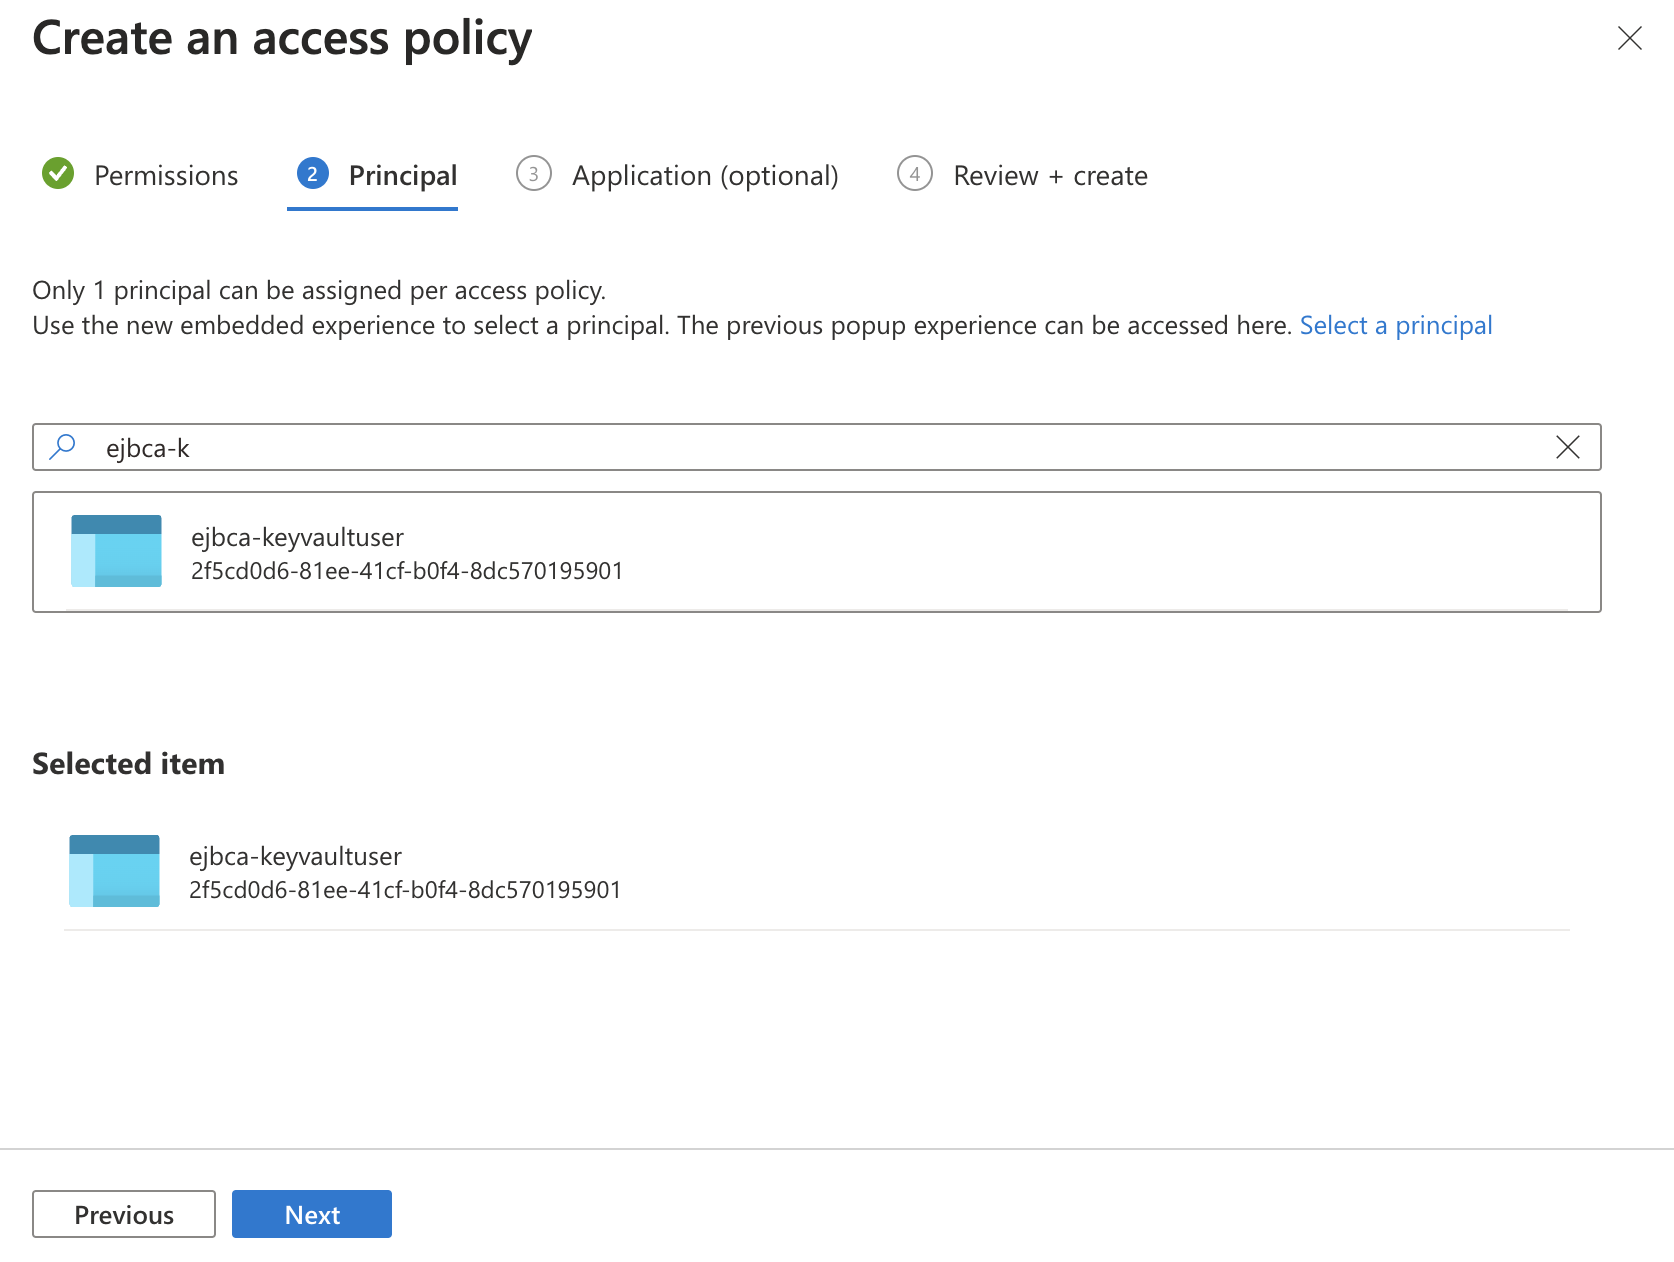
- Search for the App Registration added in the previous section Creating an App Registration in Active Directory. In this example, we used the name "ejbca-keyvault". Select it and ensure that it shows as a Selected Item. Click Next, Next then Create on the Review + Create screen.
- Click the Networking section.
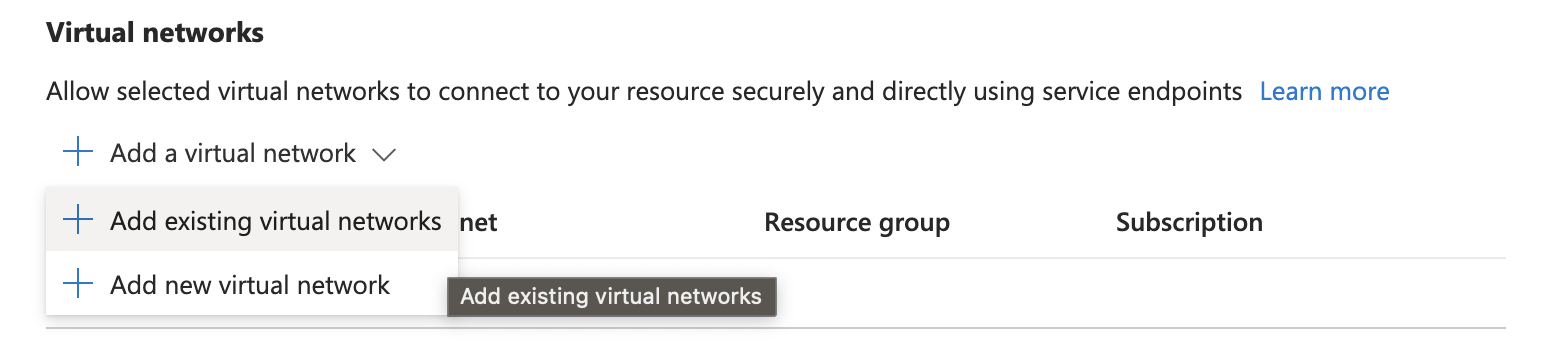
- Select to Allow access from Selected networks, and then click Add a virtual network.
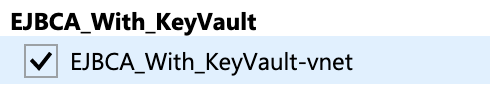
- From the Virtual networks list, select the virtual network in the resource group that EJBCA Cloud was deployed into. In this example, EJBCA_With_KeyVault-vnet.
- Click Select All under Subnets.
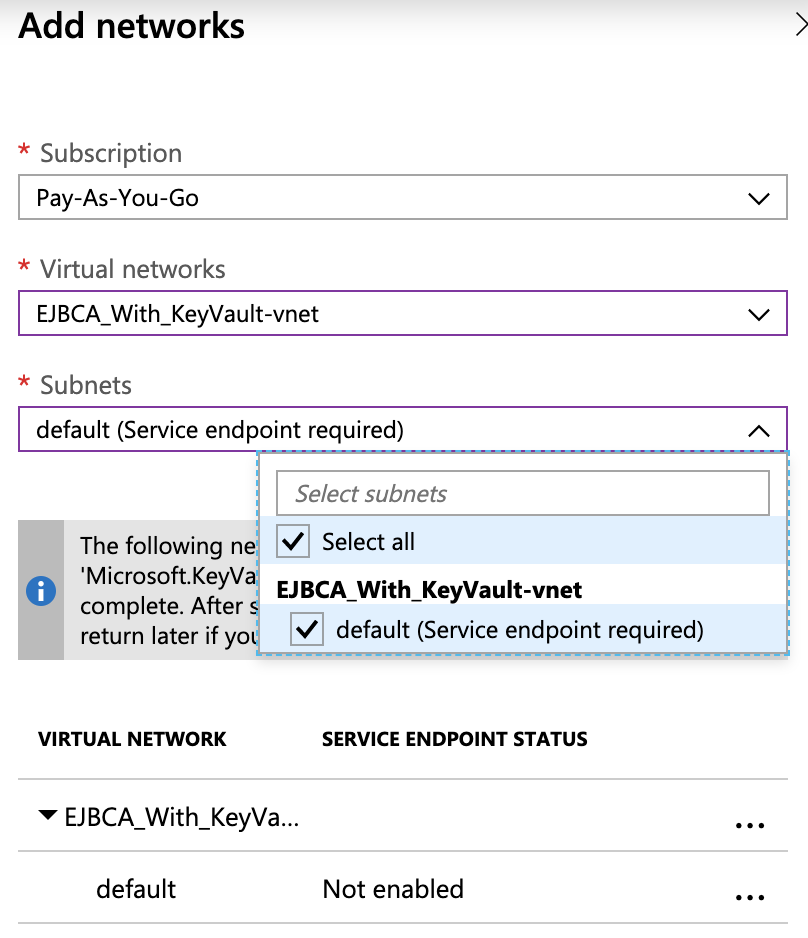
- Once completed, click Add and then click Save.
- Click Create and wait from the deployment to complete.
- Once the deployment completes, proceed to the next section to create an Azure Key Vault Crypto Token in EJBCA.