The following shows how to create the Azure Key Vault.
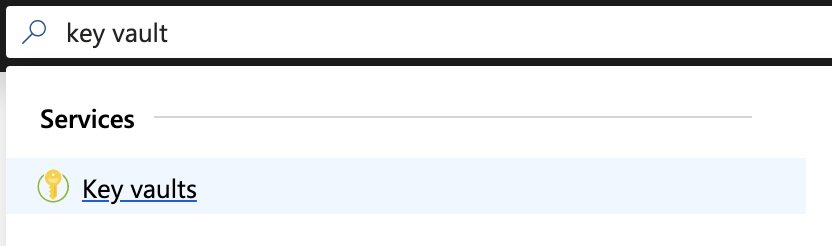
- Search for Key Vault in the Azure portal and then select Key vaults in the results.
- Click Add.
- In the Create key vault section, enter the name for the Key Vault. In this example, create a SignServer Crypto Token vault for SignServer and use the name SignServerKeyVault. Note the name down since it will be required in SignServer when creating a Crypto Token.
- Specify the same Resource Group that the SignServer Instance uses.

- Under Pricing tier, there are two options, Standard and Premium. It is recommended to choose Premium and then click Select.

- Click Next to create an Access Policy from the Create Key Vault dialog, and then click Add Access Policy.
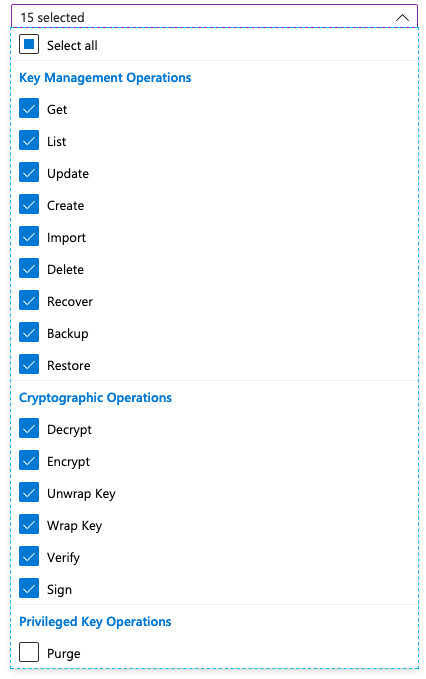
- Select Key Management from the Configure from template list.
- Select Key Permissions.
- Select all of the permissions under Cryptographic Operations.
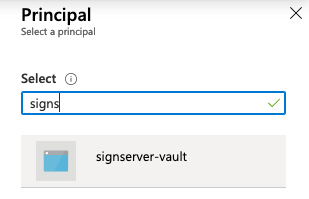
- Click Select Principal.

- Search for the App Registration added in the previous section Creating an App Registration in Active Directory. In this example, select the name "signserver-vault" and click Select.
- Click Add on the Add access policy screen.
- Click OK on the Access policies screen.
- Click Next to configure Networking the Virtual Network Access section.
- Select Public endpoint.
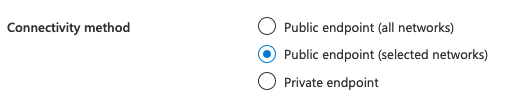
- Click Add existing virtual networks.
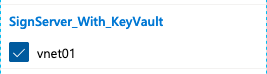
- From the Add networks list, select the virtual network in the resource group that SignServer Cloud was deployed into. In this example, SignServer_With_KeyVault.
- Click Select All under Subnets. Click Enable and wait for Azure to enable the service endpoint.
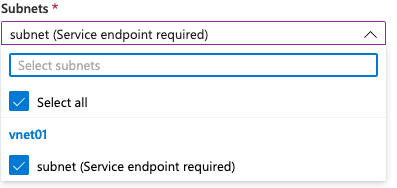
- Once completed, click Add.
- Click Next to assign any Tags if desired.
- Click Next to Review the configuration.
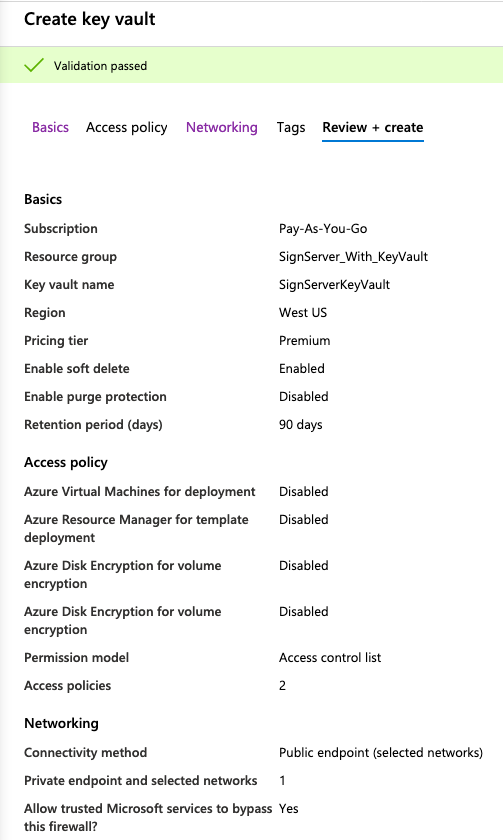
- Click Create and wait for the deployment to complete.
- Once the deployment completes, proceed to the next section to view Keys in Key Vault.