The following provides instructions for creating an Azure Key Vault Crypto Token in SignServer and how to manually activate the newly created Crypto Token if required.
Configuring Crypto Token
To create an Azure Key Vault Crypto Token in SignServer, do the following:
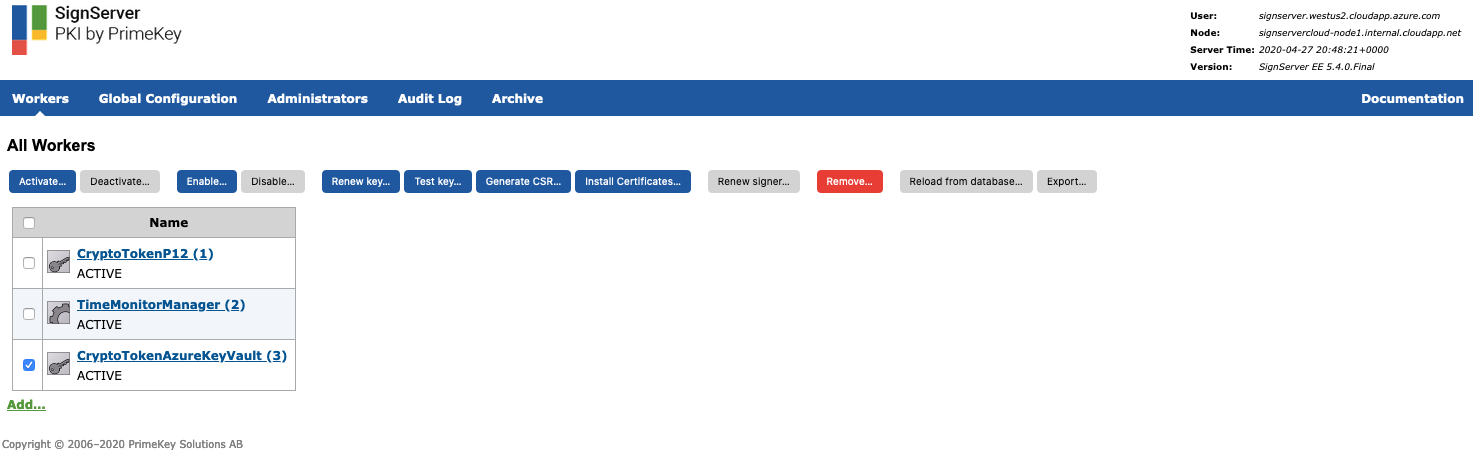
- Select the SignServer AdminWeb Workers tab, and click Add.
- Click From Template, select the azurekeyvault-crypto.properties template in the list, and click Next.
- Change the following properties to the values that reflect your key vault.
- WORKERGENID1.KEY_VAULT_NAME: In this example, SignServerKeyVault as specified when Creating an Azure Key Vault.
- WORKERGENID1.KEY_VAULT_CLIENT_ID: The Application (client) ID as noted down from the Overview page when creating the App Registration.
- WORKERGENID1.KEY_VAULT_TYPE: As selected when when Creating an Azure Key Vault, for example, Premium.
- WORKERGENID1.PIN: The client secret generated during the App Registration step. Uncomment this row and add the client secret signserver-vault-access value if you want the Crypto Token to auto-activate. To activate the token manually, see Manually Activating Crypto Token.
- WORKERGENID1.DEFAULTKEY: The name of the first key that SignServer uses to activate the Crypto Token. The key can be created in the Azure Key Vault user interface according to the previous step Creating First Key for SignServer.
- Click Apply to add the Crypto Token.
- The Crypto Token is displayed in the list as Active if the client secret was added as the PIN in the previous step.
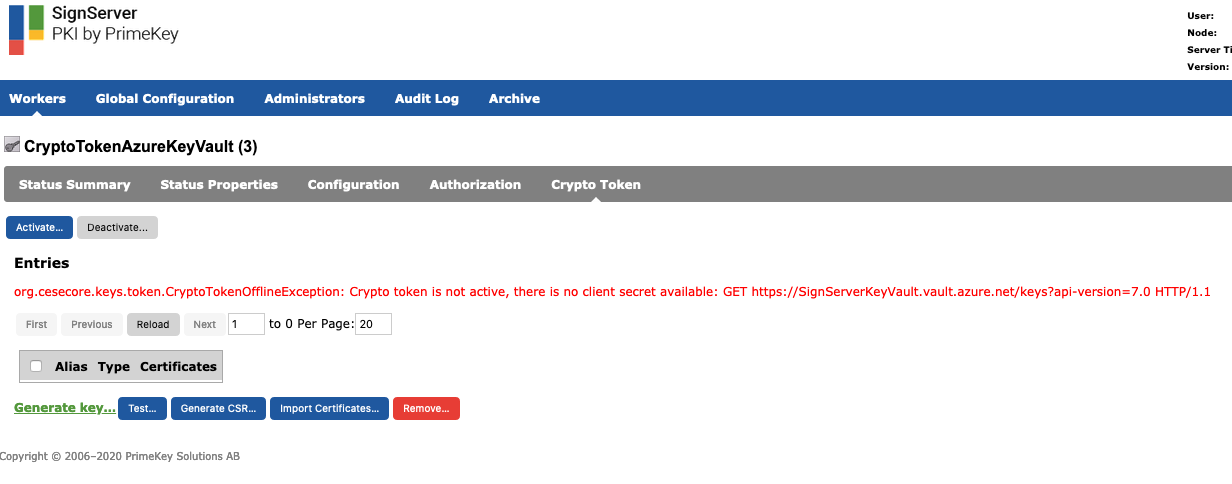
Manually Activating Crypto Token
If the configured Crypto Token is not activated, do the following to manually activate the token:
- Select the newly created Crypto Token Azure Key Vault.
- Click the Crypto Token tab.
- Click Activate and add the client secret generated during the App Registration step.
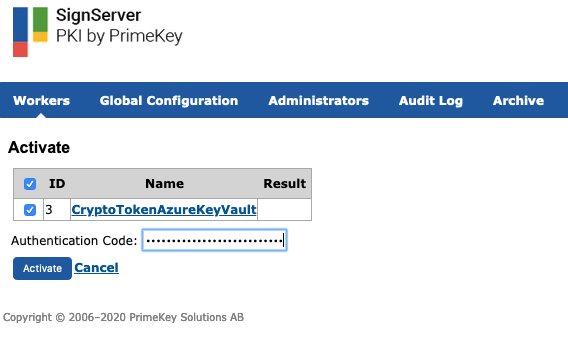
- Click Activate to activate the Crypto Token.