Connect to Cluster
You can add a fresh and non-provisioned Hardware Appliance to an existing cluster. Alternatively, you can add it to another standalone Hardware Appliance to start a cluster.
For general information about clustering and High Availability (HA) setup, see Availability and Clustering.
Prerequisites
You will need the following to connect a Hardware Appliance to a cluster:
- Node 1 - Installed Hardware Appliance:
This can be a Hardware Appliance in an existing cluster. It can also be a standalone Hardware Appliance – in that case you are starting a new cluster. - Node 2 - Fresh and unprovisioned Hardware Appliance to be connected to cluster / to start the cluster.
- Domain Master Secret:
You specified that when installing the first machine of your environment. - Security level requirements:
PIN pad, the persons with their smart cards and their PINs.
For more information on the Domain Master Secret, the Appliance Security Level, and smart cards, see Initial Set-up > Step 5: Running WebConf Wizard, sections Hardware Security Module Settings and Security Settings - Secrets.
Product size variations
Do not mix product size variations - S, M, or L - in a cluster. A full disk will cause the database to stop working. The smallest node in your setup will fail first - reducing redundancy.
Connecting the system to a new or existing cluster
You will perform two basic steps to connect a Hardware Appliance to a new or existing cluster. Refer to the following sections for more details.
Cluster node requirements
- All nodes in the cluster need to be installed with NTP servers. This ensures correct time synchronization in the cluster.
- No node in the cluster should have a SignServer deployment. With a SignServer deployment, you will see the following warning:

Step 1: Create setup package on Node 1
On the installed Hardware Appliance - Node 1 - create and download a setup package. Node 1 can be part of a cluster or a standalone appliance. In the latter case, you will start a new cluster.
- On Node 1, open WebConf and go to the tab Cluster > Configuration.
- In the section Cluster Network Configuration, click Add node.
- Enter the Application IP Address of Node 2, the fresh Hardware Appliance that you want to connect, and click Apply.
In the section Setup packages for new nodes, a new package is listed for the IP address you have specified. Click Create and download to download the package:

Step 2: Install Node 2 and connect it to the cluster
Install the fresh Hardware Appliance - Node 2 - via the setup option Connect to cluster and with the downloaded setup package.
- For Node 2, follow the steps described for the Initial Set-up until you reach the WebConf wizard's page with installation options.
- Click the installation option Connect to cluster.
Click Browse and select the setup package that you downloaded in Step 1-4:

- Enter the Domain Master Secret that you used for installing Node 1 and click Process.
- If required, adjust the Network settings, then click Next.
- If required, adjust the Date and Time settings, then click Next.
- If Node 1 was installed with Master Backup Keys: Attach the pin pad to Node 2.
- Click Begin Installation.
- If Node 1 was installed with Master Backup Keys: You will be prompted to enter them.
When the system is prepared, you will be prompted to click Finalize:

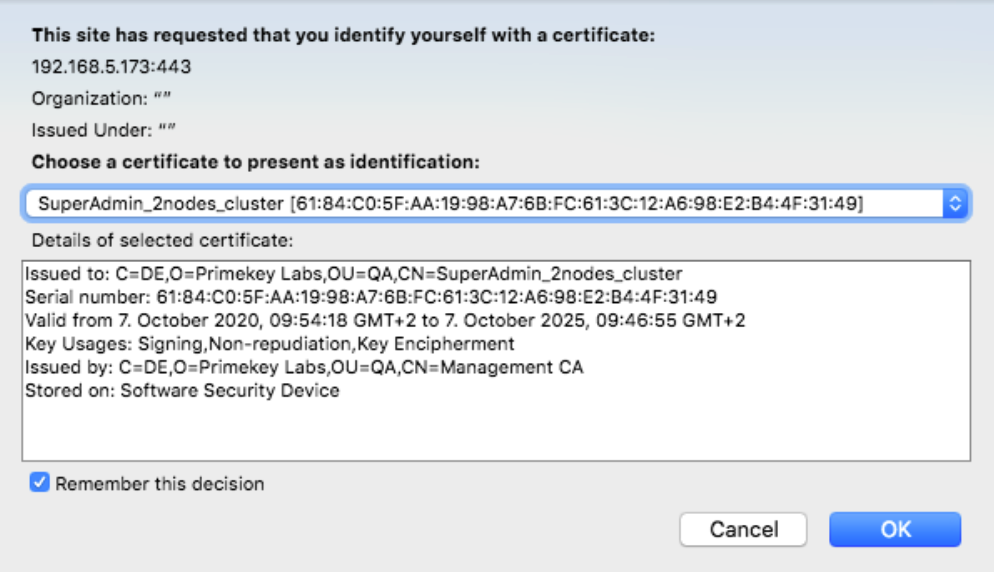
When prompted, select the SuperAdmin certificate of Node 1 in your browser's dialogue:
You are now connected to WebConf of Node 2 and have access to the Status page:
Step 3: Checking the installation result
In Node 1 and Node 2, you can check the WebConf page Cluster > Operation for the success of the installation. The page will look like the following example:
In a correctly functioning cluster, you will find here the following information:
- Local Node ID: shows ID of the node
- Node state: shows the value Active
- Local Cluster View:
- shows the value Local in the Link column of the current node.
- shows the value Connected in the Link column of other nodes.
- shows identical numerical values in the LTID.