Smart Card Handling
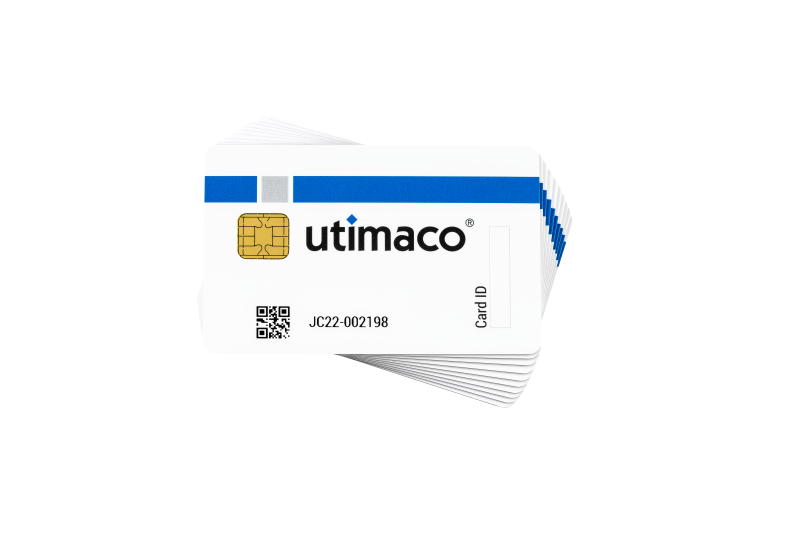
Smart cards are, essentially, Hardware Security Modules (HSM). Alternative names are chip cards or integrated circuit cards. SIM cards in cellular mobile phones are also smart cards.
The smart cards that come with the Hardware Appliance are preprogrammed cards with the TCOS operating system (TeleSec Chipcard Operating System). They are branded by the manufacturer of the HSM that is integrated in the Hardware Appliance.
Smart cards store information and organize this in data sets of so-called 'slots'. The data sets can be protected with a Personal Identification Number (PIN). Each slot can have its own PIN. This principle of different data across different slots is the PKCS#11 slot activation user smart card foundation of the PKCS#11 standard.
The principle of ownership and knowledge - owning the card and knowing the PIN - is the foundation of Two-Factor Authorization.
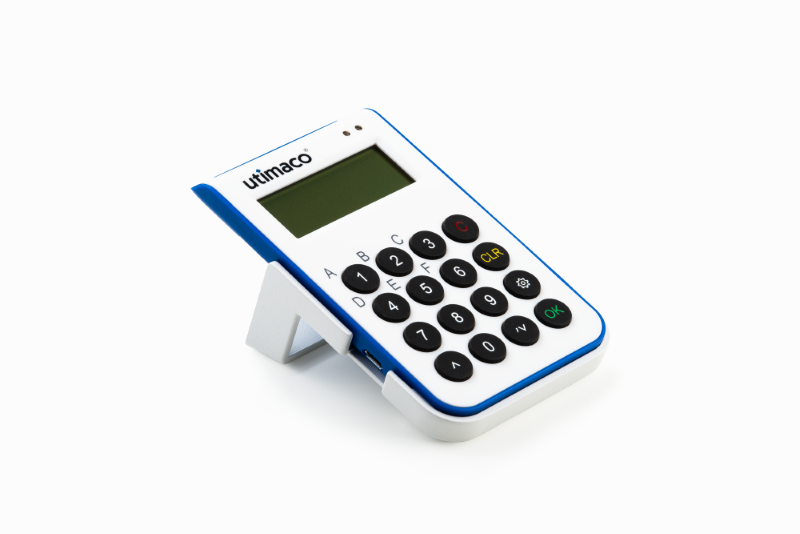
Smart Card Reader with PIN Pad
Each Hardware Appliance is delivered with a smart card reader with PIN pad for using and reading the smart cards. A smart card reader with PIN pad is necessary because you have to enter a PIN for all Hardware Appliance functions of the smart cards. The Hardware Appliance HSM manufacturer recommends the model cyberJack e-com from Reiner SCT. The smart card reader must be connected to one of the USB ports at the front or the back of the Hardware Appliance. Using the smart card reader with PIN pad for Hardware Appliance purposes connected to your workstation or browser is currently not supported.
USB port of HSM
The Hardware Appliance HSM features an additional USB port. This port is non-functional. Do not use it for smart card reader purposes.
Using Smart Cards
With the Hardware Appliance, smart cards are used to protect the cryptographic secrets of the HSM. These functionalities are offered by the vendor of the HSM and cover the following:
The two functions operate on different slots. Each of these slots has a separate PIN. These PINs are preset to 123456.
It is possible to use one smart card for both functions. However, the PINs for both functions/slots need to be changed independently. To avoid confusion, it is recommended to use a separate smart card for each function.
Backup Key share smart cards
This smart card function secures the backup of the HSM. Whenever data leaves the HSM, it is encrypted with the Backup Key, also called the Master Backup Key (MBK).
Select one of the smart card options in the Hardware Security Module Settings of the WebConf installation wizard to start the following process:
- The Backup Key is generated in memory.
- The Backup Key is written to the smart cards.
- The Backup Key is read back from the smart cards into the HSM.
Information that is downloaded from the HSM with administrative functions - such as create backup - will then be encrypted with the Backup Key. You will need to have the smart cards ready for the following actions:
- Restoring a backup: The Backup Key that encrypts the backup files needs to be uploaded to the HSM first.
- Configuring your Hardware Appliance as a node of a cluster: We initially load the HSM.
The Backup Key is spread across these smart cards using a quorum. For more details on quorums refer to the Quorum section below.
You cannot restore a Backup Key share if it has been overwritten by mistake. We therefore recommend the following:
- Change the PIN of a smart card right after the successful installation to prevent any mix-up or mistake.
- Create copies of Backup Key share smart cards to be stored in a safe place.
Note that the Backup Key cannot be changed after installation - this would invalidate all existing backup files.
PKCS#11 slot activation user smart card
Smart cards can store user credentials that are needed to activate PKCS#11 slots. There is no quorum for user credentials on smart cards.For more information about PKCS#11 slot smart card activation, see PKCS#11 Slot Smart Card Activation.
User credentials on a smart card used for PKCS#11 slot activation cannot be copied one-to-one, unlike the Backup Key share on a smart card.
Quorum ('2 out of 3' or '3 out of 5')
The Backup Key is distributed across multiple smart cards to increase security. This ensures that potential attackers cannot read a backup file even if they possess one smart card with the according PIN. However, splitting a Backup Key between multiple smart cards can also have disadvantages. Usability is decreased if every single card owner needs to be present in case of a disaster recovery. In addition, reliability also decreases because a single lost, broken or otherwise deactivated smart card ruins all your emergency precautions.
To ensure security, usability, and reliability, the Backup Key is distributed across the smart cards with a method called "Shamir's Secret Sharing". The name refers to its inventor, Adi Shamir, a well-known and accepted cryptographer. The method is also known as Quorum, as k out of n, or as m out of n. With this method, a cryptographic symmetric key is split into n number of shares so that every combination of k number of shares is sufficient to reconstruct the complete key.
The Hardware Appliance software generates a 32 bytes long AES key (symmetric cryptography) and offers the following choices:
- 2 out of 3: 2 out of 3 smart cards are required to reconstruct the complete key.
- 3 out of 5: 3 out of 5 smart cards are required to reconstruct the complete key.
This option represents a higher level of security. However, 3 of the 5 smart card owners must be available for any disaster recovery – a requirement that could make it difficult to bring the system back to life at 5 'o clock on a Sunday morning.
Installation example: '2 out of 3' scenario
Timeout on smart card operations
Please read the following documentation carefully before starting the process. You will not have time for careful reading during the installation process: You will risk running into a timeout during a smart card operation.
Timeouts are not indicated on the PIN pad display. The display will turn blank and you will find the timeout information in WebConf.
The following instructions guide you through the process of installing a 2 out of 3 quorum for the Backup Key share. The procedure includes the steps Preparation, Key generation, and Key reading:
Step 0: Preparation
Connect the smart card reader to one of the four USB ports on the front or back of the Hardware Appliance. The following text (or similar) will appear on the display:
REINER SCT
cyberJack e-comThis text will disappear with any PIN pad operation. If you have multiple PIN pad operations in one session, the display screen might be entirely blank when you start this operation.
Step 1: Key generation
With the following process, any existing Backup Key share on the smart cards will be overwritten. Each smart card can only store one Backup Key share. You cannot use one smart card to save two different Backup Key shares for two different Hardware Appliance environments. Every node in a cluster uses the same Backup Key, thus any set of Backup Key share smart cards will work with every node in a cluster.
A new Backup Key needs to be generated and the Backup Key shares need to be written to the smart cards.
Start the installation (see Initial Set-up Step 5: Running WebConf Wizard ). The PIN pad display indicates that the process to write the new key shares to the smart cards can start:
Write New Key press OK/CancelCODEPress the green OK button on the PIN pad. The PIN pad display will prompt you to insert the first smart card of the set:
Insert 1. card press OK/CancelCODEInsert the first smart card and press the green OK button. The PIN pad will prompt you to enter the PIN:
Enter PIN ******CODEEnter the PIN of the smart card. For each digit of the PIN an asterisk appears.
Entering the PIN
- Default PIN: A new smart card delivered with the Hardware Appliance comes with the PIN 123456. For details of how you can change this PIN manually, refer to Change the PIN of the backup key share on a smart card.
- PIN correction: To restart entering the PIN press the yellow Clear button.
- Cancel PIN entry: To abort the entire operation press the red Cancel button.
Press the green OK button to confirm the PIN. The display will shortly indicate an ongoing operation.
Make sure the smart card remains in the smart card reader until you are prompted to insert the second smart card:
Insert 2. card press OK/CancelCODERemove the first smart card from the smart card reader.
Insert the second smart card and press the green OK button. You will be prompted to enter the PIN:Enter PIN ******CODEEnter the PIN of the smart card and press the green OK button to confirm it.
Make sure the smart card remains in the smart card reader until you are prompted to insert the third smart card:Insert 3. card press OK/CancelCODERemove the second smart card.
Insert the third smart card and press the green OK button. You will be prompted to enter the PIN:Enter PIN ******CODEEnter the PIN of the third smart card and press the green OK button to confirm it.
Step 2: Key Reading
The Backup Key will now be loaded into the HSM by reading it from the smart cards. In our example, the Backup Key is based on the quorum '2 out of 3', therefore the complete Backup Key can be reconstructed by reading only 2 smart cards. The smart cards can be read in any order.
The PIN pad display indicates that the process to read the new key from the smart cards can start:
Read New Key press OK/CancelCODEPress the green OK button on the PIN pad. The PIN pad display will prompt you to insert the first smart card:
Insert 1. card press OK/CancelCODEYou can use any 2 of the 3 smart cards that you used for the key generation process. For your convenience, you can therefore leave the third smart card from the key generation process in the smart card reader. You can then use it when prompted to Insert the 1. card.
Insert a smart card and press the green OK button. The PIN pad will prompt you to enter the PIN:
Enter PIN ******CODEEnter the PIN of the smart card and confirm it with the green OK button.
The display will shortly indicate an ongoing operation. You will then be prompted to insert the second smart card:
Insert 2. card press OK/CancelCODEInsert one of the remaining two smart cards and press the green OK button. You will be prompted to enter the PIN:
Enter PIN ******CODEEnter the PIN of the inserted smart card and press the green OK button to confirm it. This will complete the operation.
Avoid any of the following issues:
- Running into a timeout during the PIN pad operations.
A timeout message will not be visible on the PIN pad display. You will only find it in WebConf. - Entering a wrong PIN for one smart card three times in a row.
This will block the smart card. - Failing to enter the required number of different smart cards for the Key Reading.
You need to enter 2 cards for "the 2 out of 3" scenario and 3 cards for the '3 out of 5' scenario. - Accidental unplugging of the smart card reader.
- Inserting smart cards that were not delivered by Keyfactor.
Each of these issues will abort the installation. The machine will then be in an inconsistent state. You will have to do a full Factory Reset as described in Initial Set-up Step 1: External Erase and Factory Reset. After that, the installation process must be restarted.
WebConf Smart Card Handling Tools
WebConf offers multiple tools to help handling smart cards properly. For more information, see the WebConf HSM section.
Make a one-to-one copy of a Backup Key share on a smart card
This allows you to copy the Backup Key share from one smart card to another smart card. Thus you can create a second set of '2 out of 3' cards for your disaster recovery site. We recommend to create a backup set of the Backup Key share smart cards. Never keep the Backup Key share smart cards near the backup of the Hardware Appliance.
Each smart card is unique, therefore this function cannot be used to recover lost smart cards in a set. However, if you need a '2 out of 2' scenario, this function allows you to copy the data from the second smart card to the third smart card, effectively overwriting the Backup Key share on the third smart card.
Change the PIN of the Backup Key share on a smart card
This allows you to change the PIN of the Backup Key share on a smart card:
- We highly recommend this for each of the Backup Key share smart cards to prevent a mixup or accidental overwriting of the contents of a smart card.
- You can use this function to assign a smart card to another person in the company.
- You can use this function for a smart card that comes originally from another Hardware Appliance.
Change the PIN of a PKCS#11 Slot User on a smart card
This allows you to change the PIN of the user credentials on a smart card:
- We highly recommend this for each of the PKCS#11 slot activation user smart cards to prevent a mixup or accidental overwriting of the contents of a smart card.
- You can use this function to assign a smart card to another person in the company.
- You can use this function for a smart card that comes originally from another Hardware Appliance.
For more information about PKCS#11 slot smart card activation, see PKCS#11 Slot Smart Card Activation.